I've collected photos highlighting projects I've worked on, to give you an idea of the different kinds of services I can offer to you.
Special projects have been pulled out into their own separate sections. In this way, I can give more details without completely
cluttering up this page. (It's only somewhat cluttered LOL.) I've broken down the gallery into the following sections, and I've added
quick links to jump to whatever section(s) interest you the most.
Composite Part Creation
 Preparing a wing skin for vacuum infusion, while another cures behind me.
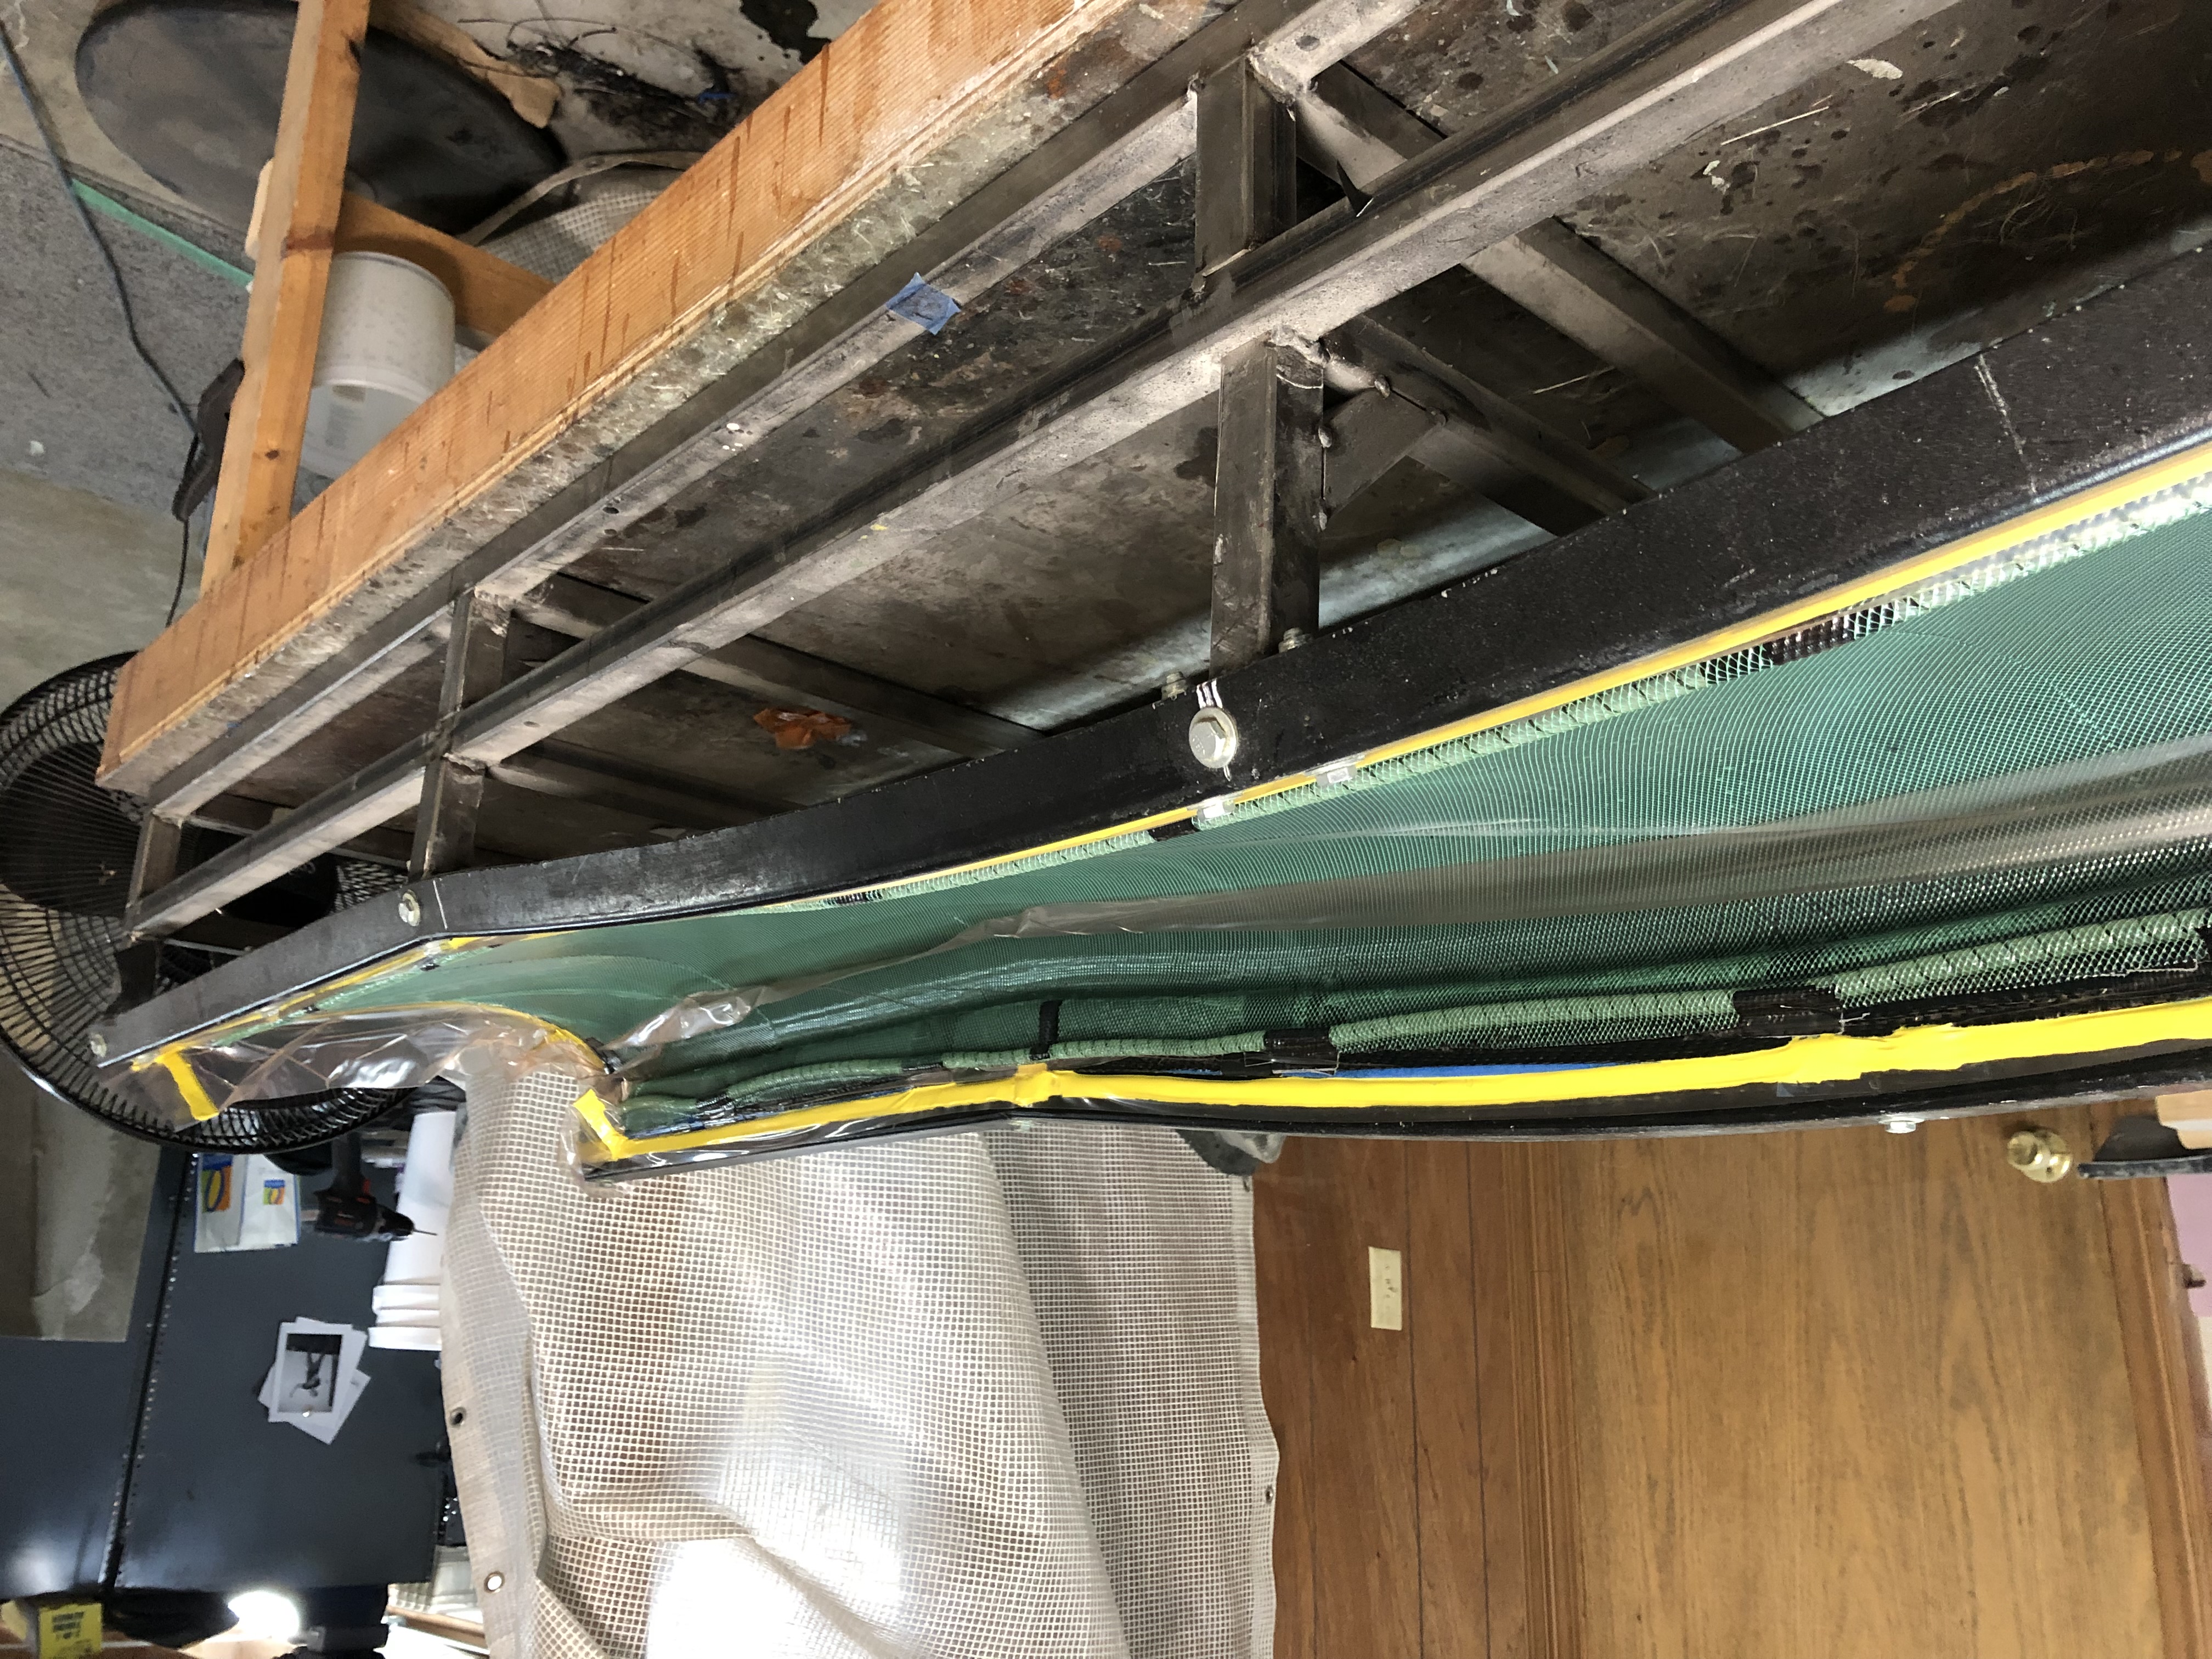 The wing mold, fully prepared and infused. Waiting for the resin to cure.
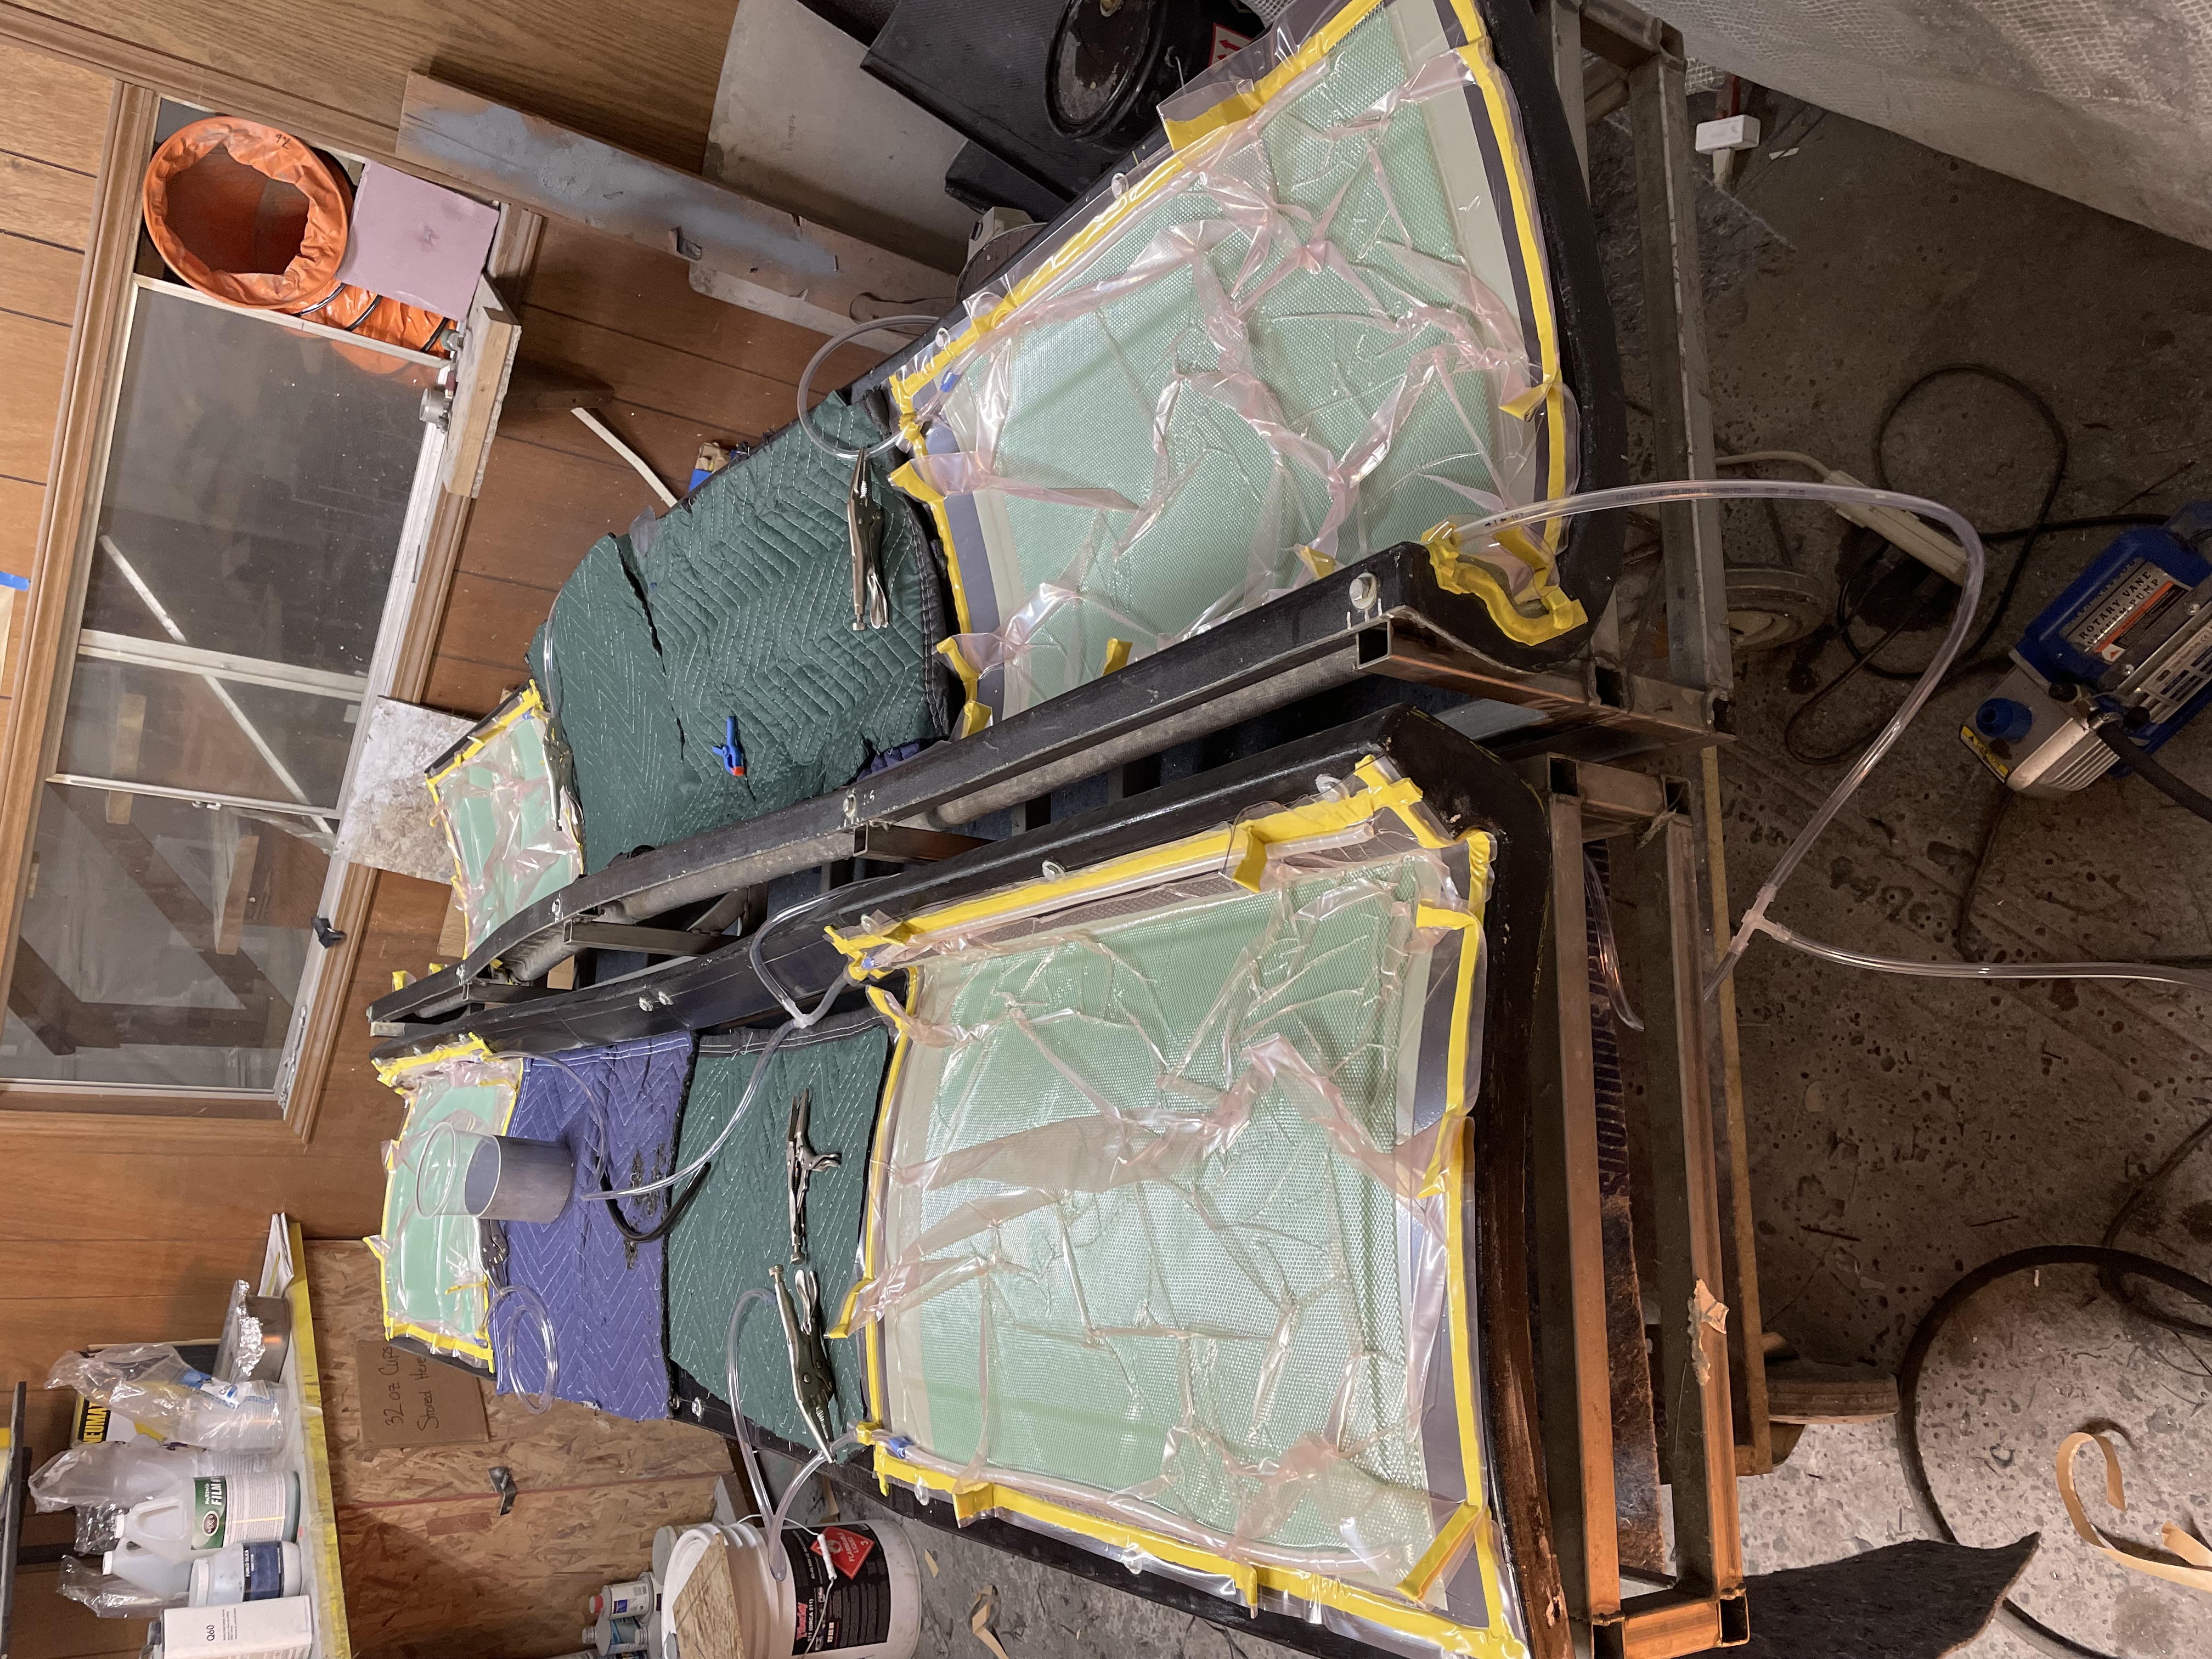 Using the same wing mold to make parts for front winglets.
 Laying up the carbon fiber cloth into the door mold.
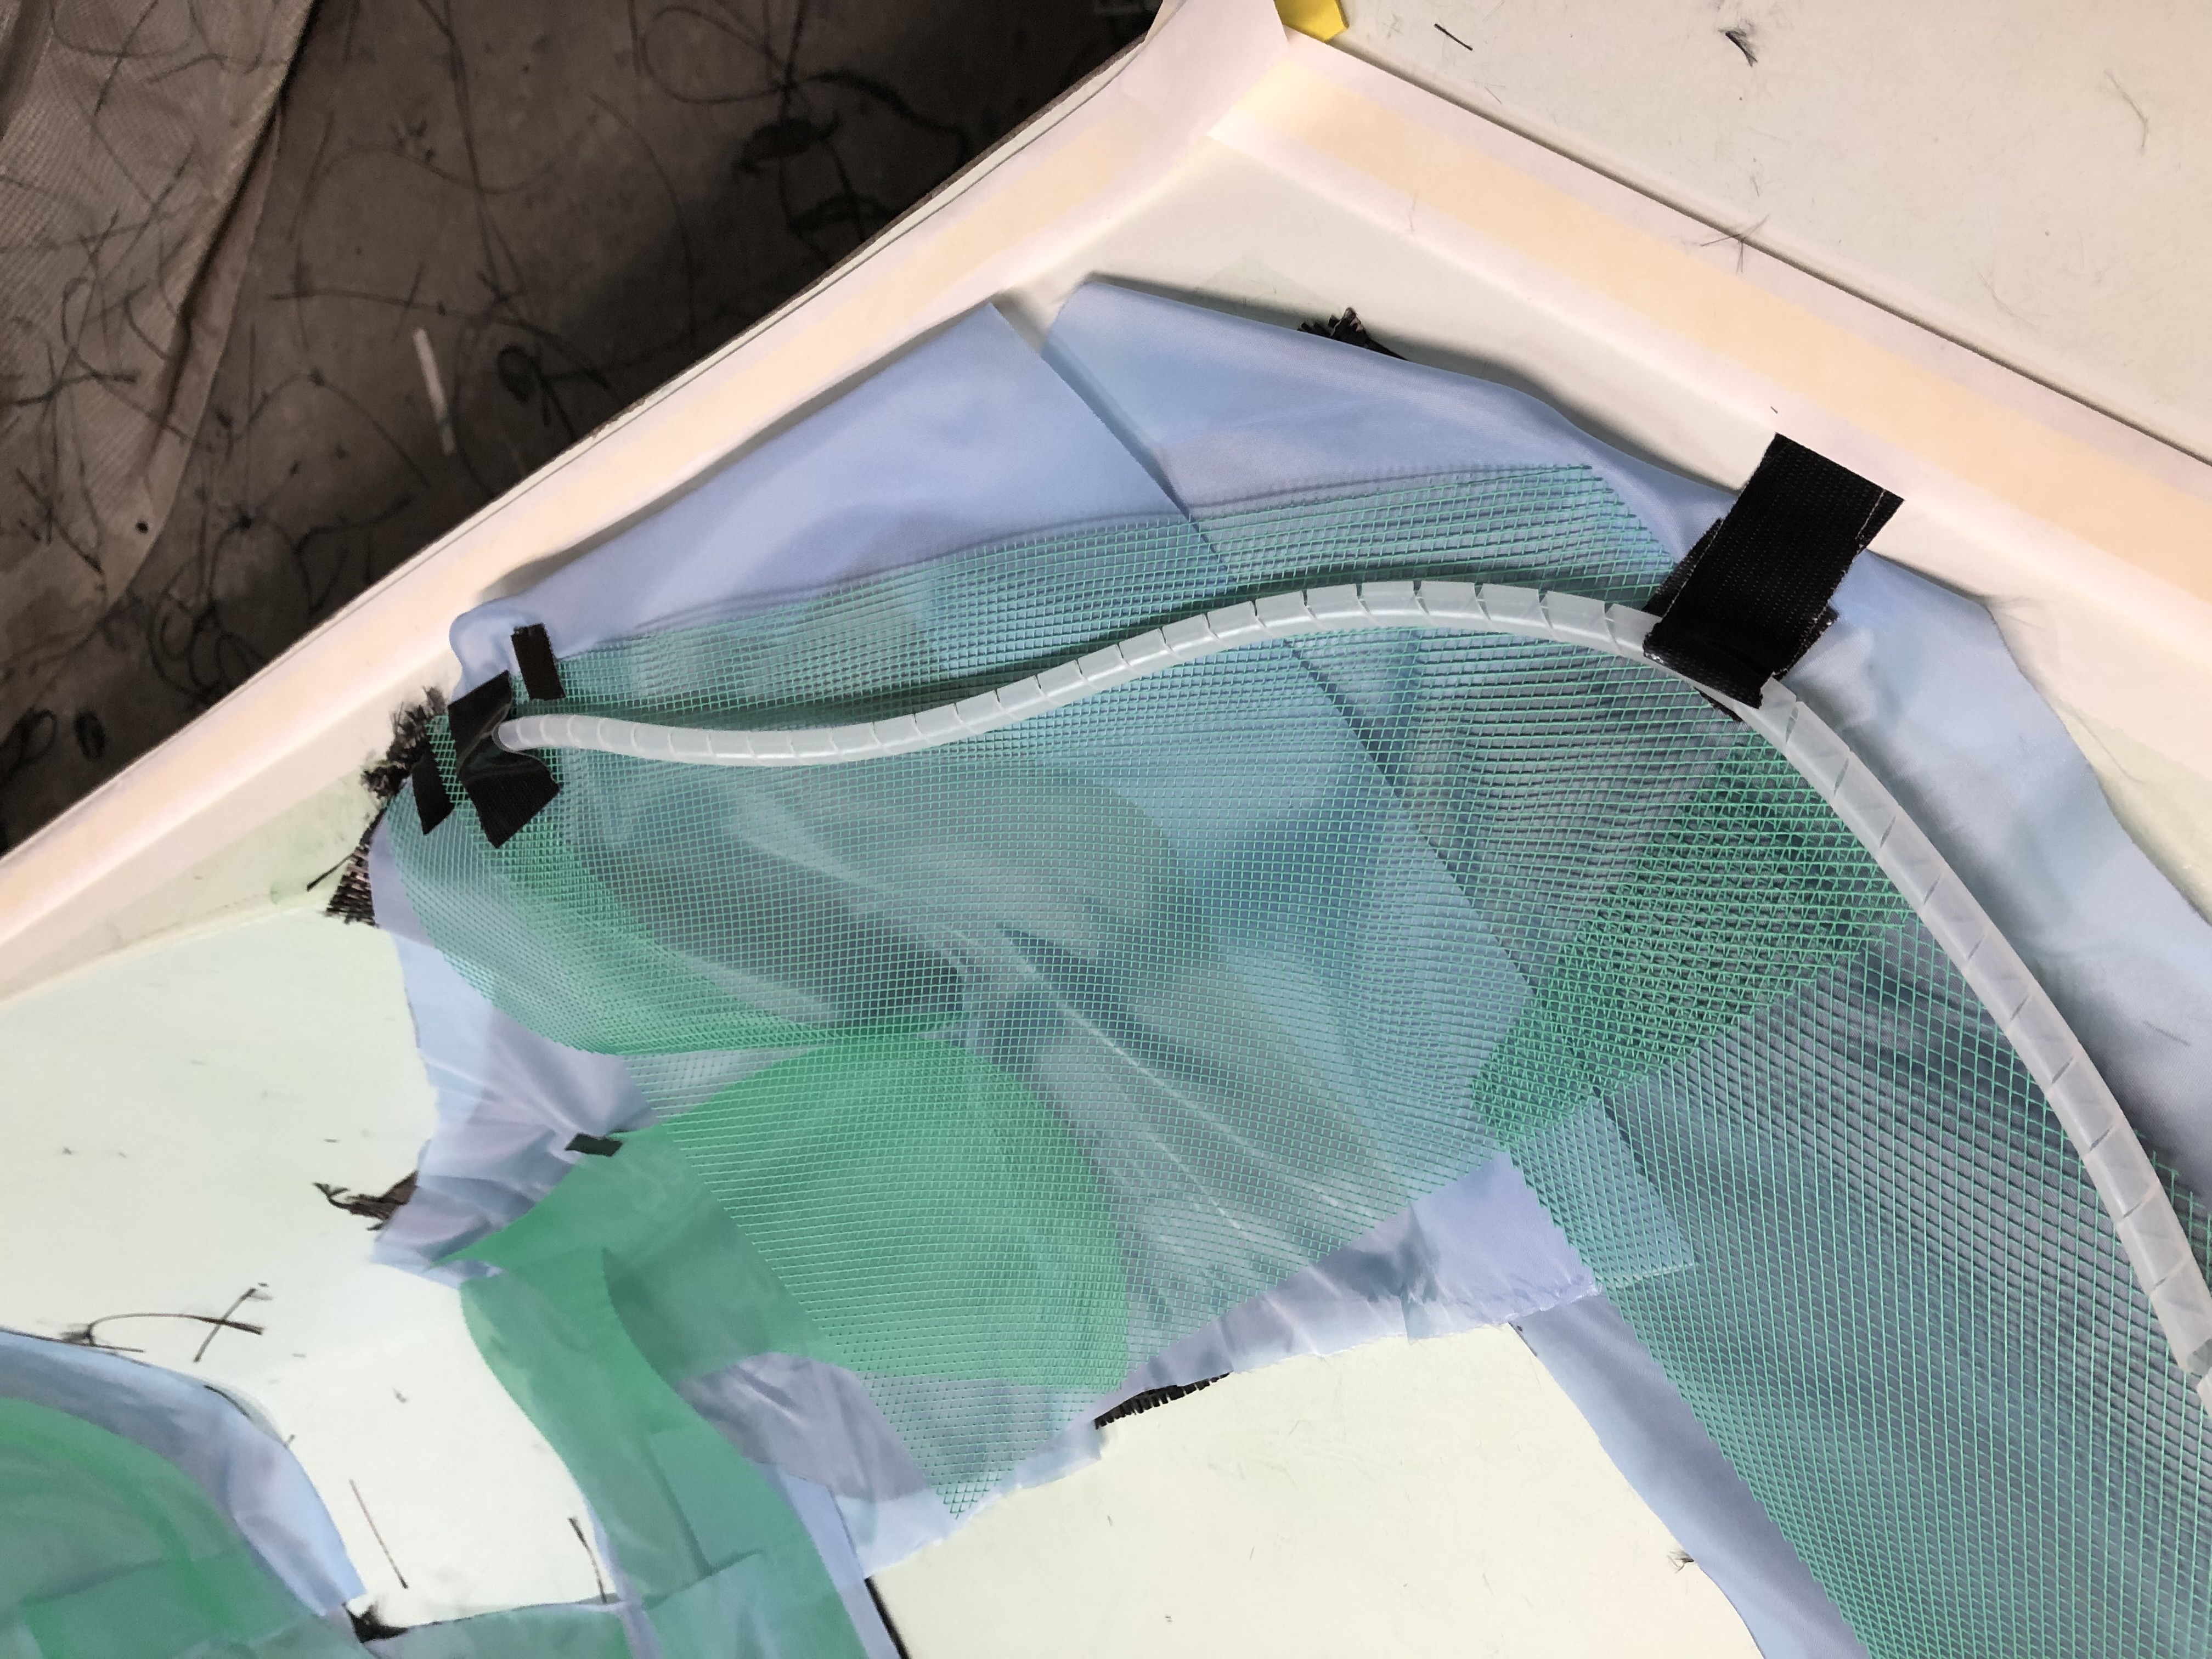 Adding the support materials: peel ply, flow media, infusion spiral hose.
 Bag material has been placed and pleated, time to do a leak test.
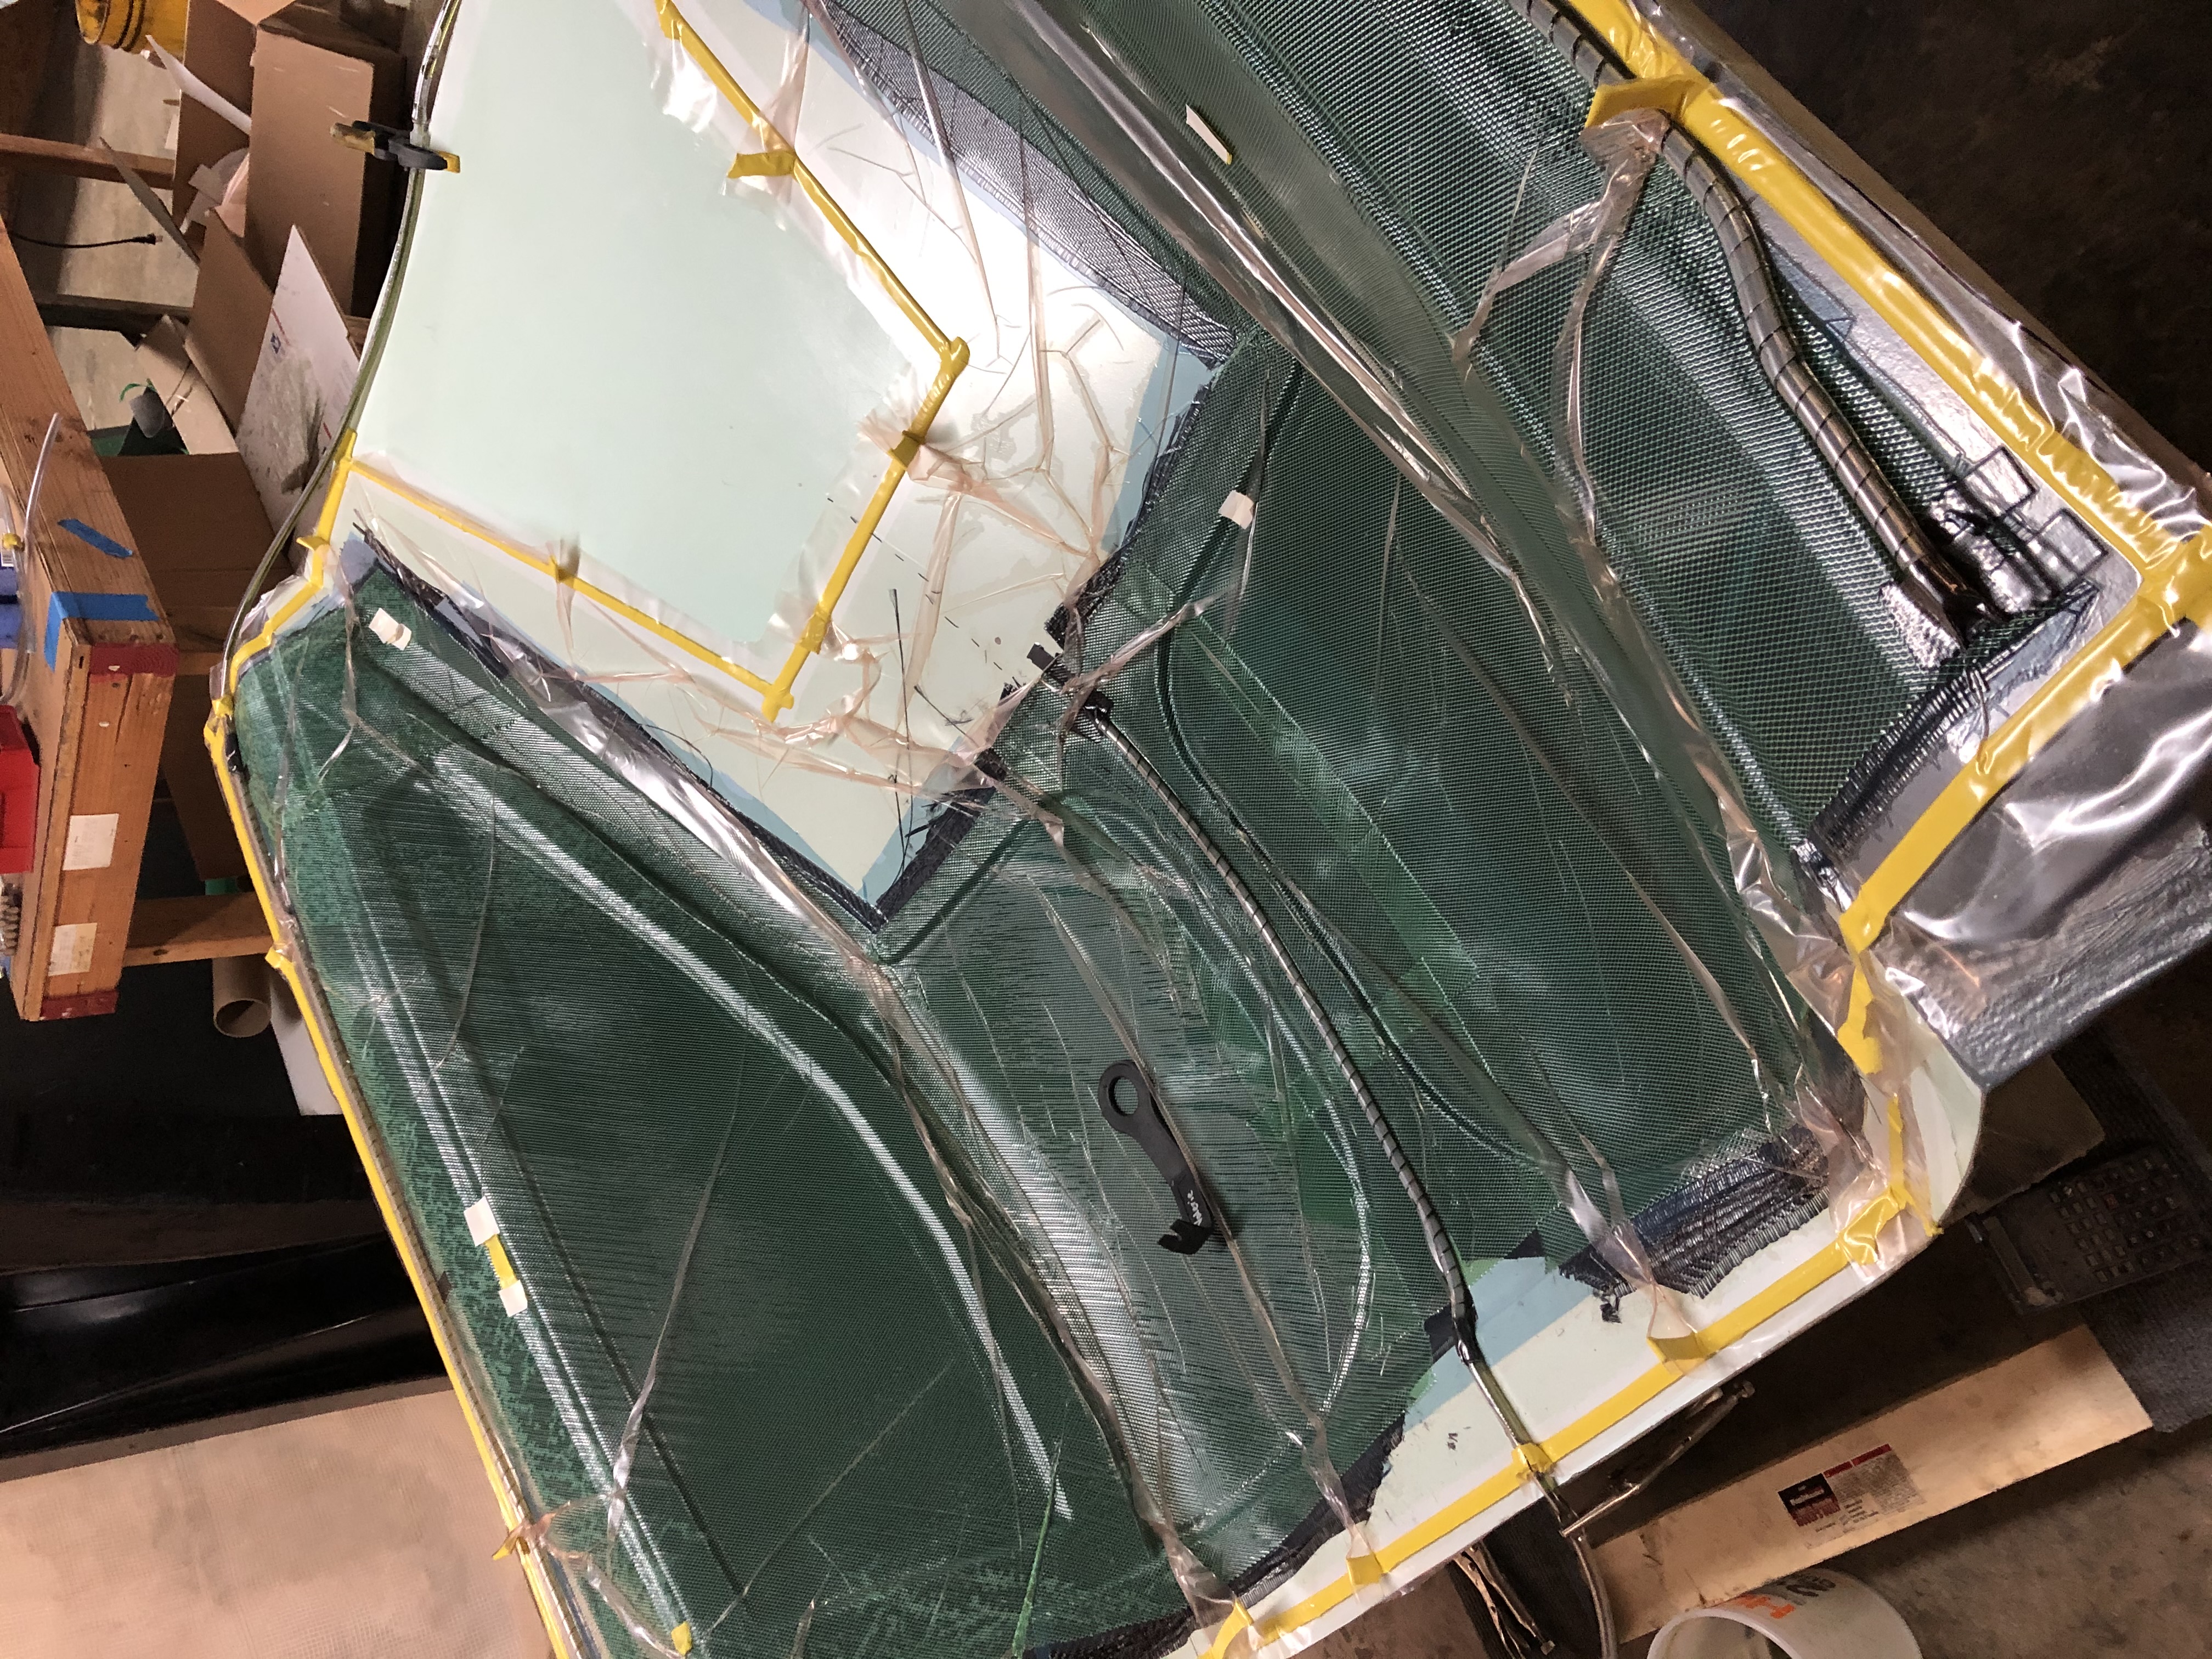 Doors have been infused with resin.
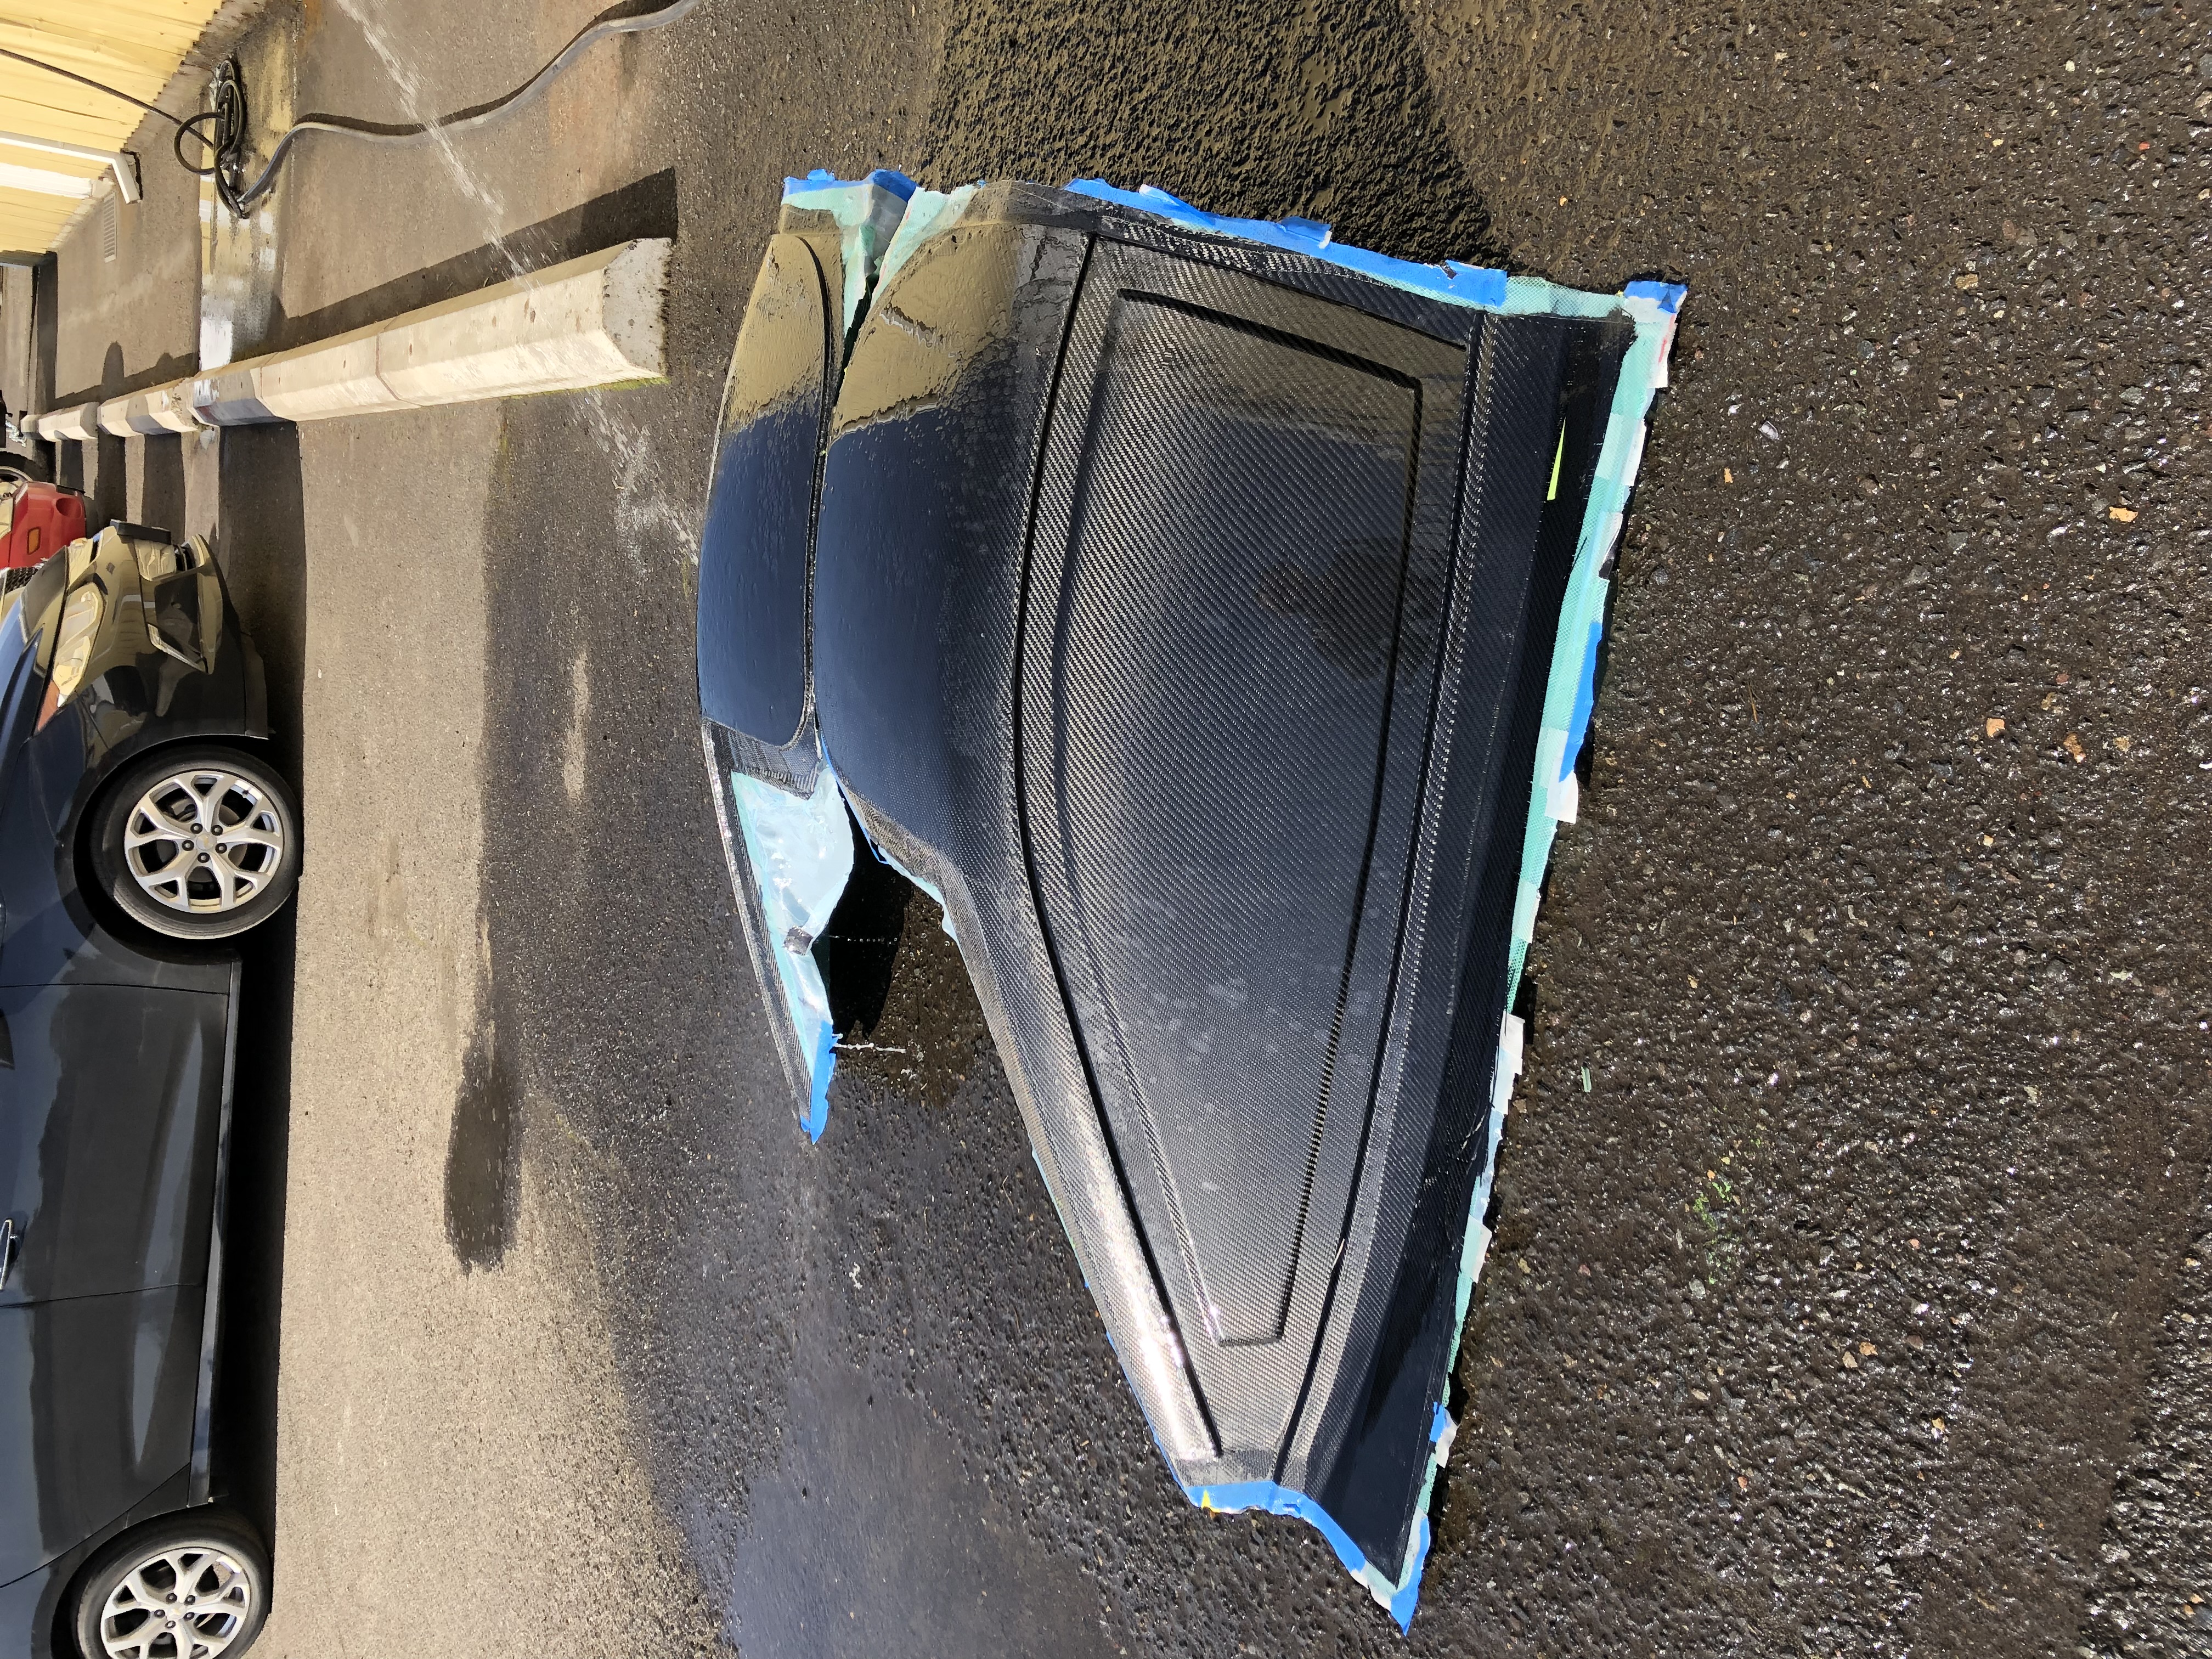 Finished doors, straight out of the mold!
 These parts will channel air underneath the vehicle, reducing drag.
 A carbon fiber brake light, with red LED lights bonded inside.
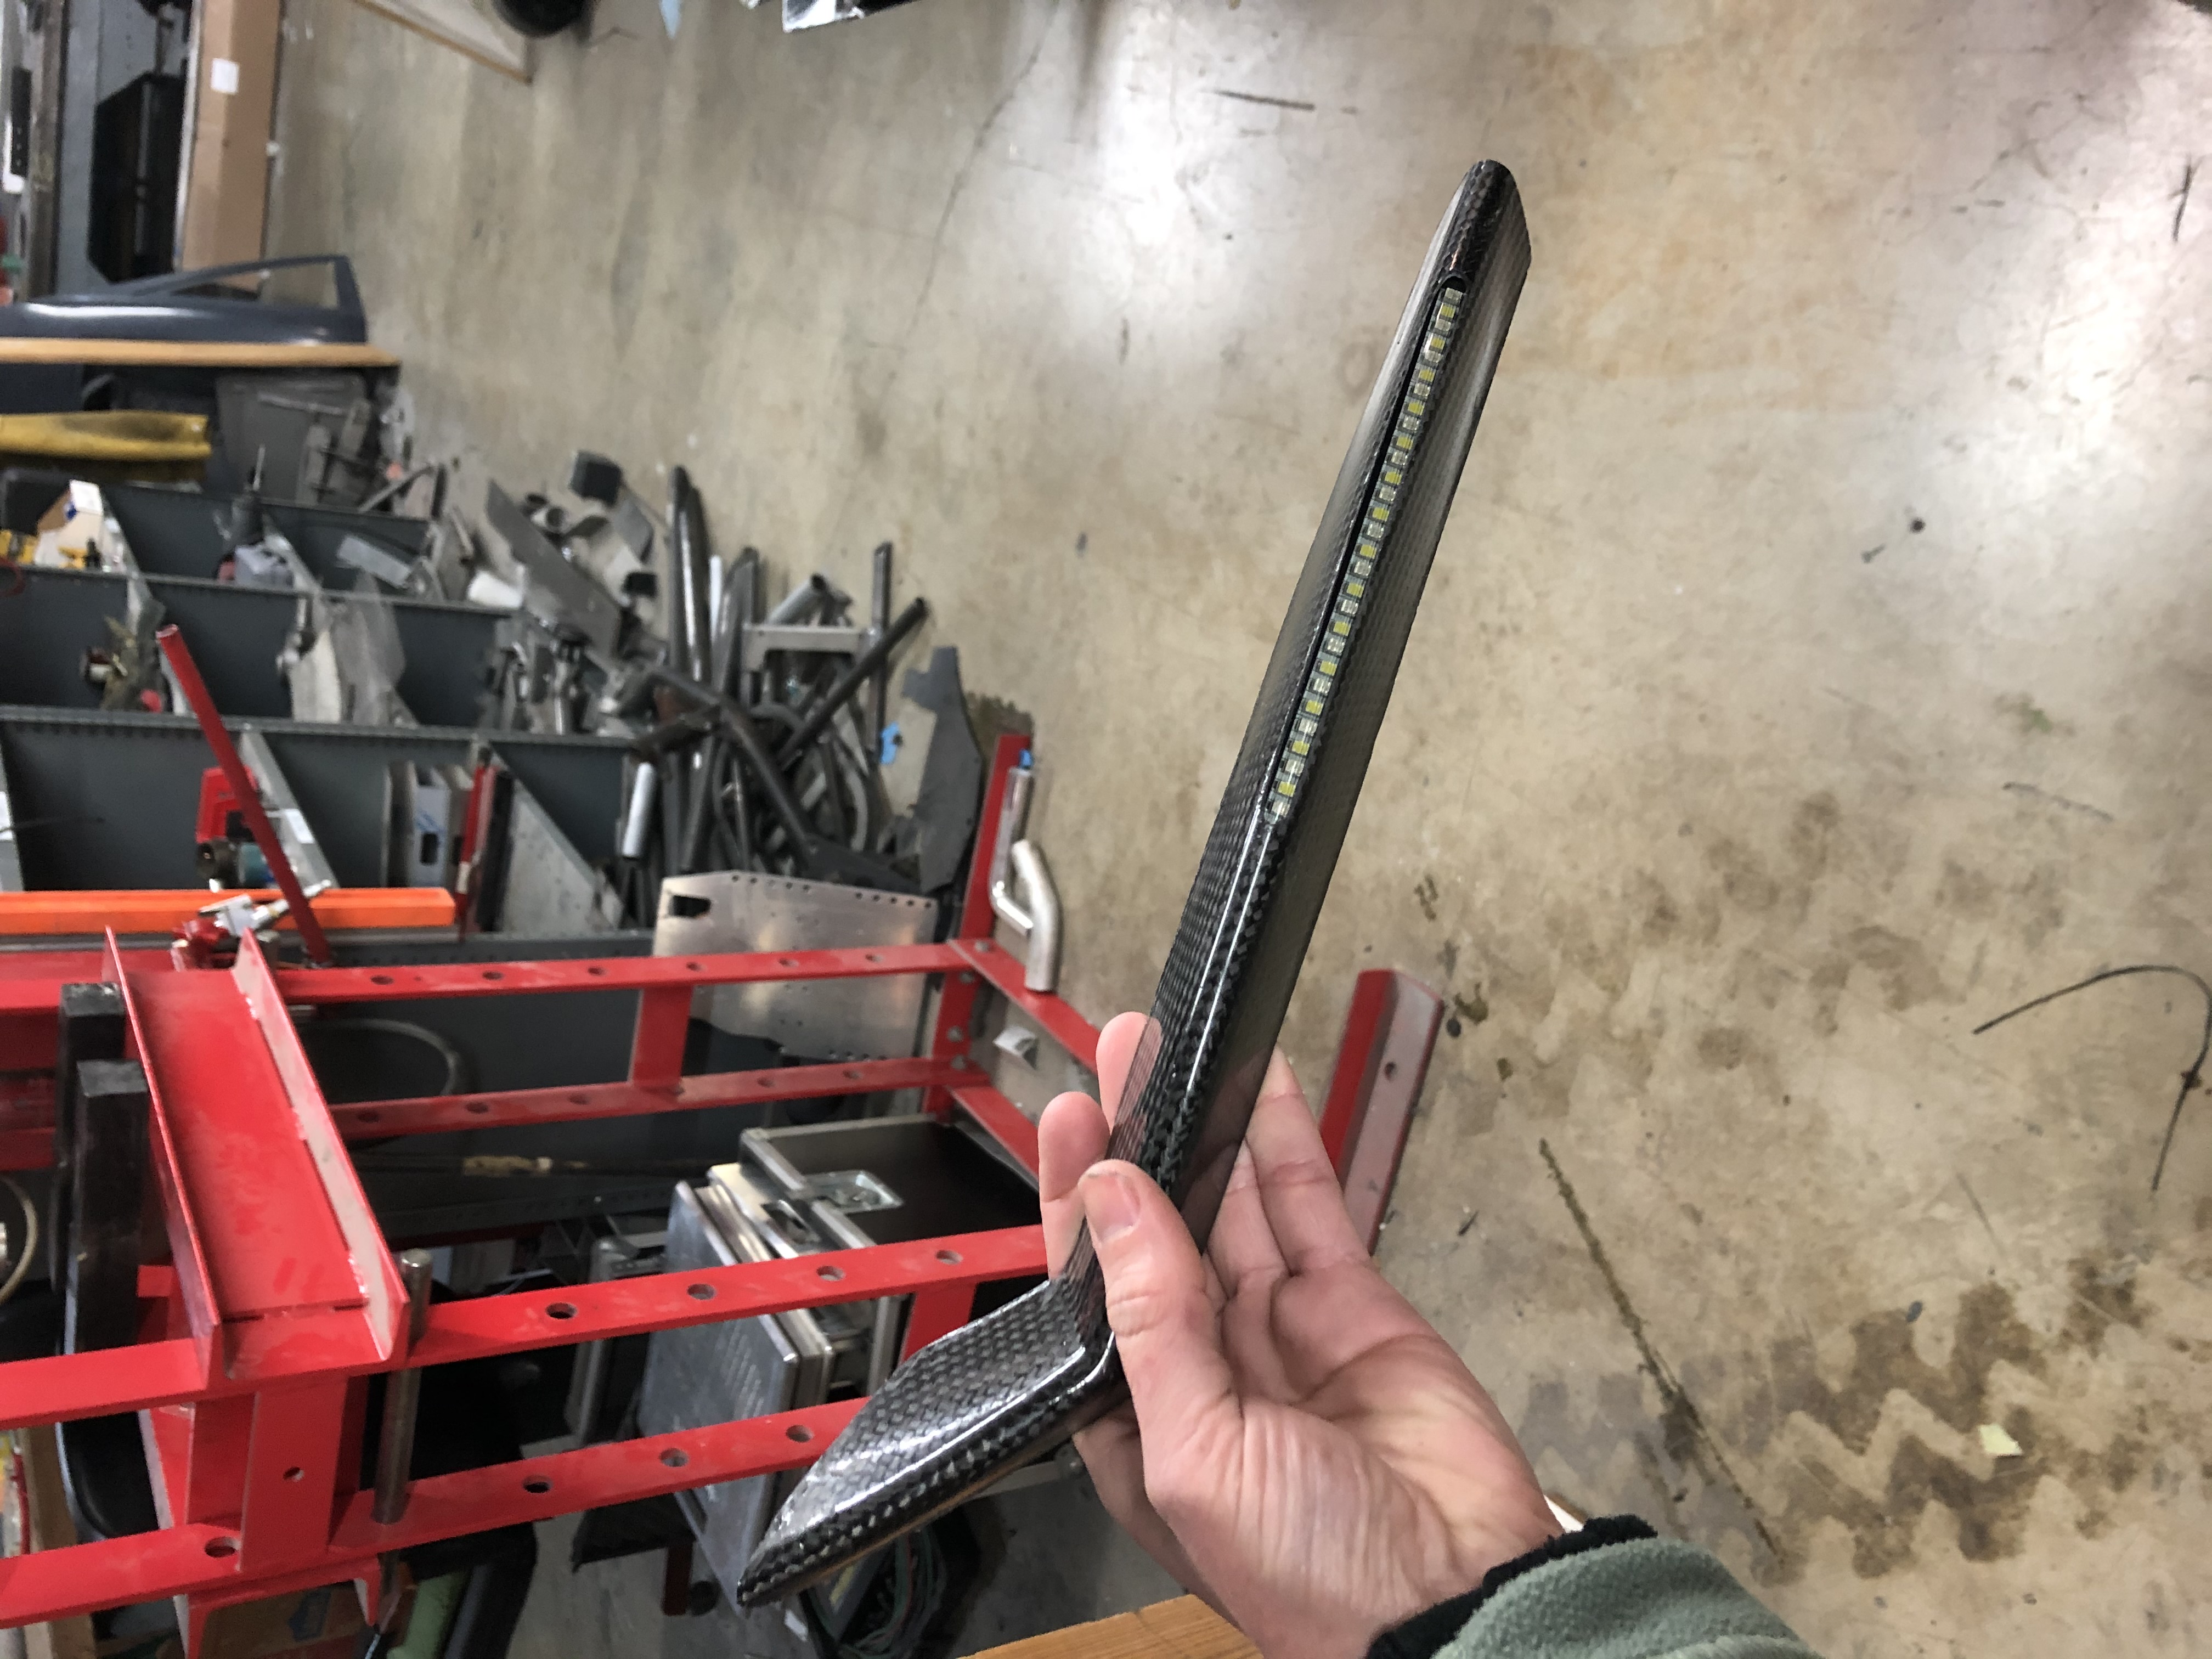 A carbon fiber turn signal, with yellow LED lights bonded inside.
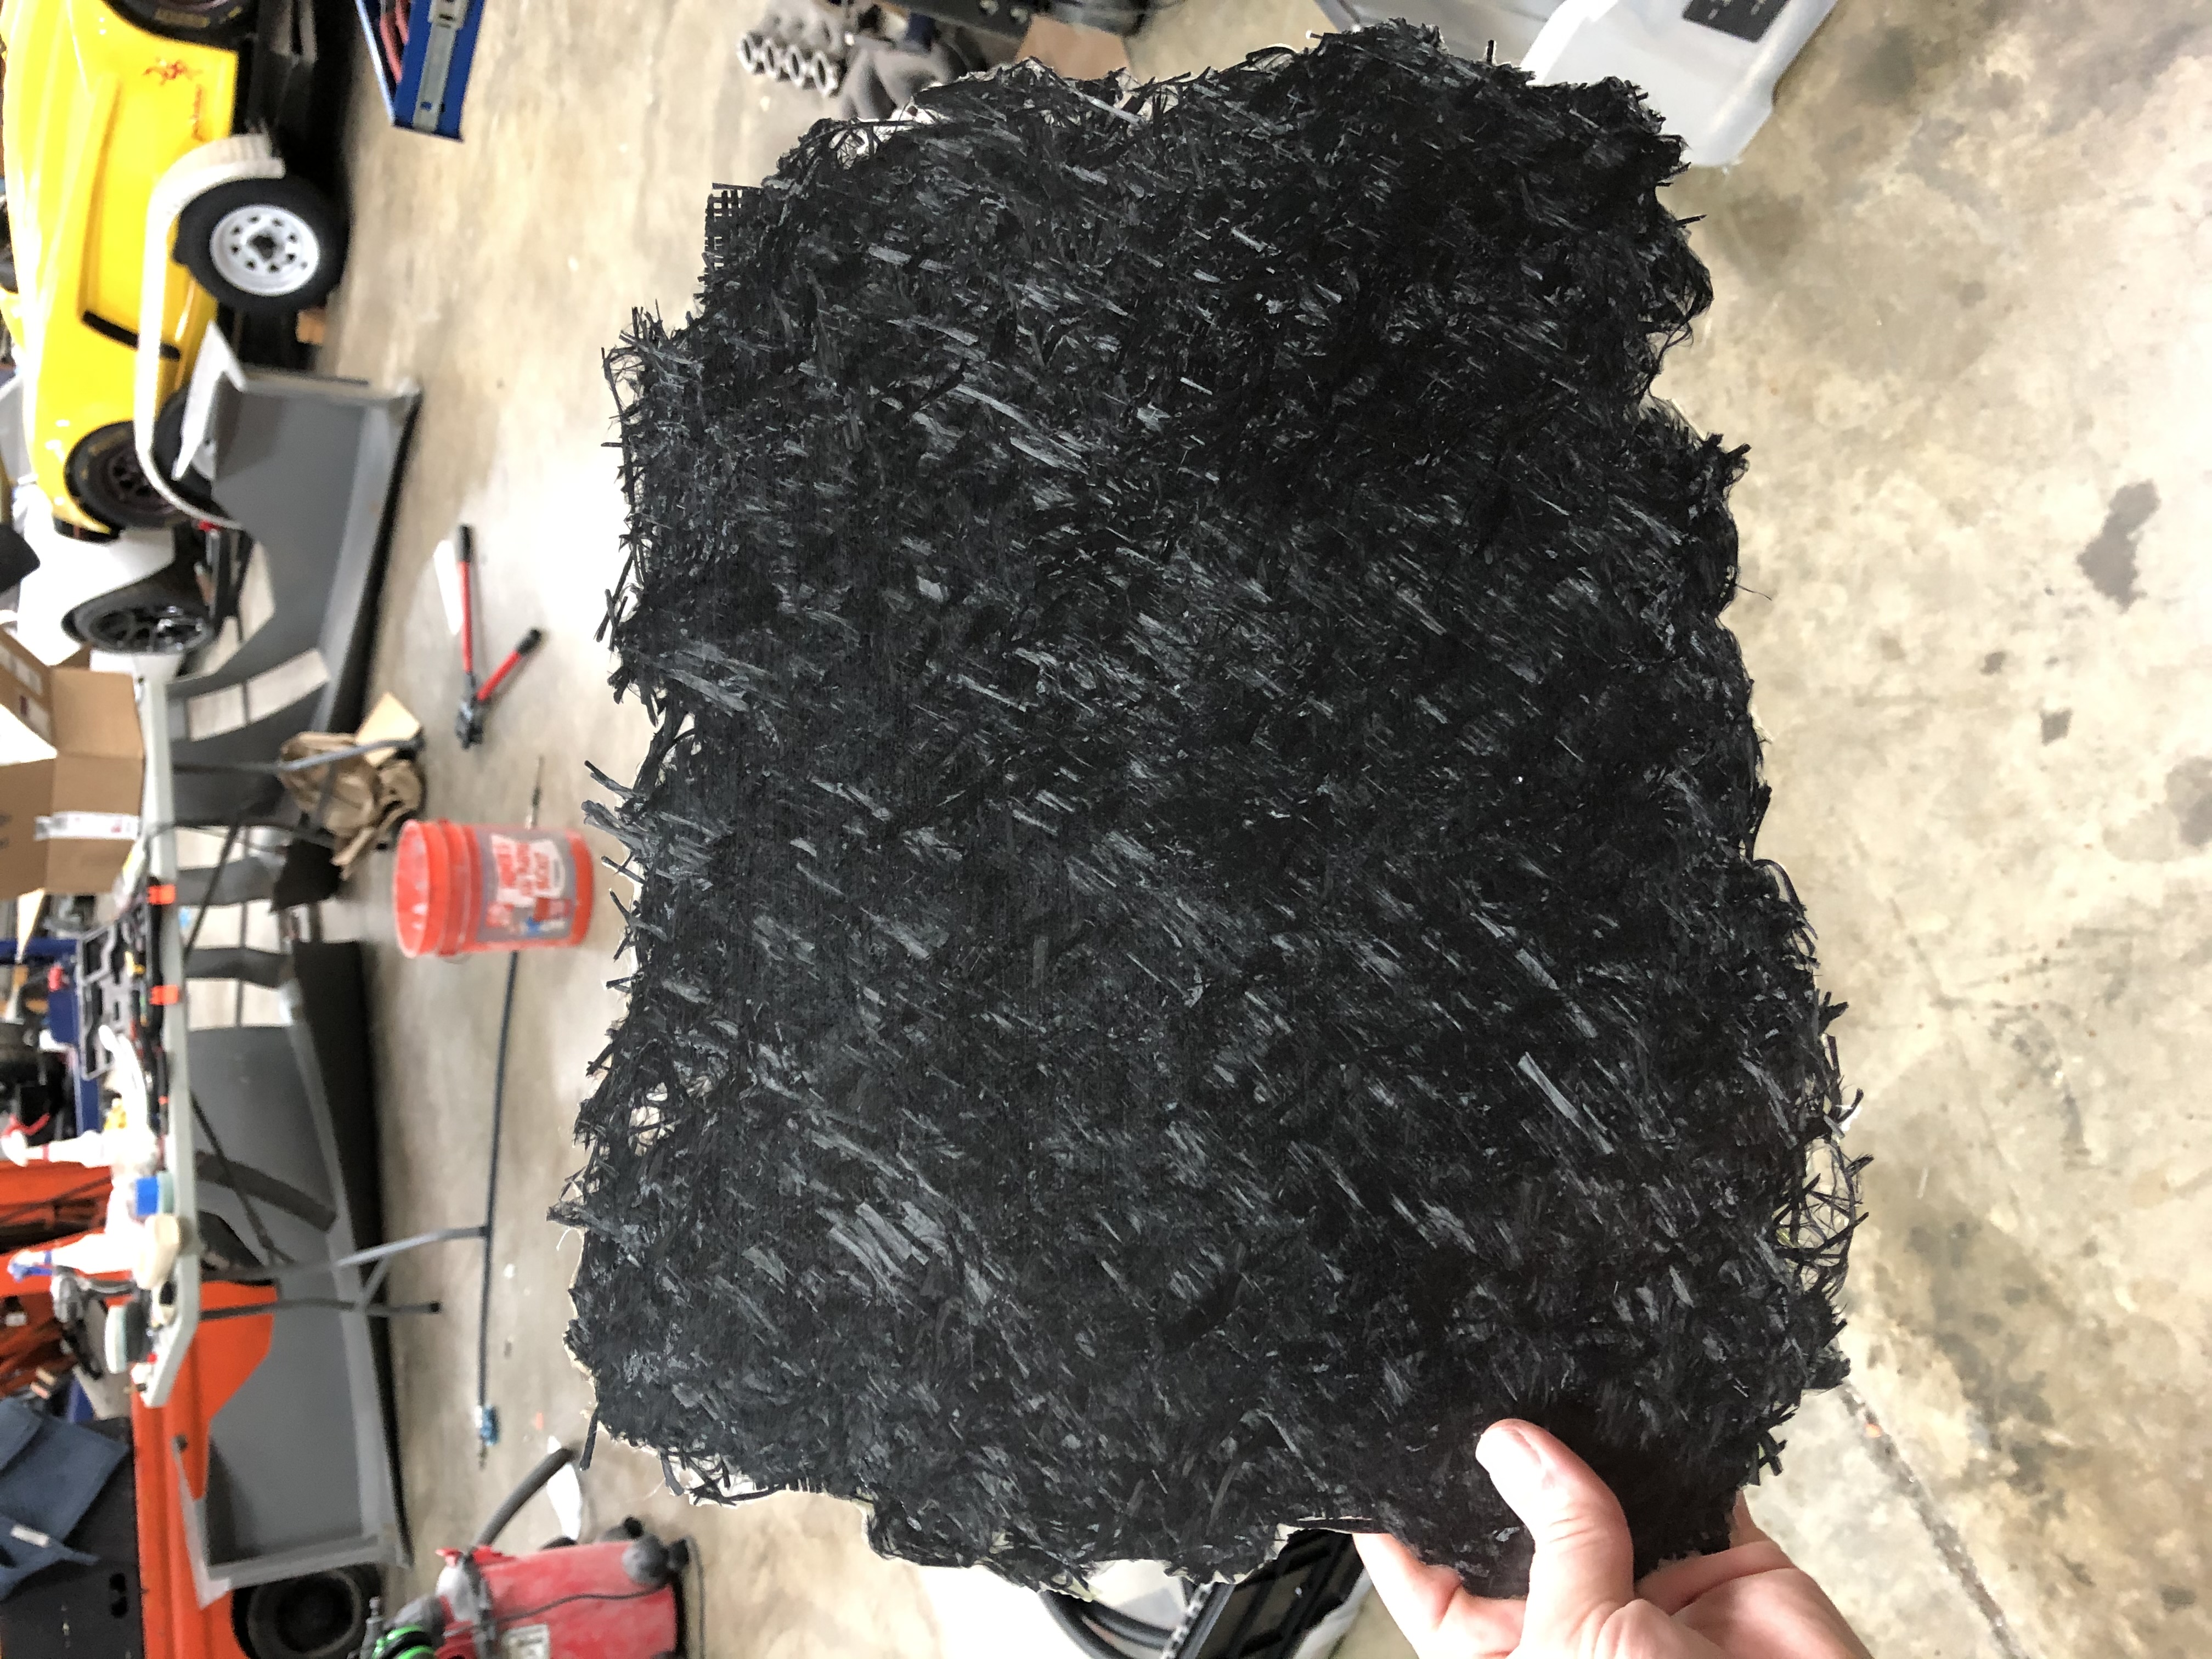 I played a little with making forged carbon fiber. What do you think?
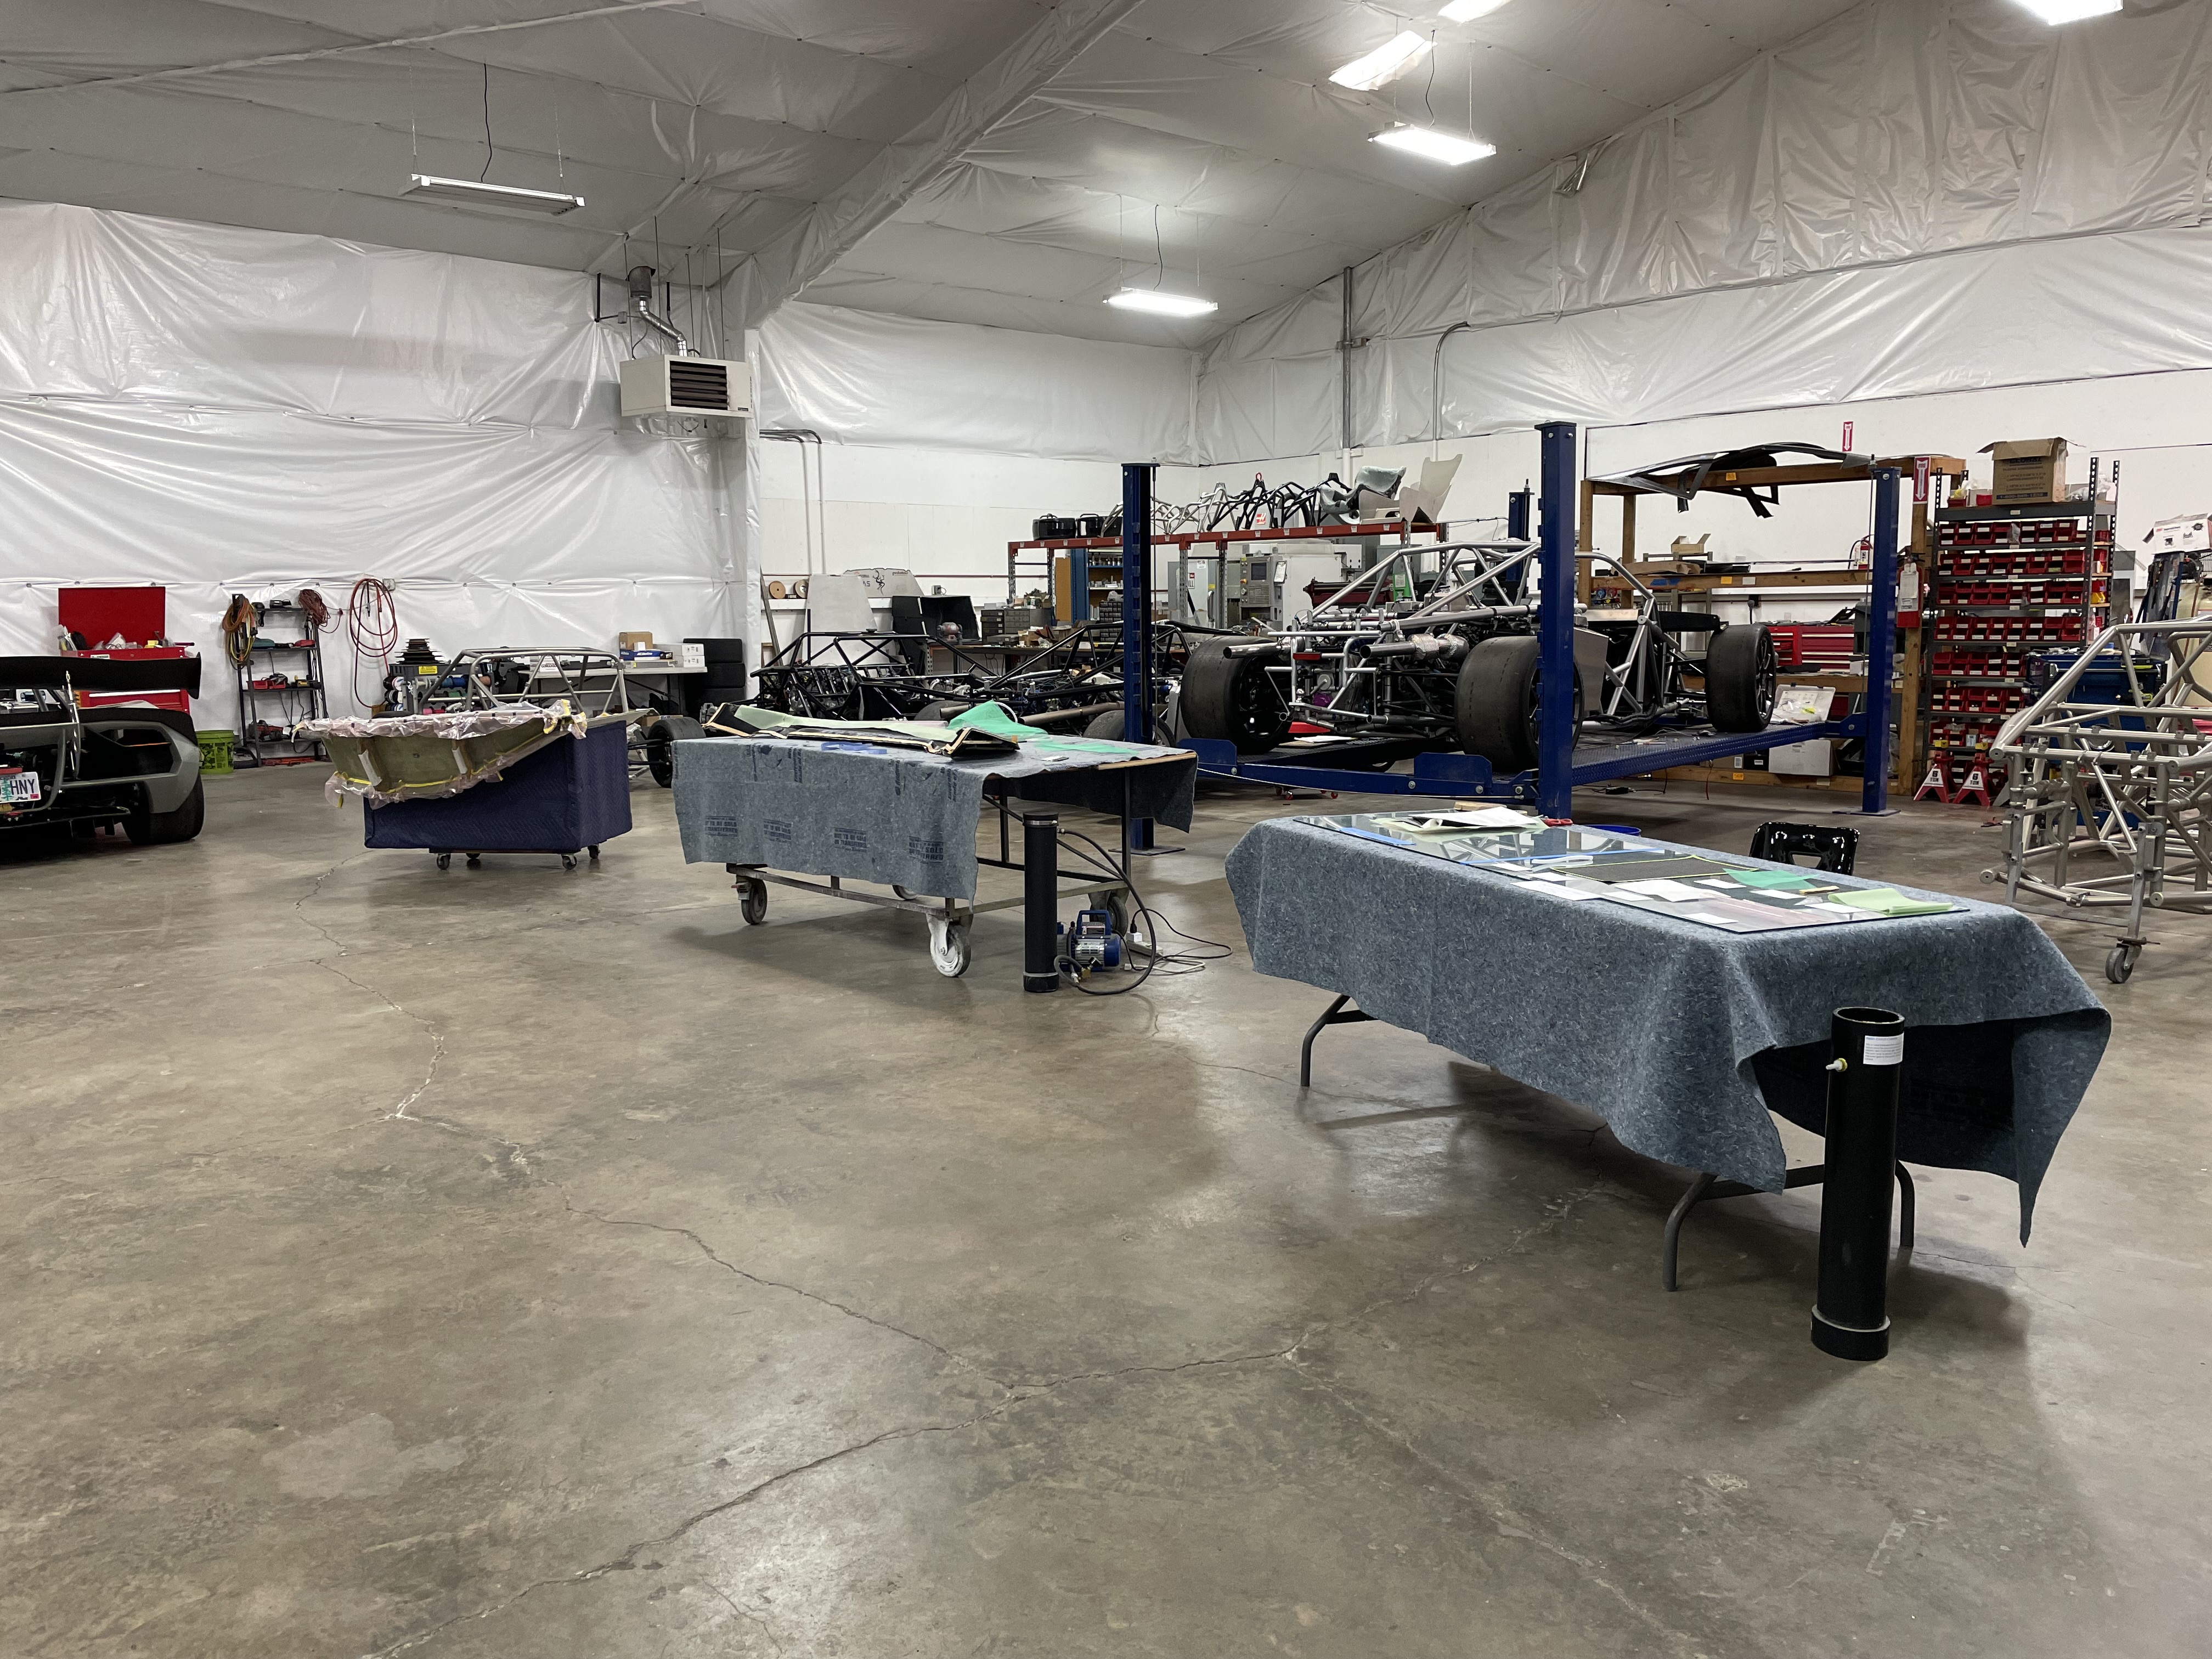 All set up for an Avants Masterclass, where I demonstrated how carbon fiber parts are made.
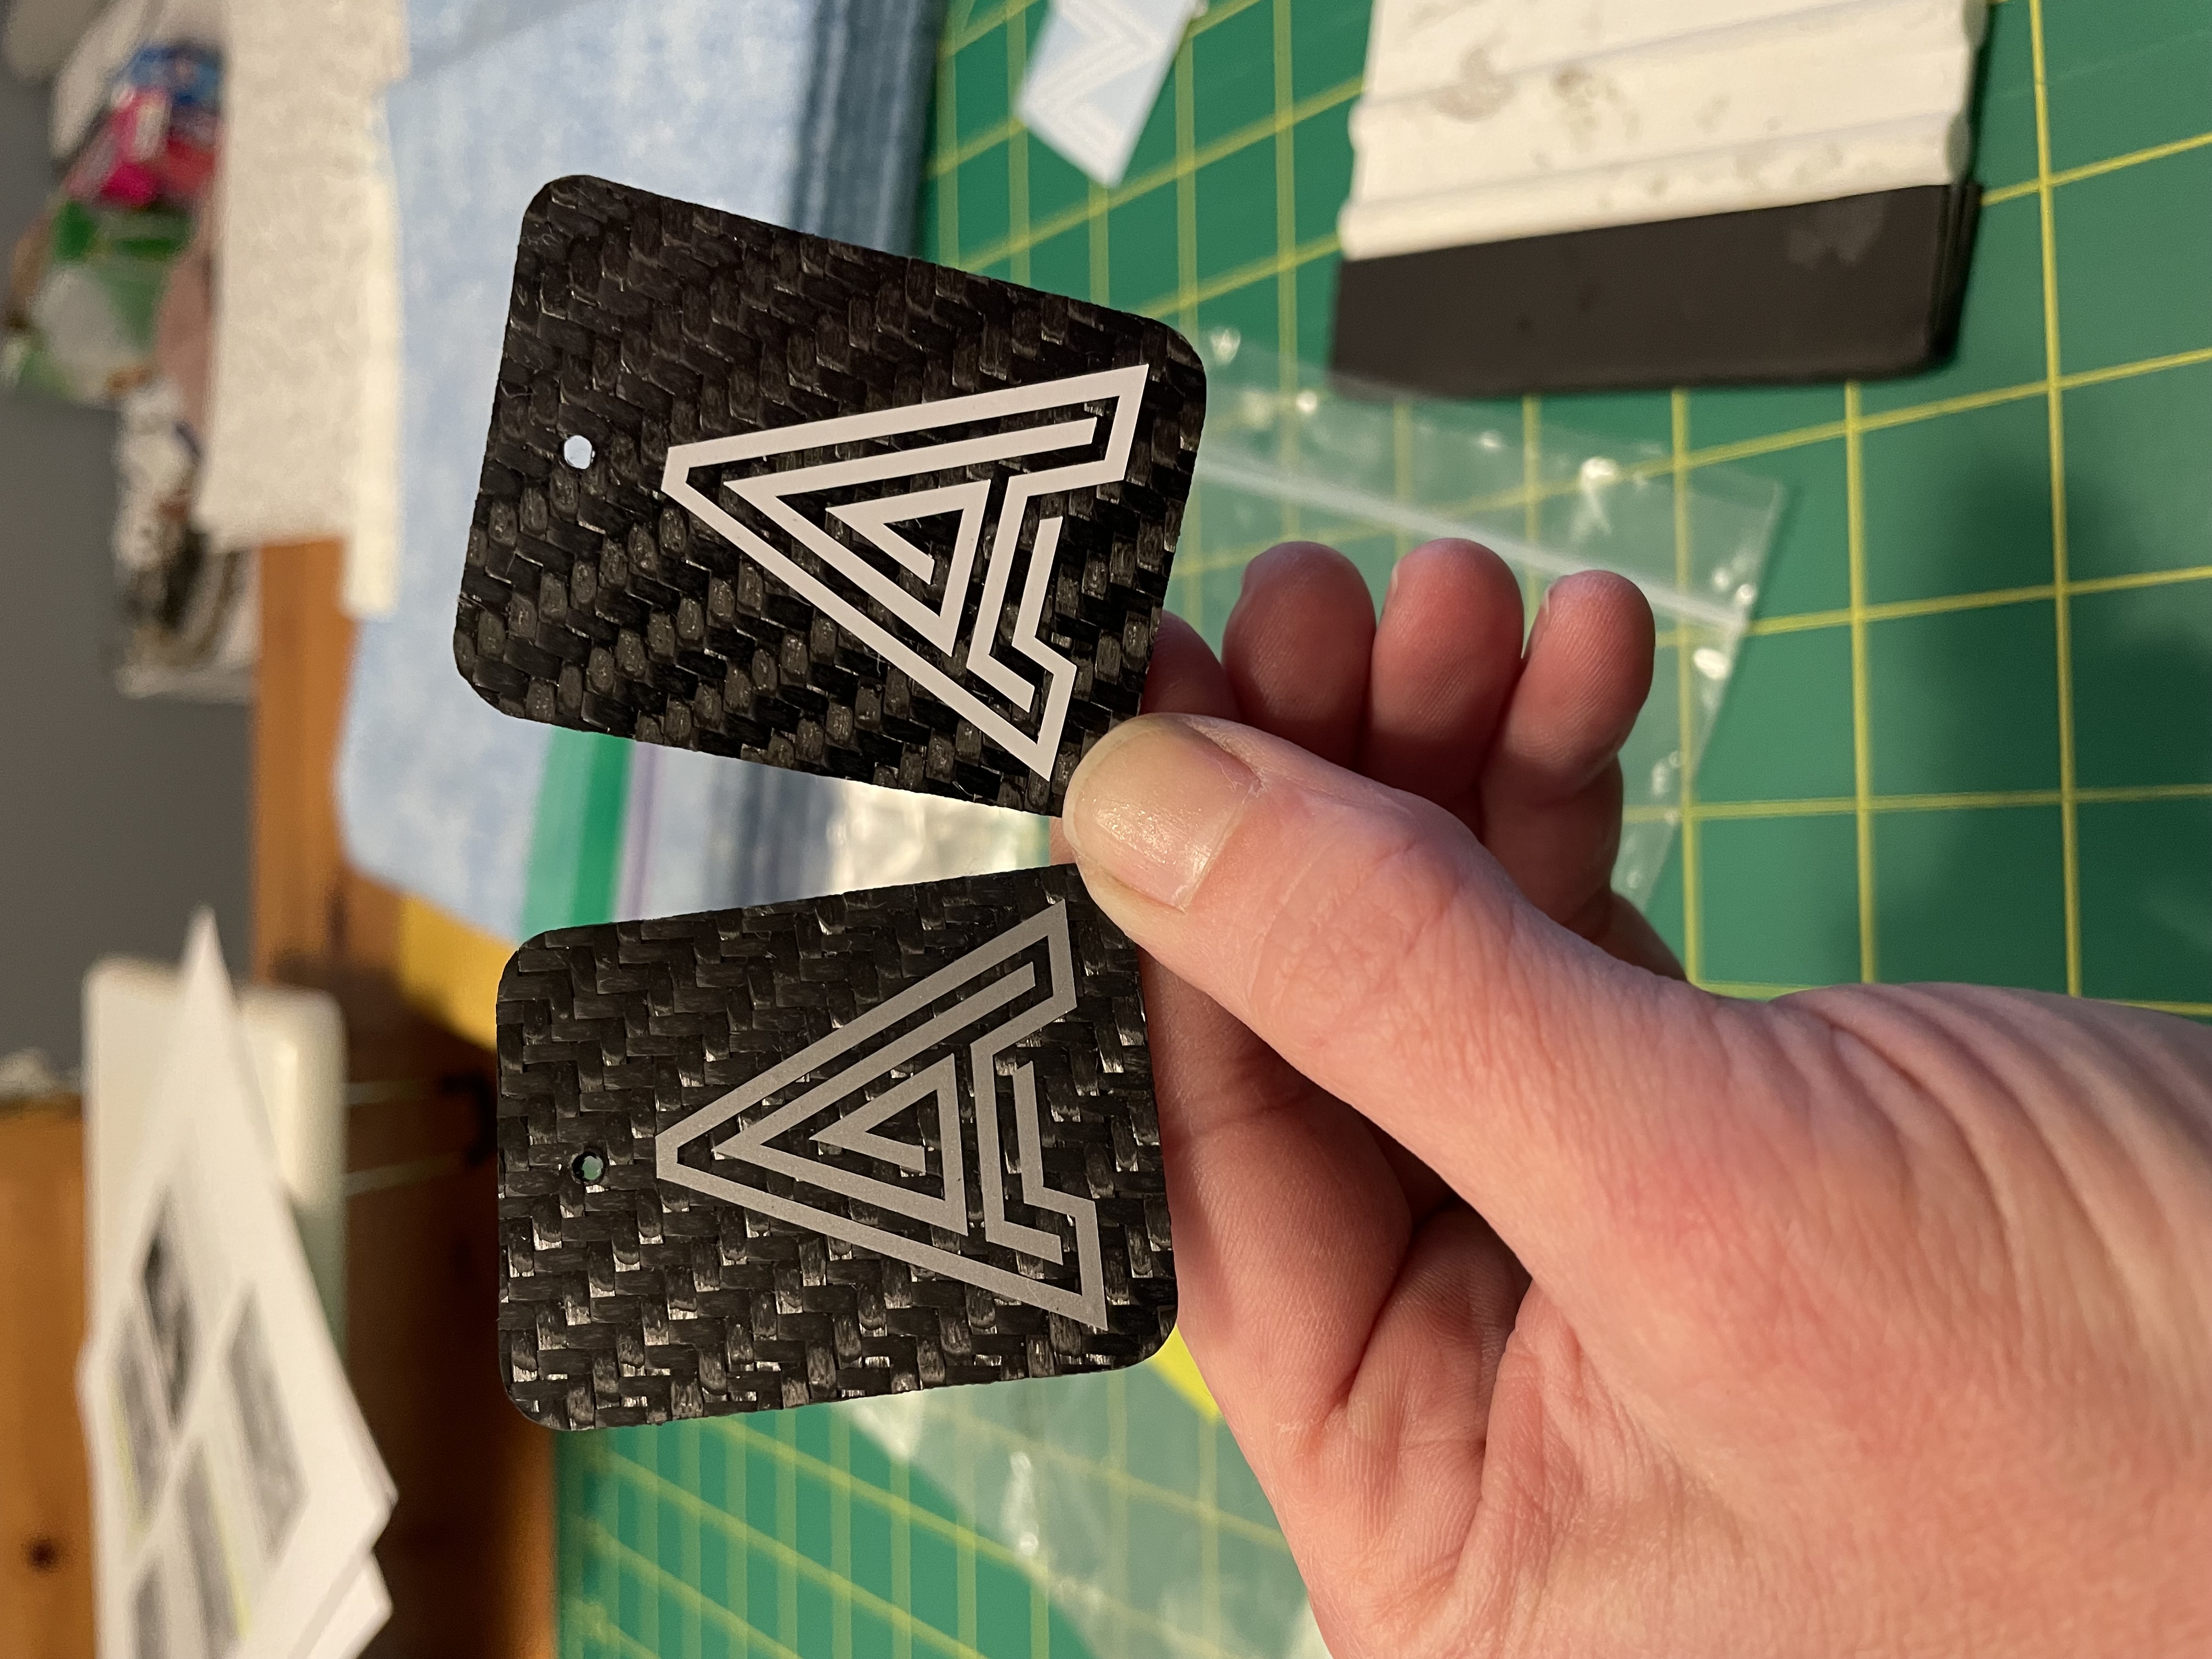 I made Avants logo keychains for all who attended the Masterclass.
 A simple wet layup, which will become a mock license plate.
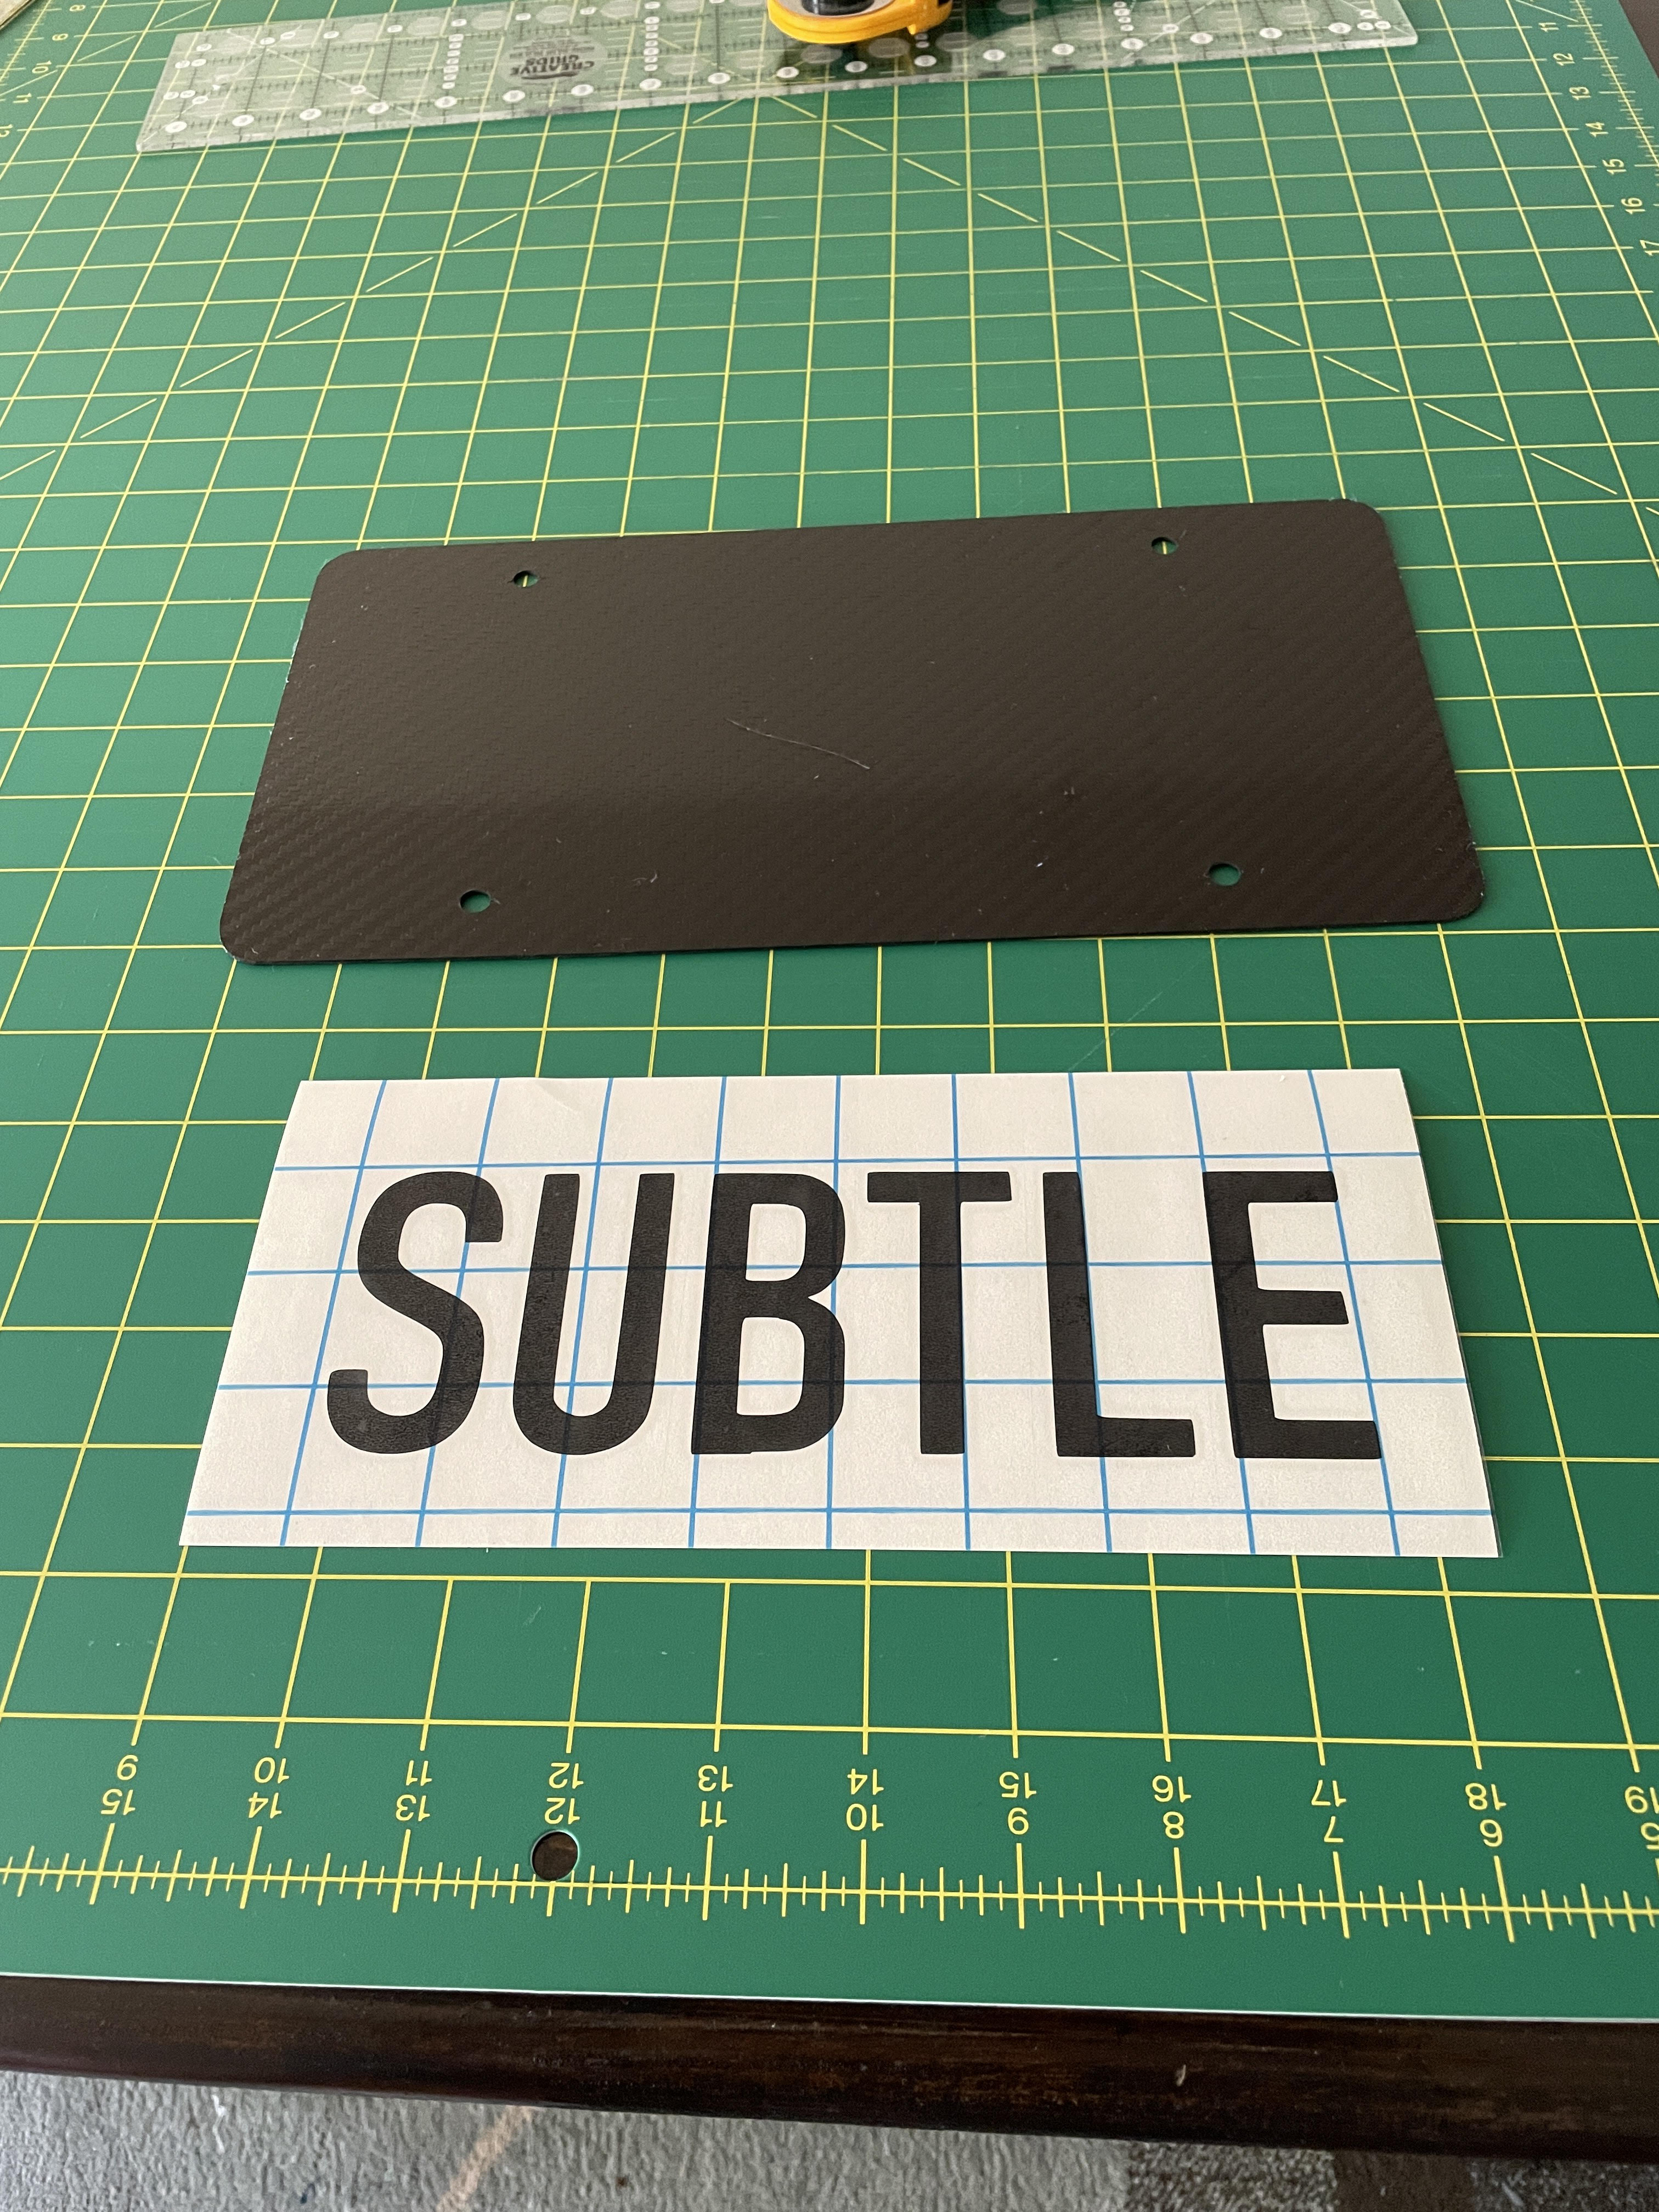 The mock license plate blank and the lettering my client wanted.
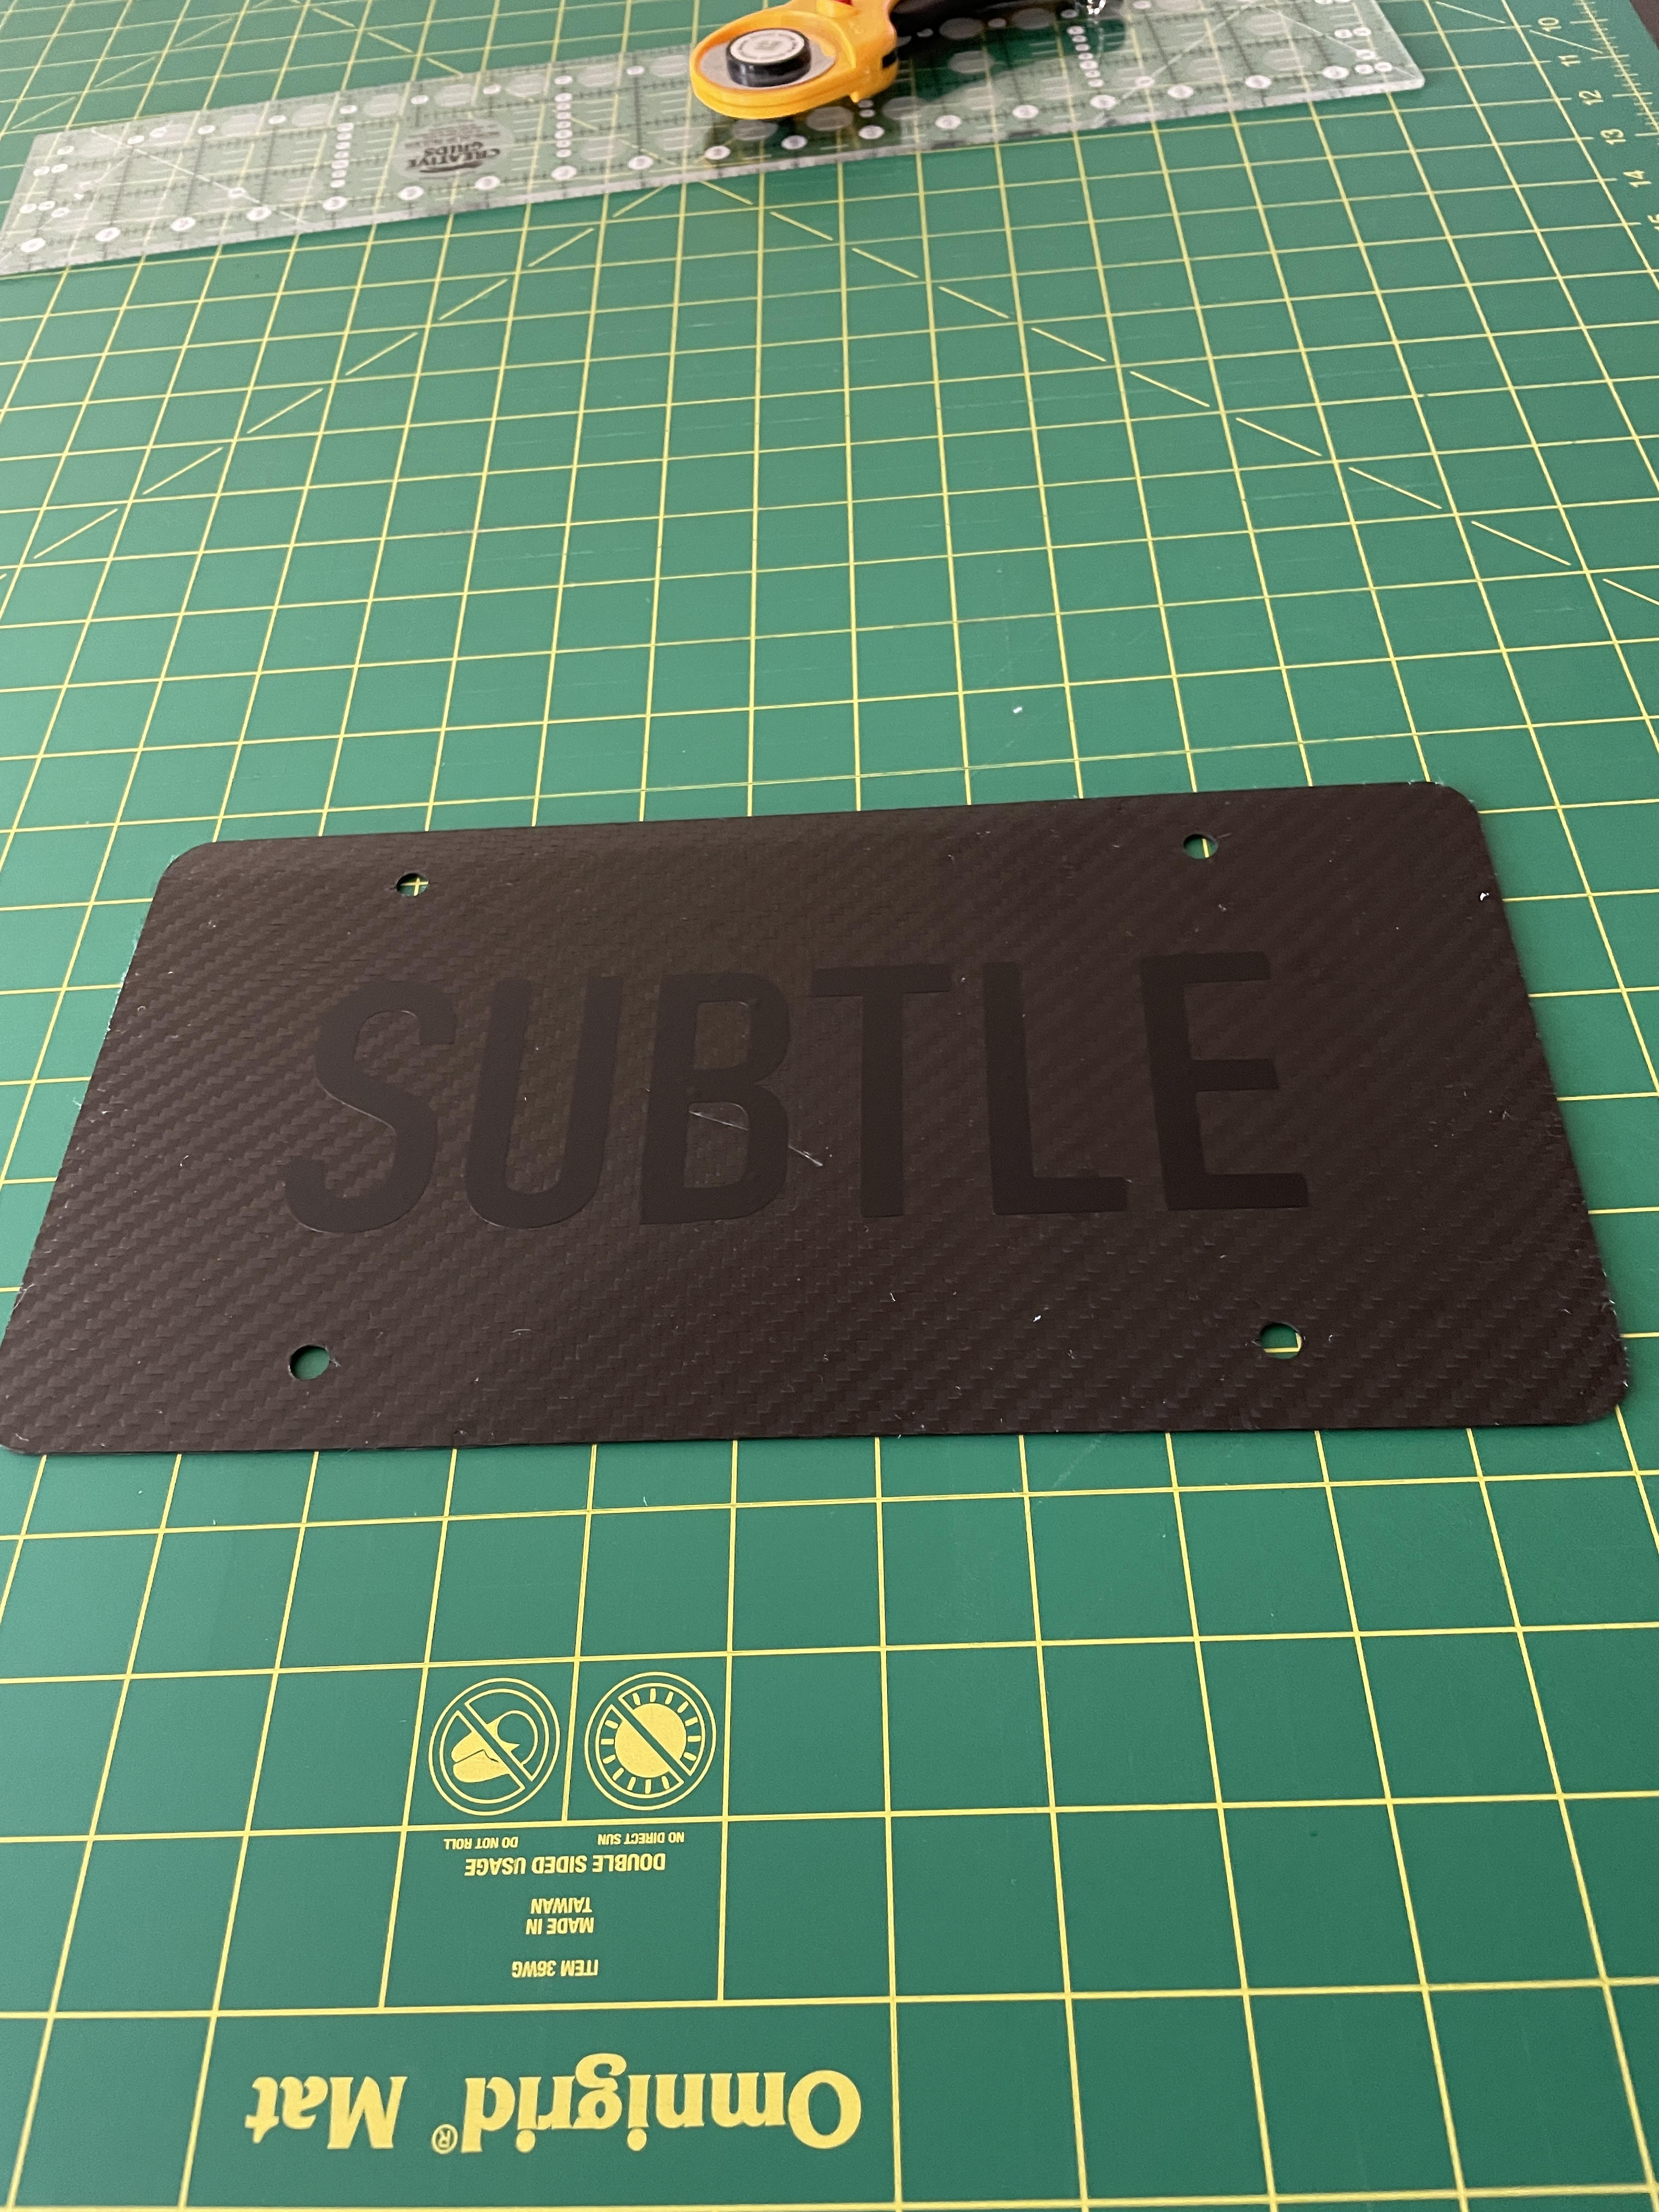 The finished mock license plate. I love the look of it!
 Watch a carbon fiber part undergo vacuum infusion!
 See what a part in the mold should look like after a successful infusion.
 See the benefit of a properly prepared mold. Shiny!
Back to Top
Composite Part Repair
 A carbon steering wheel that arrived damaged.
 The same steering wheel after I repaired it.
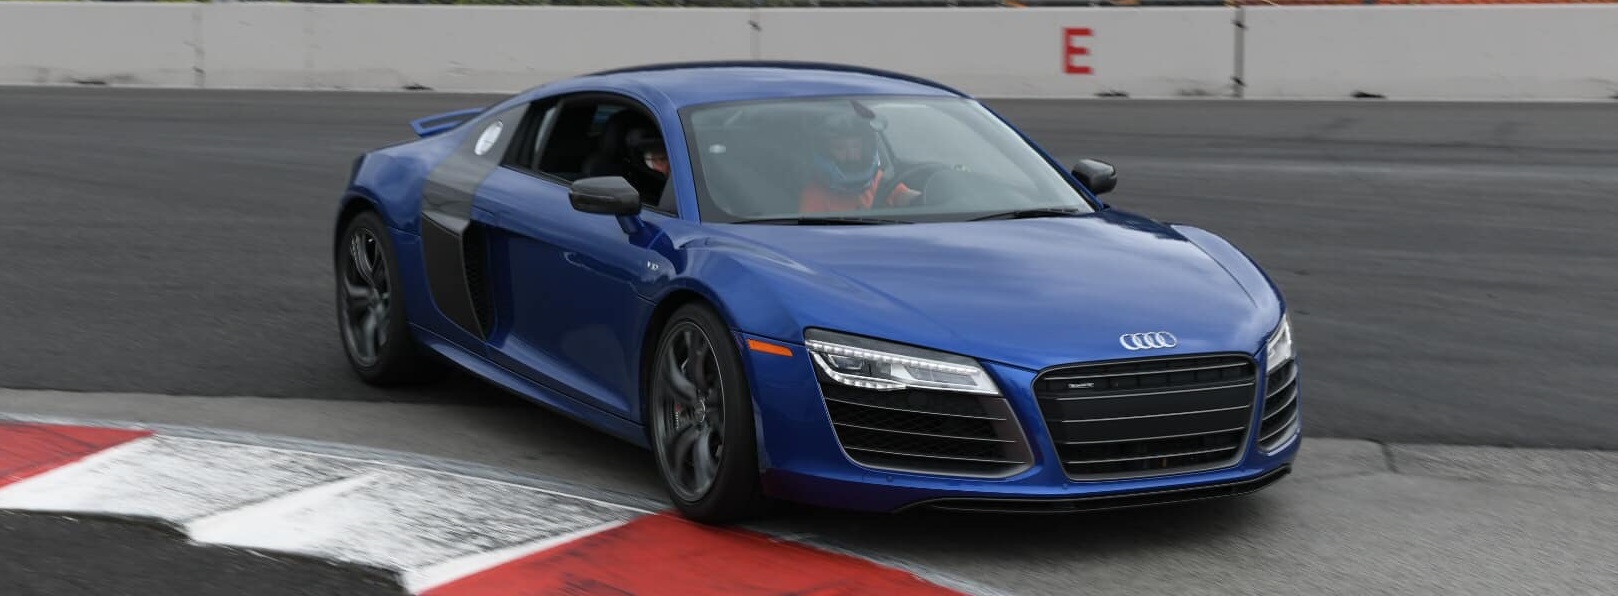
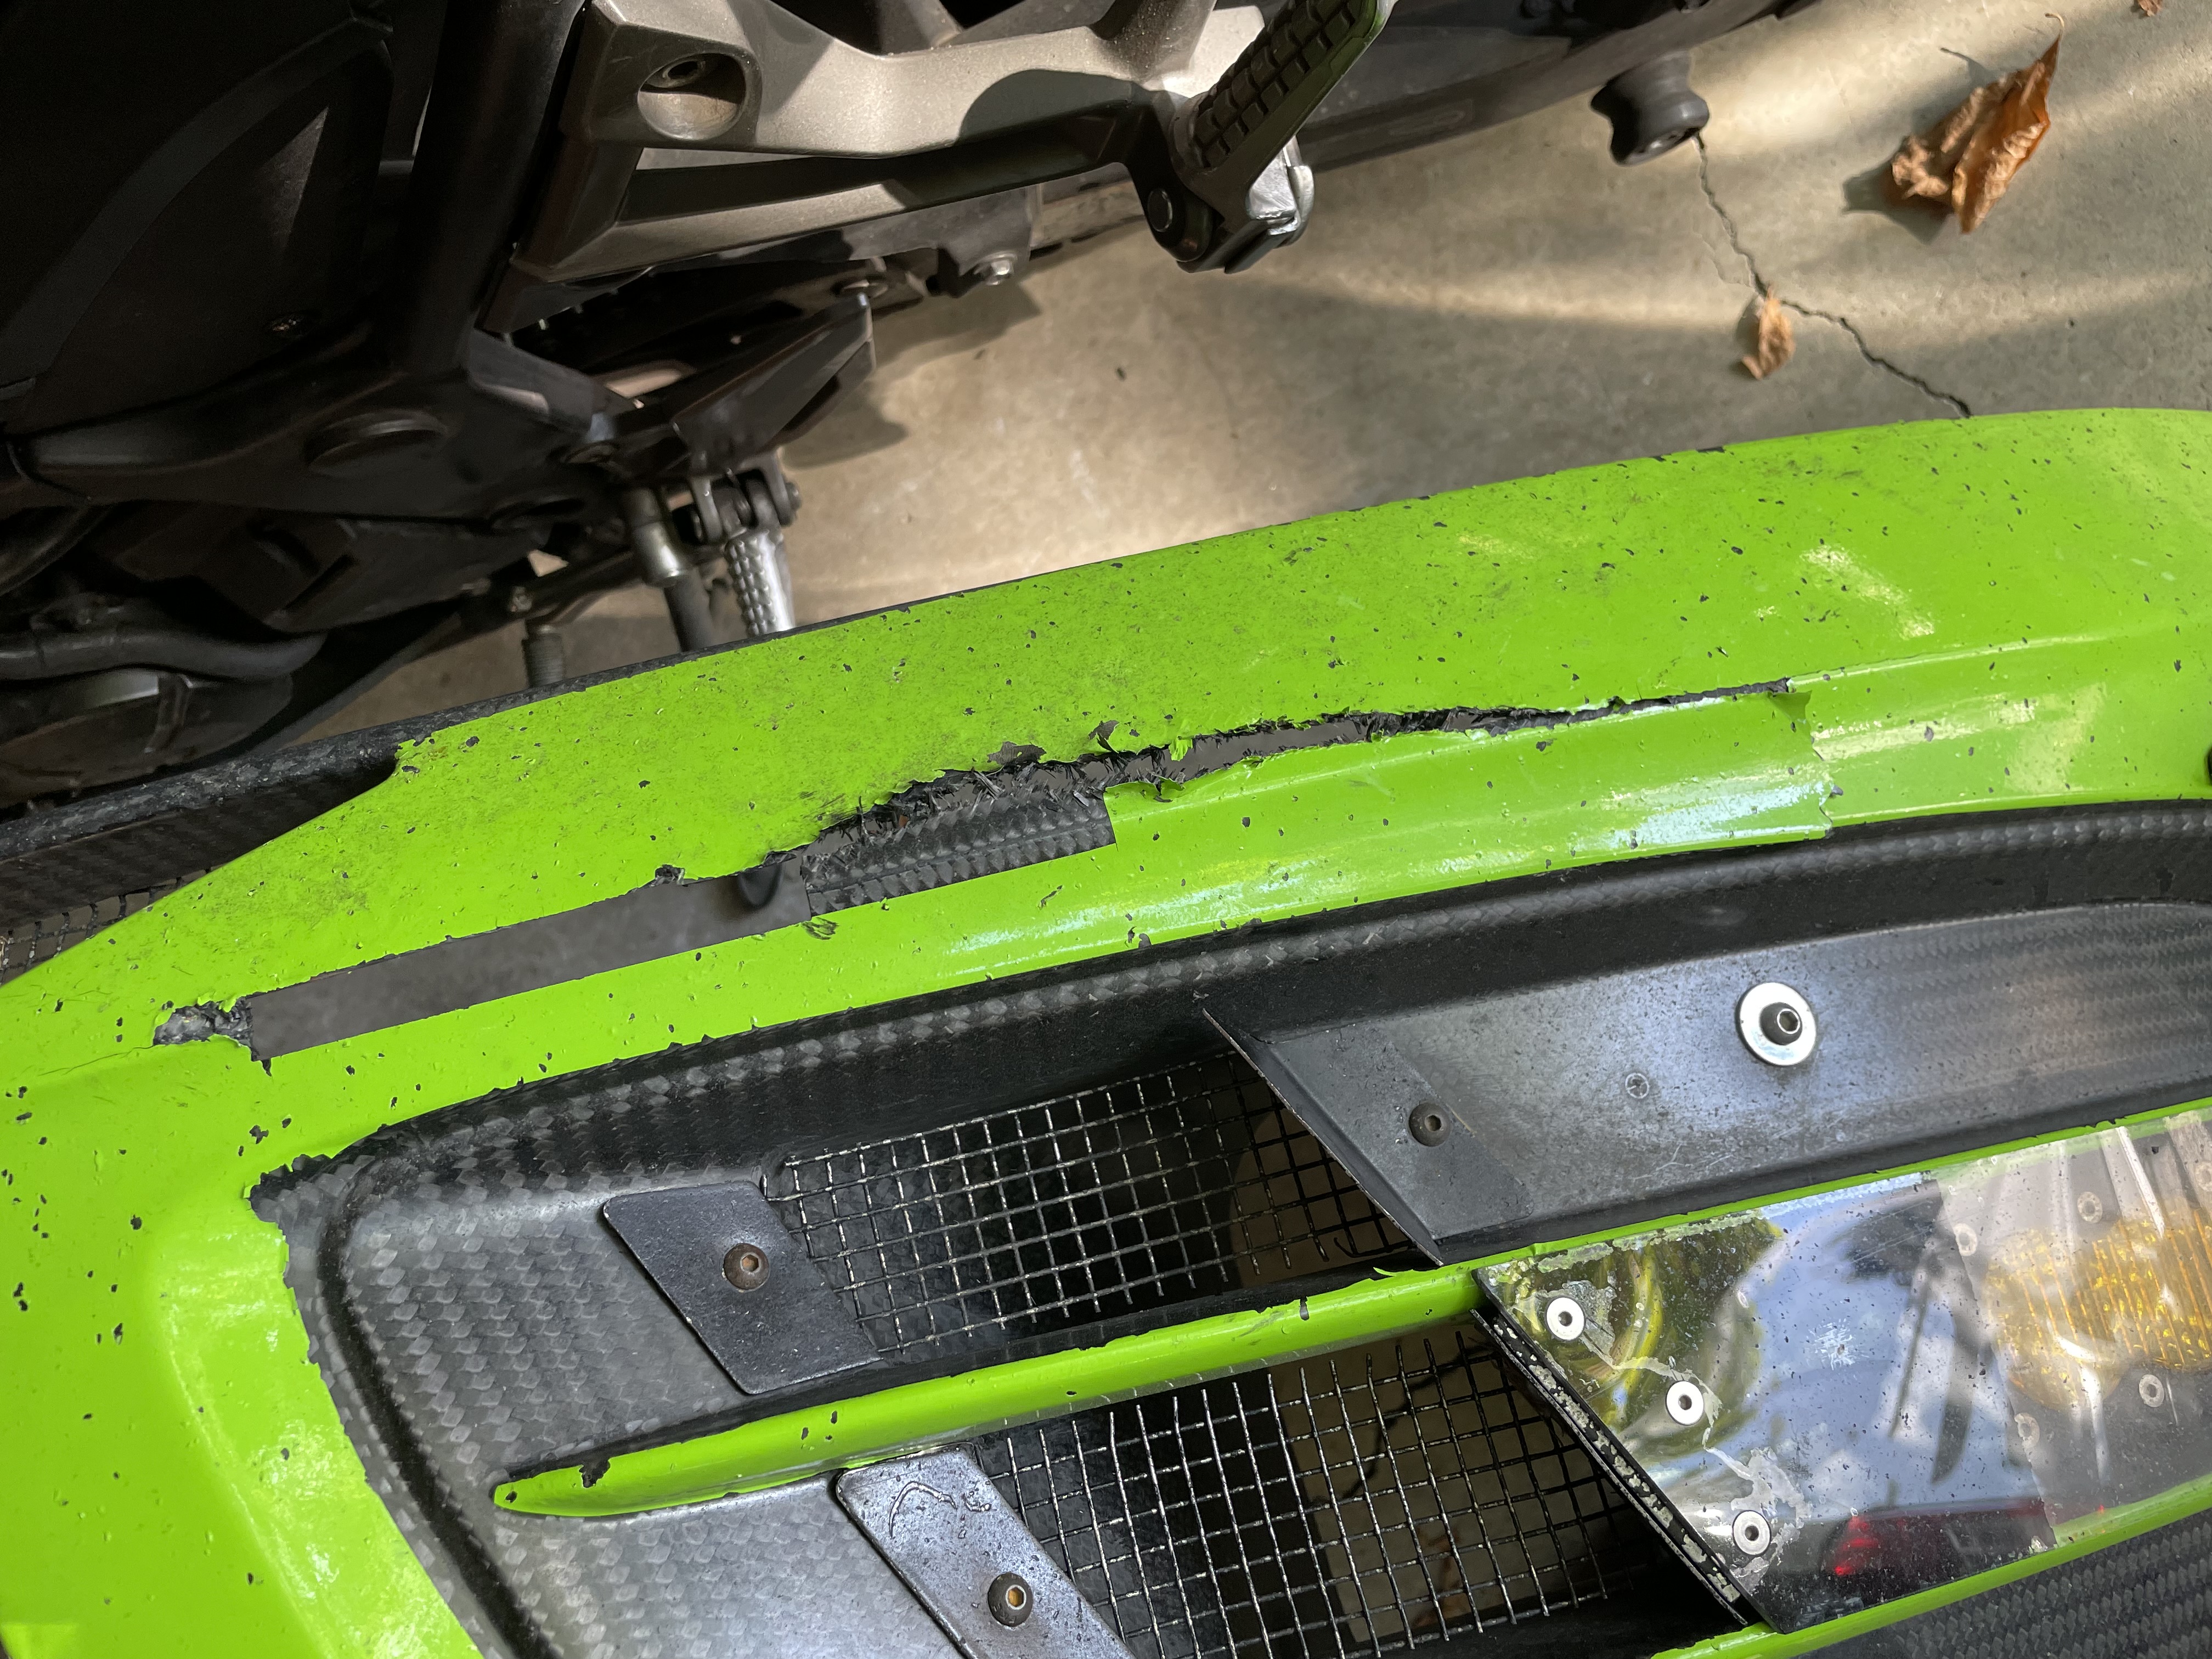 The R8 LMS GT3 came back with a bumper in need of repair.
 Giving the R8 bumper a little TLC.
 One of the R8's dive planes was starting to crack, so I added more carbon and bagged the whole part.
 All put together again, and ready for the next event!
Back to Top
Upholstery / Sewing
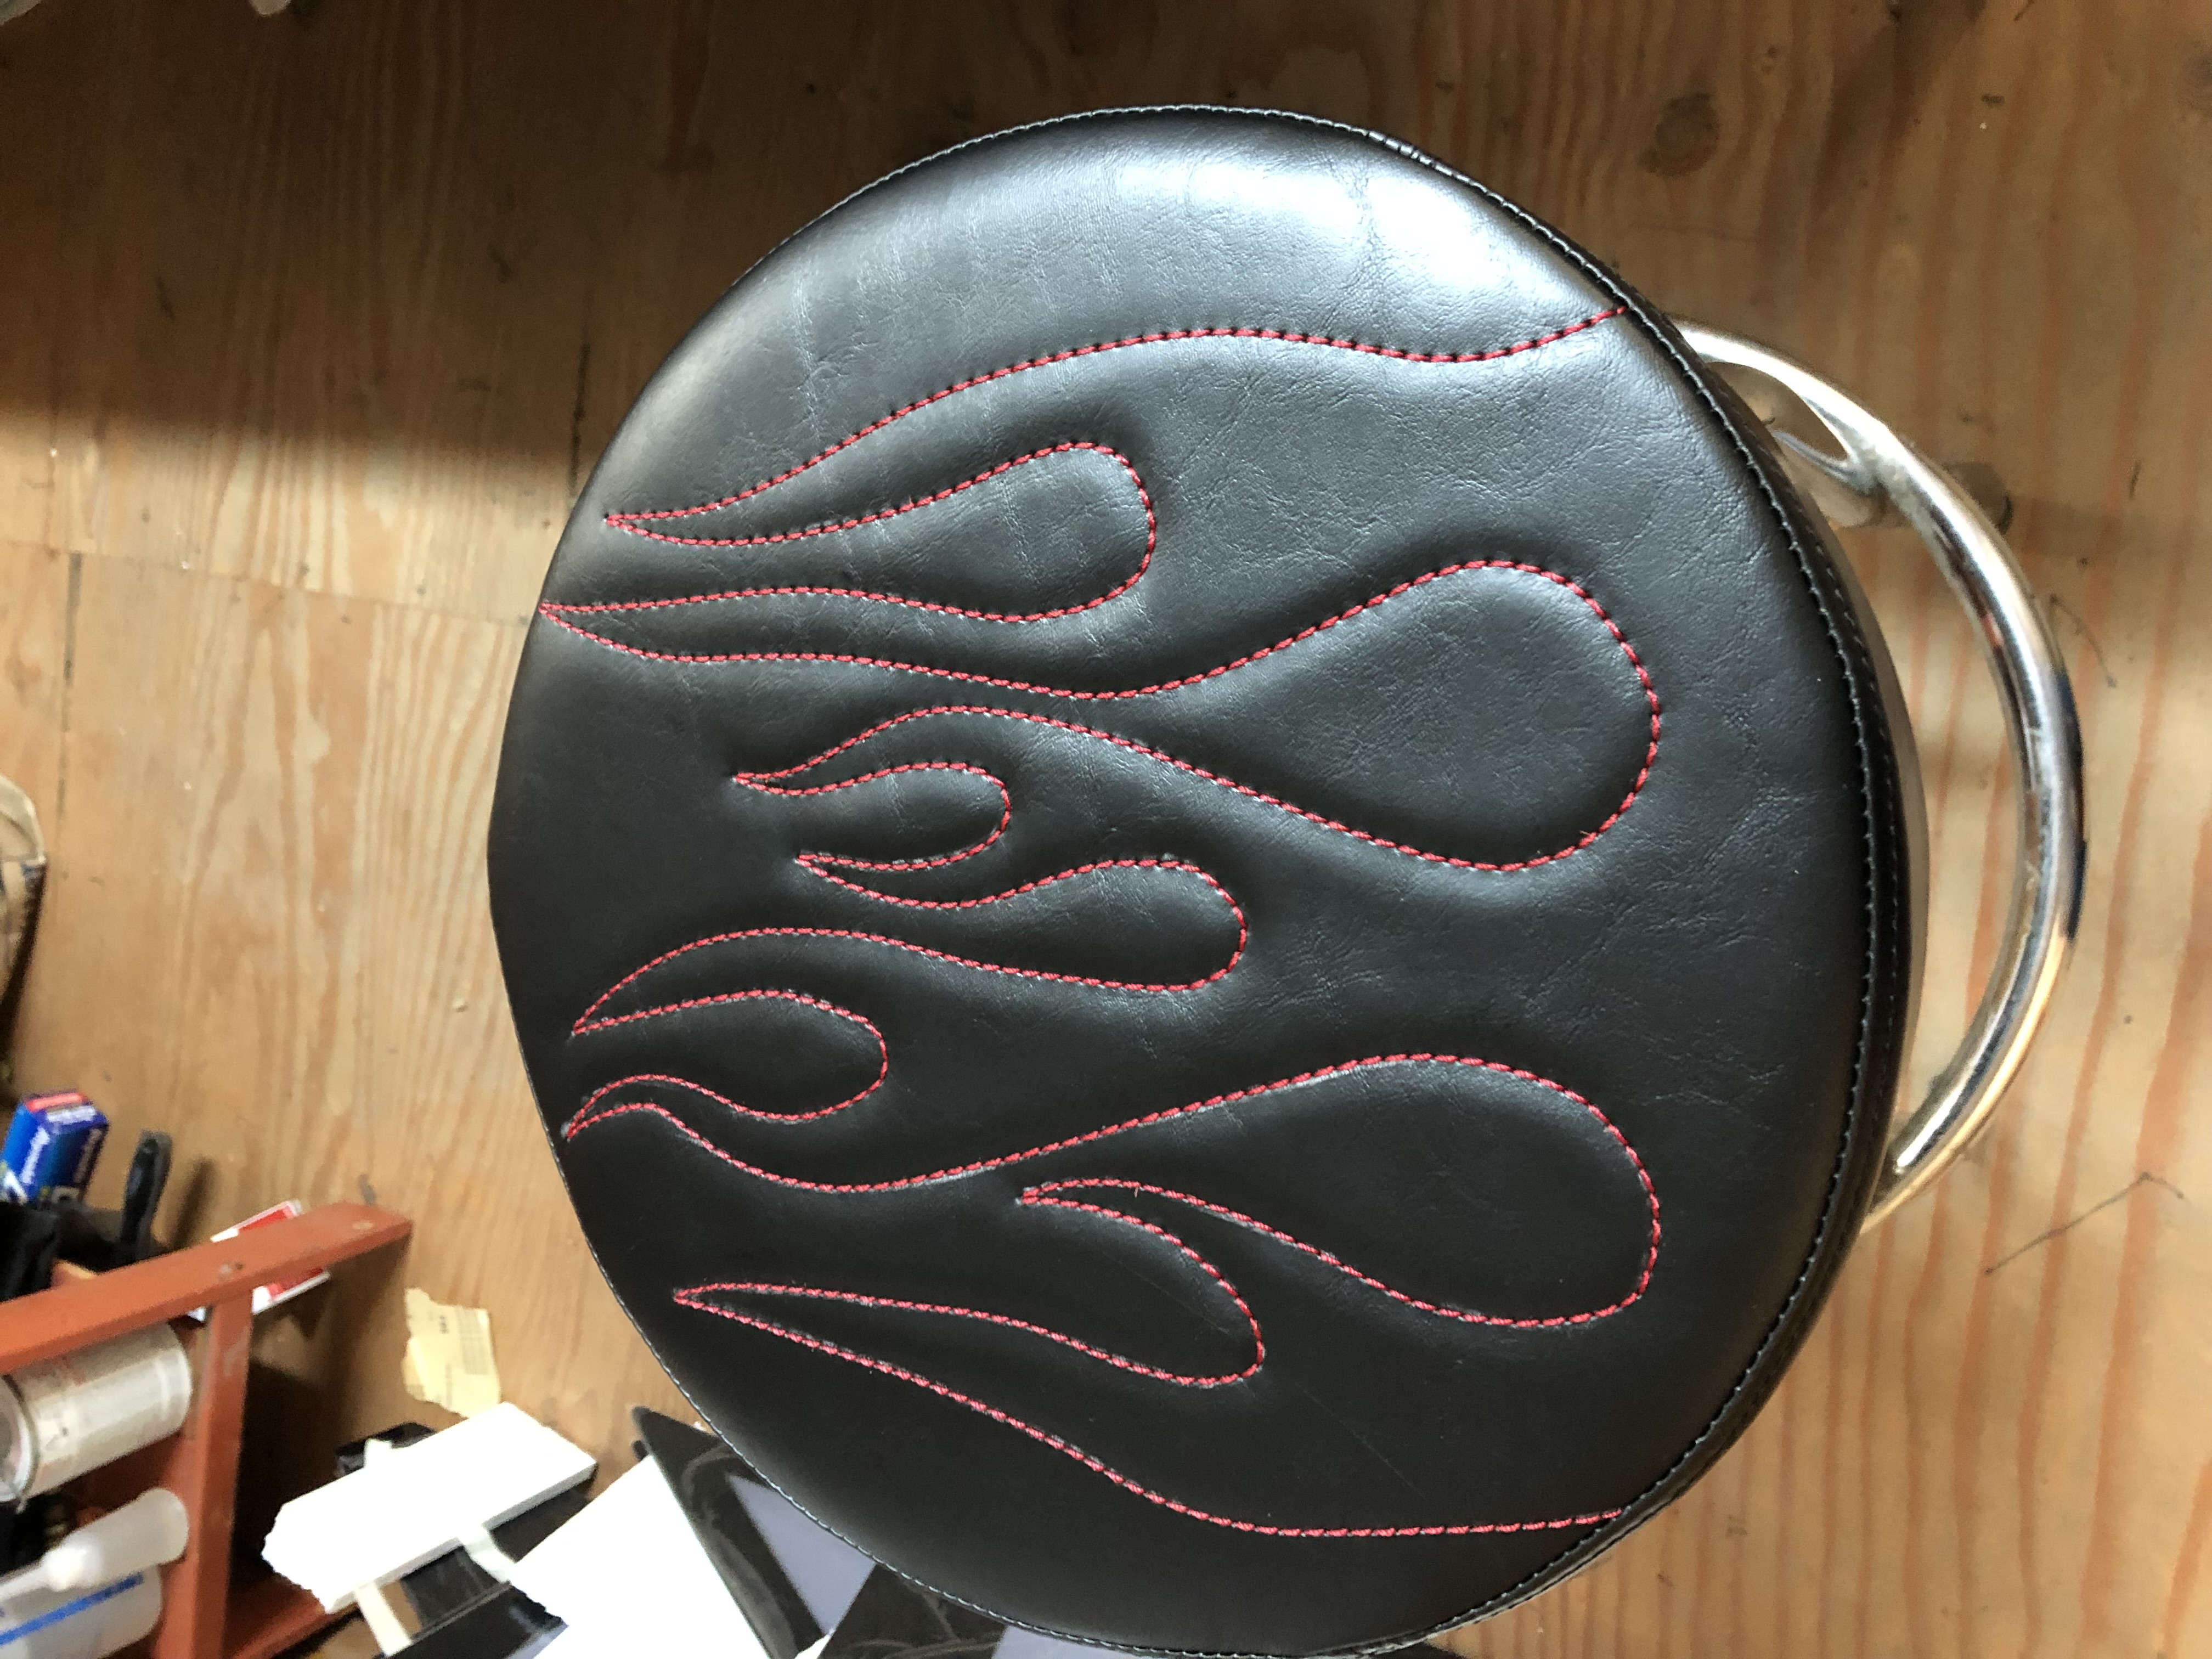 Fixed (and upgraded) a broken Harbor Freight stool.
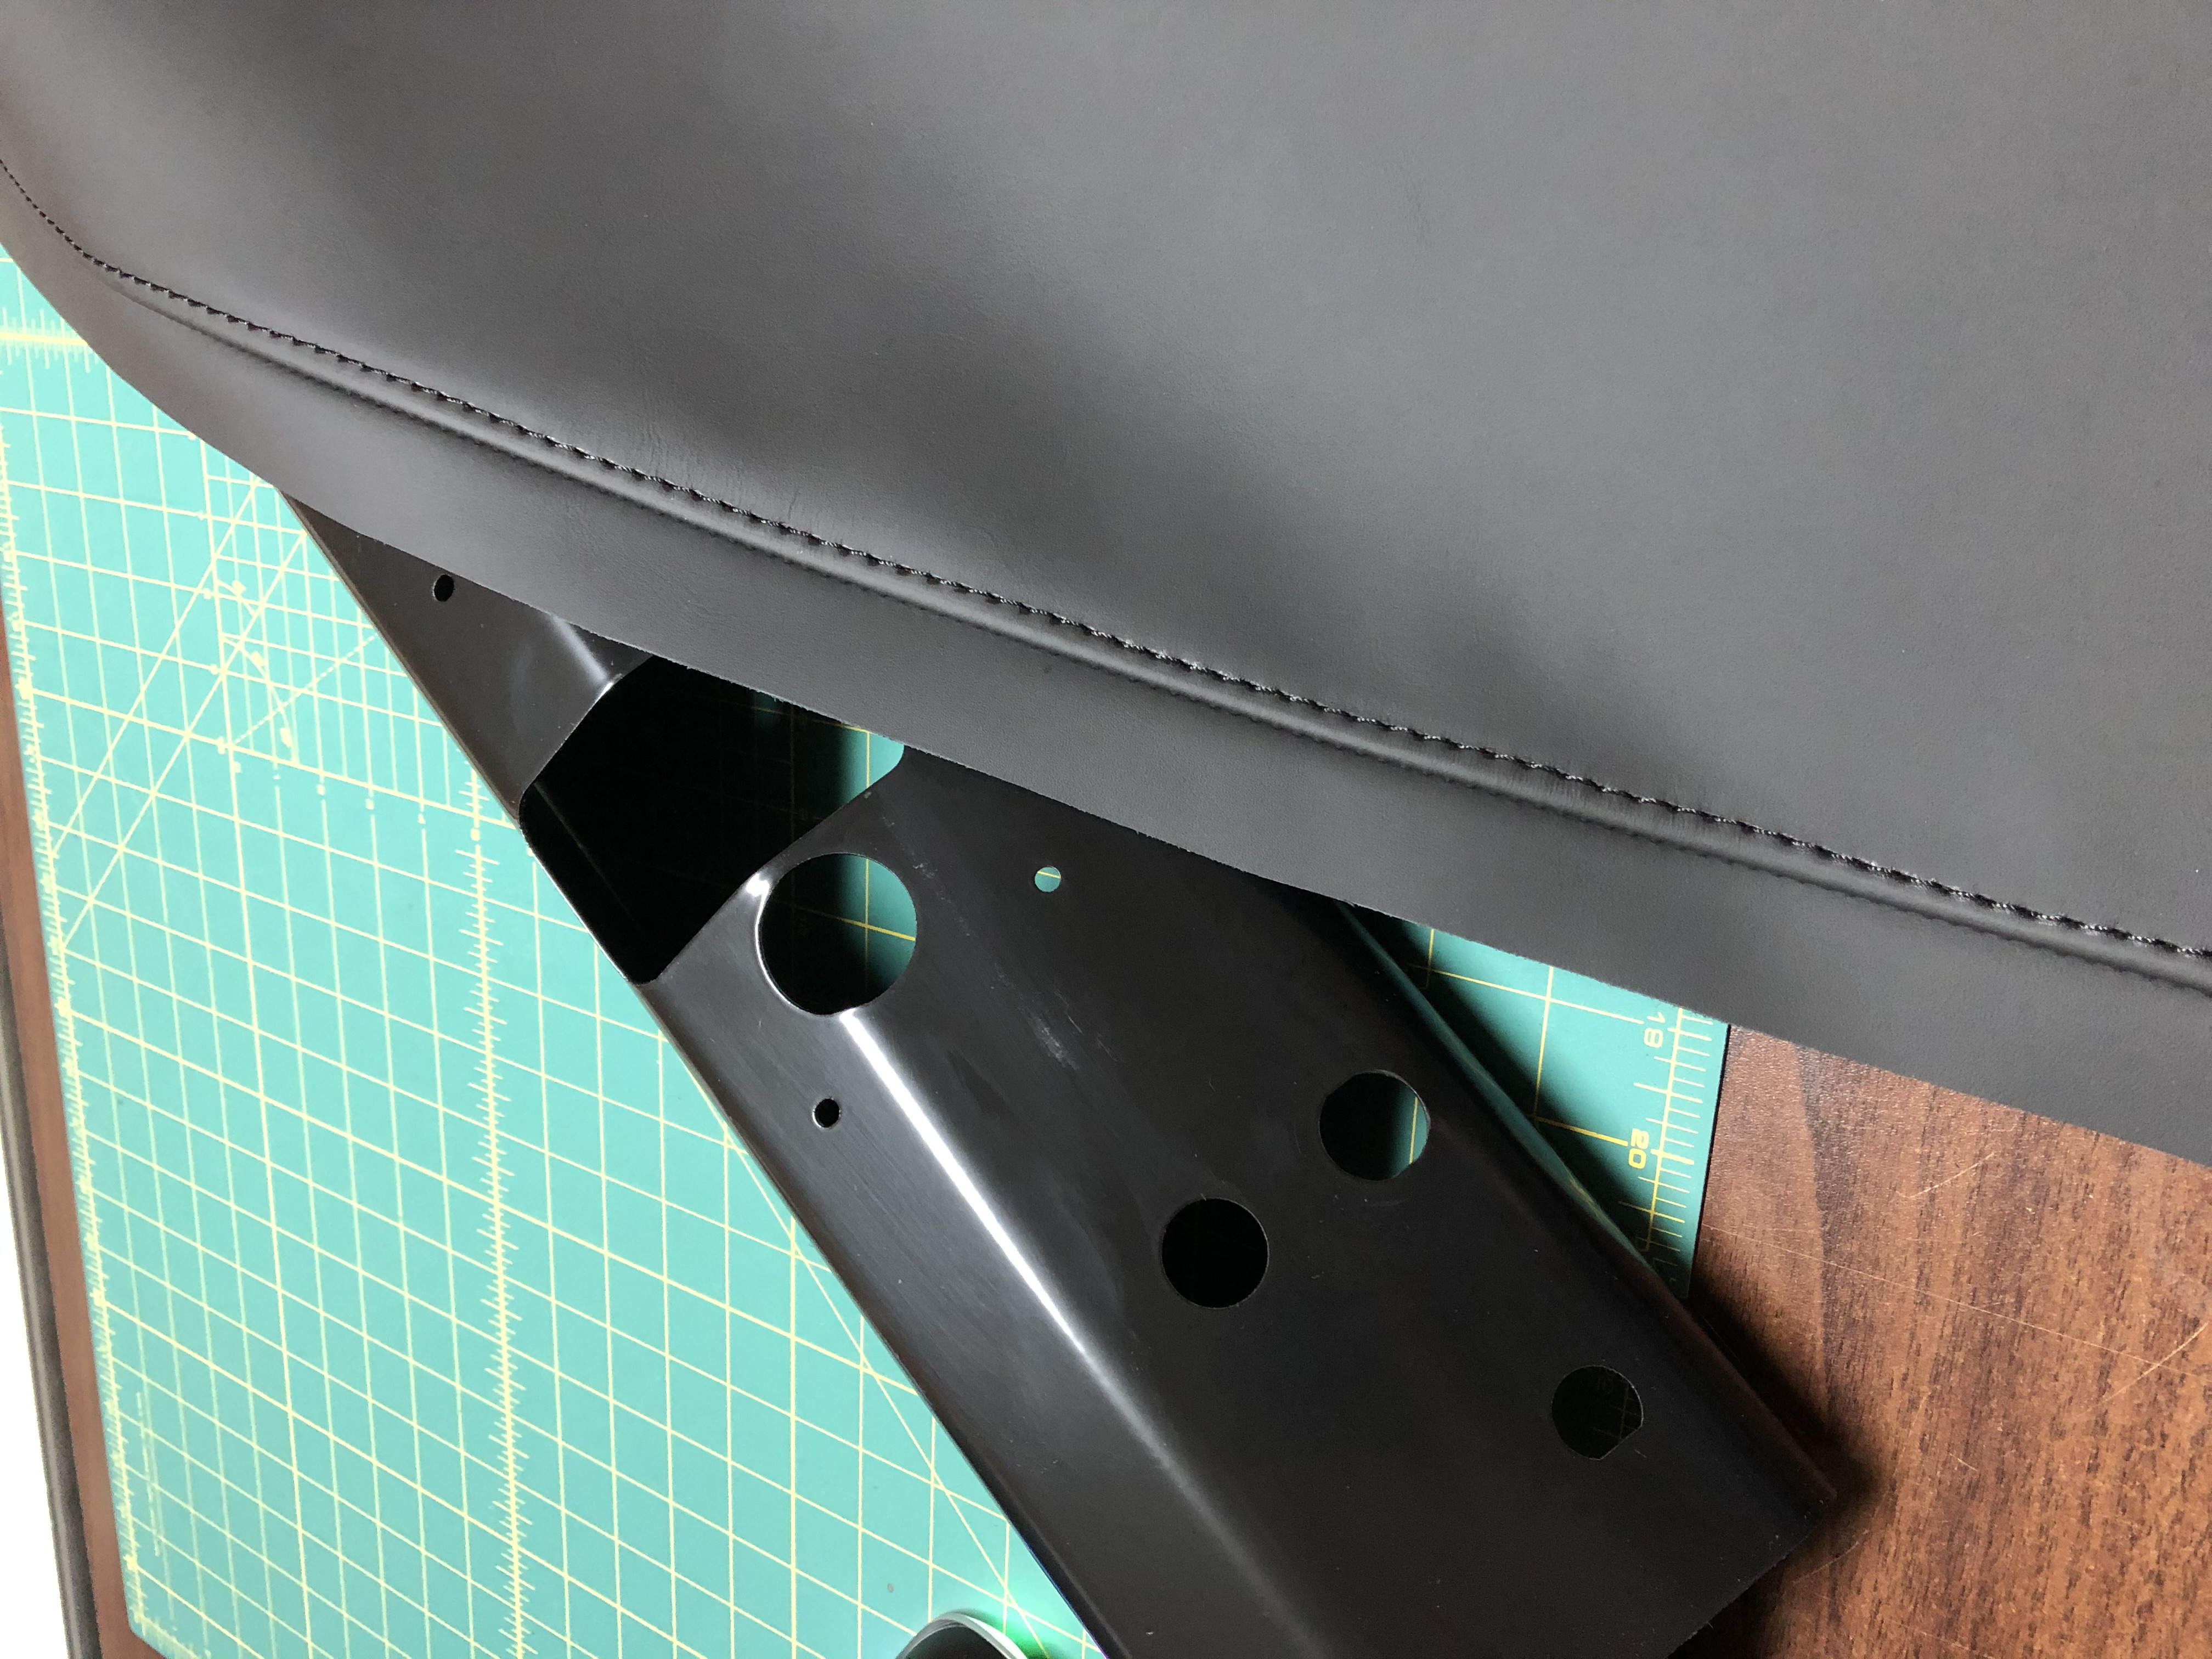 An aluminum dash, about to be upholstered with leather.
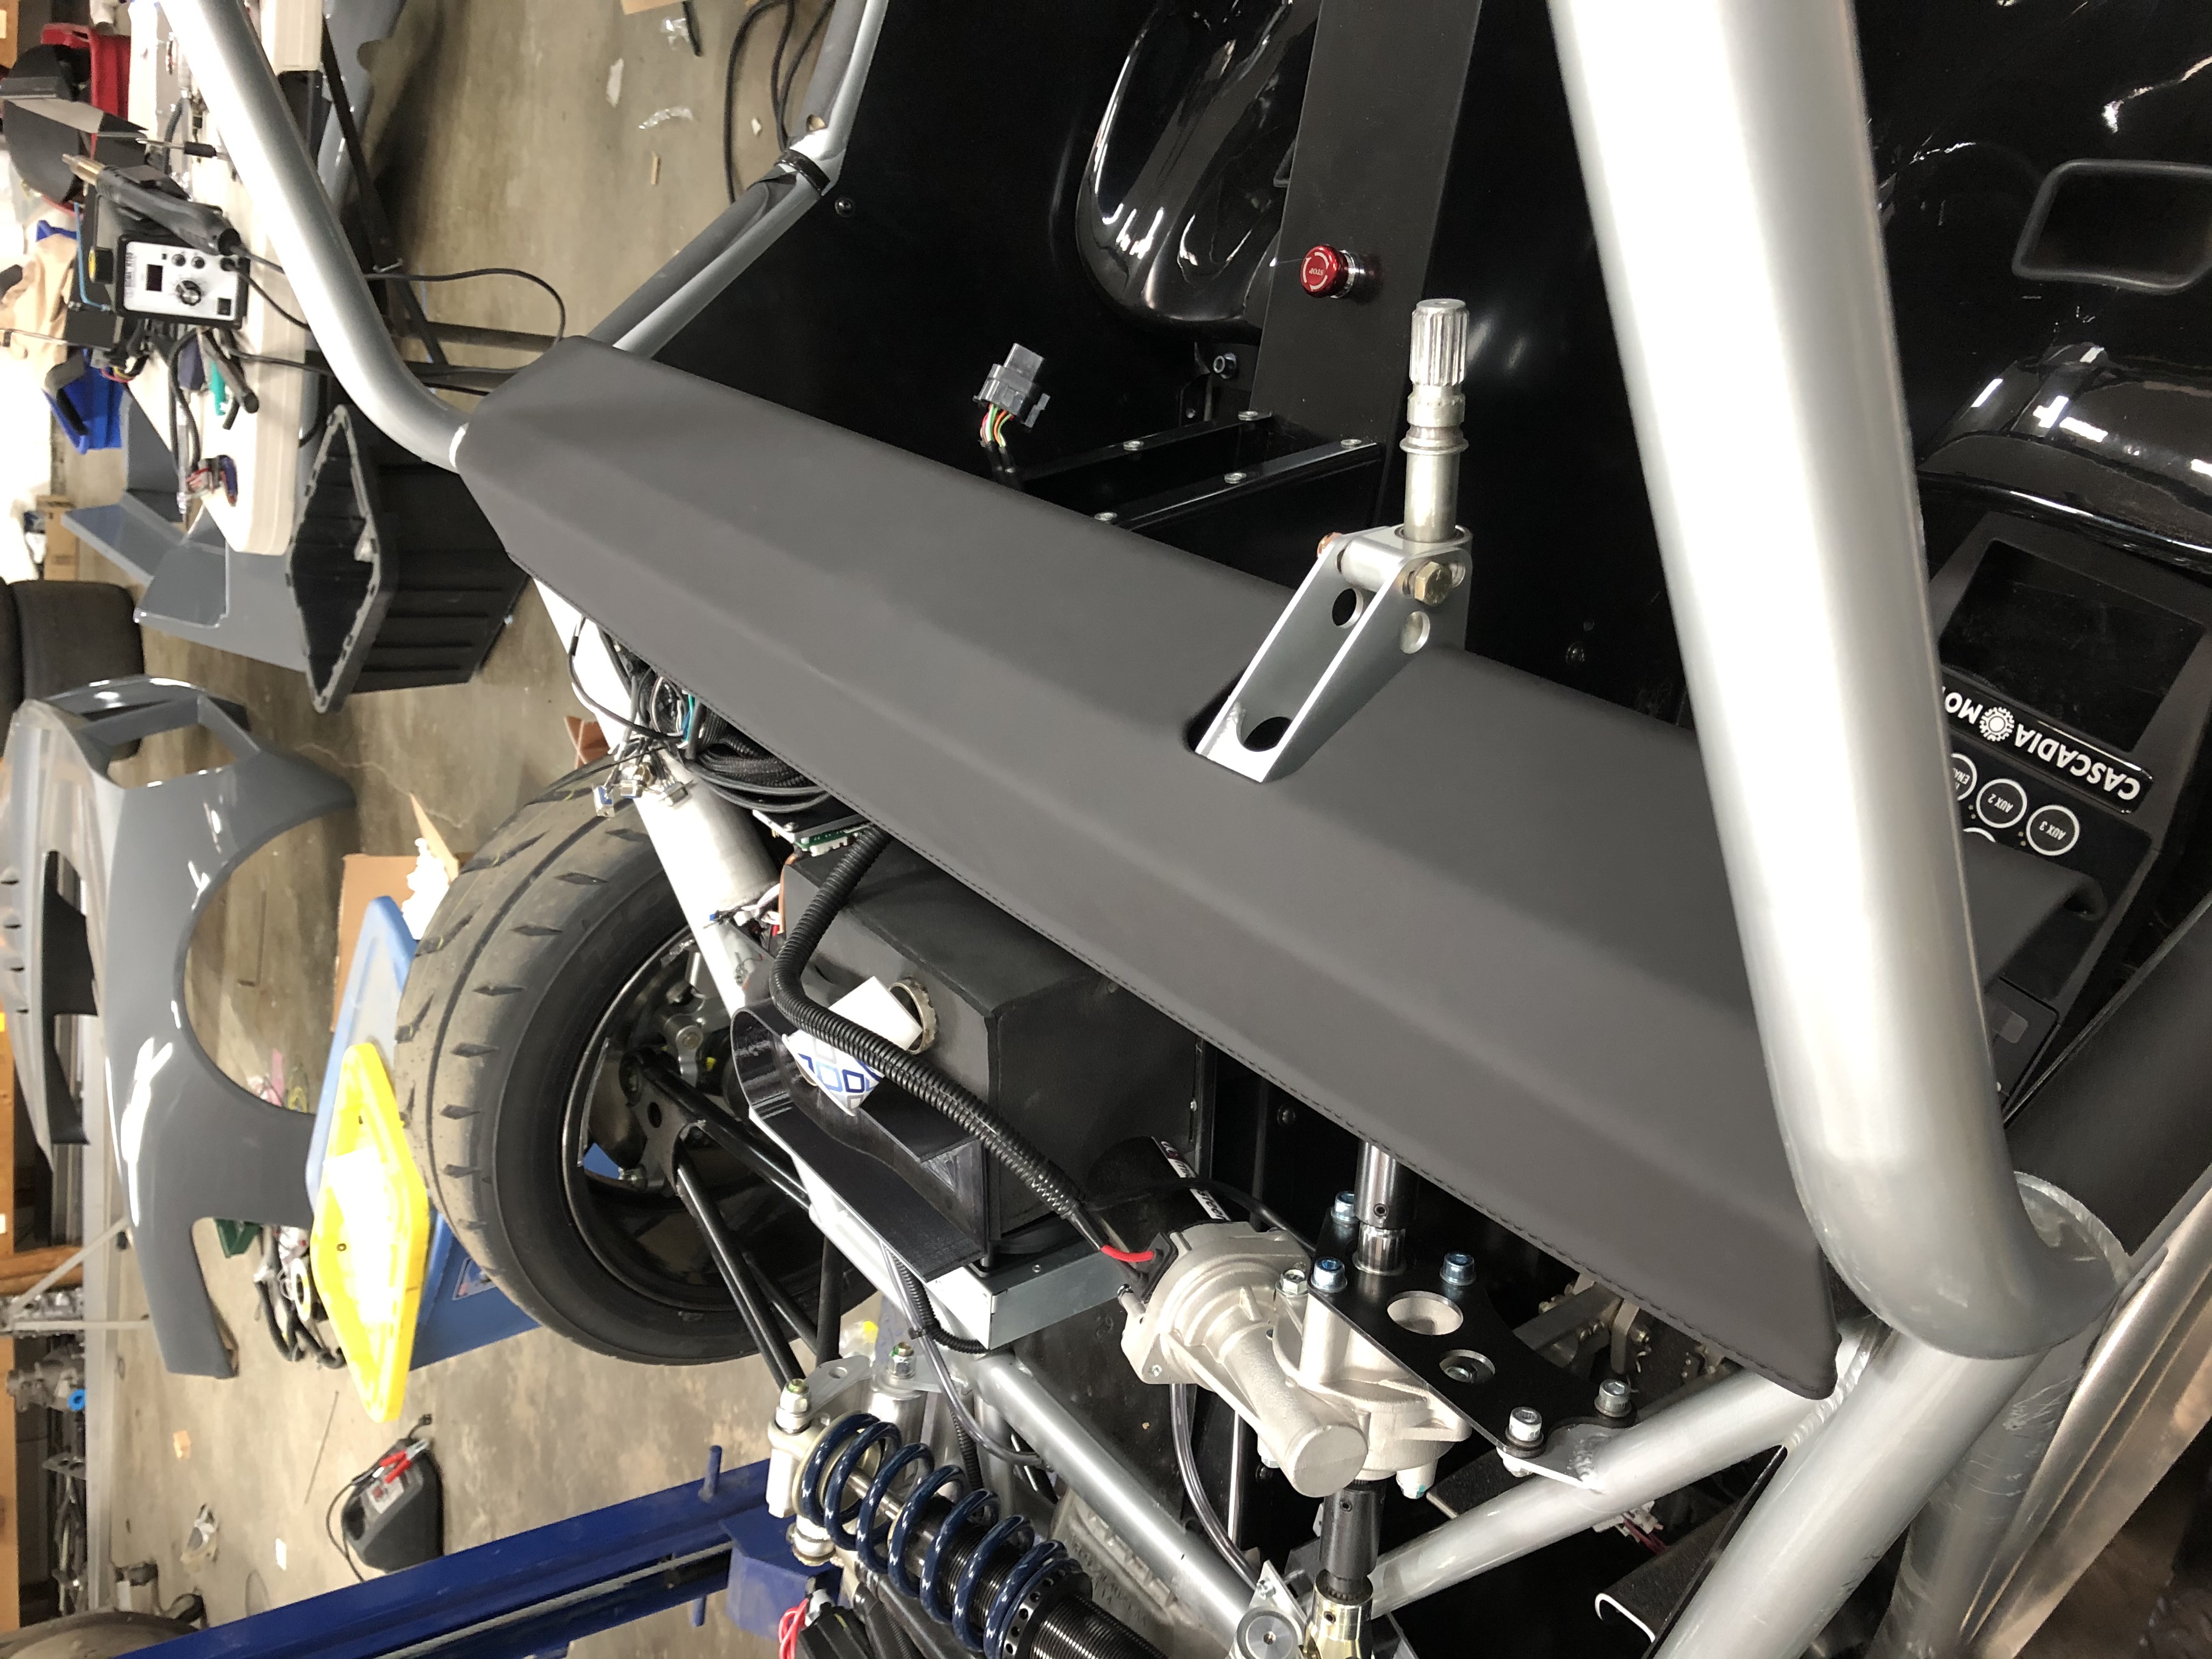 The aluminum dash, finished and installed.
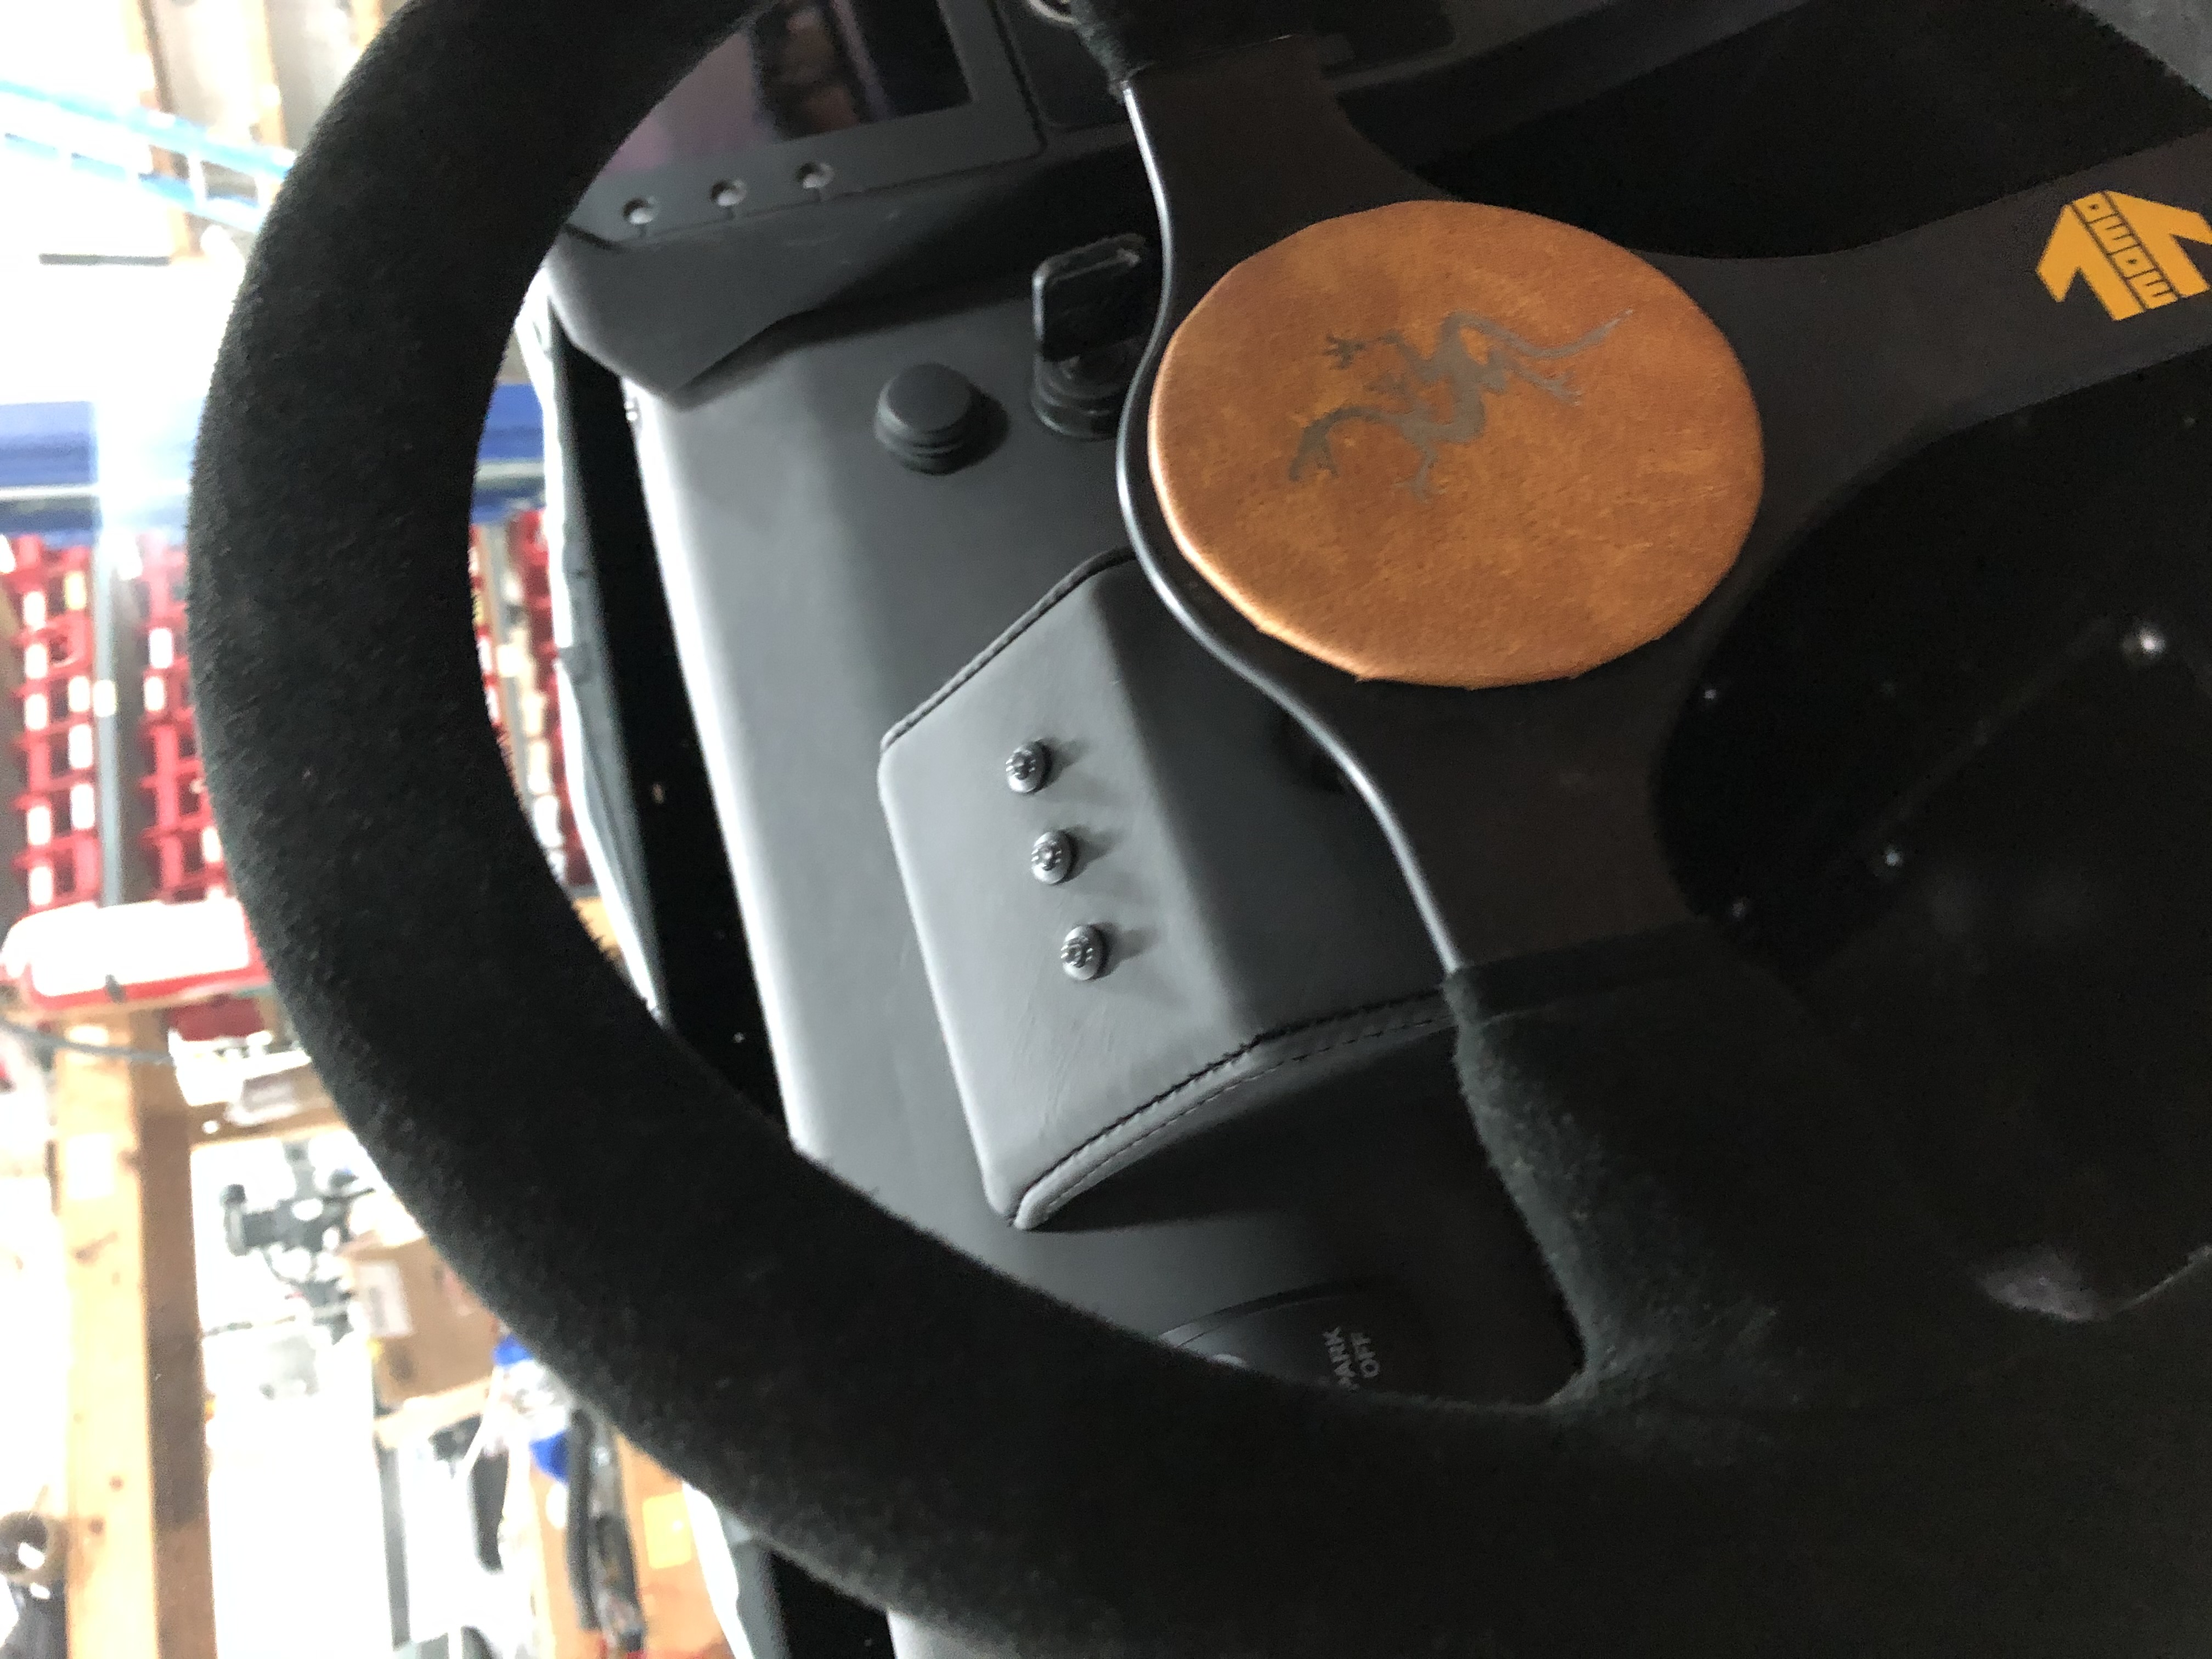 Steering wheel center and turn signal housing in the
Palatov D2EV.
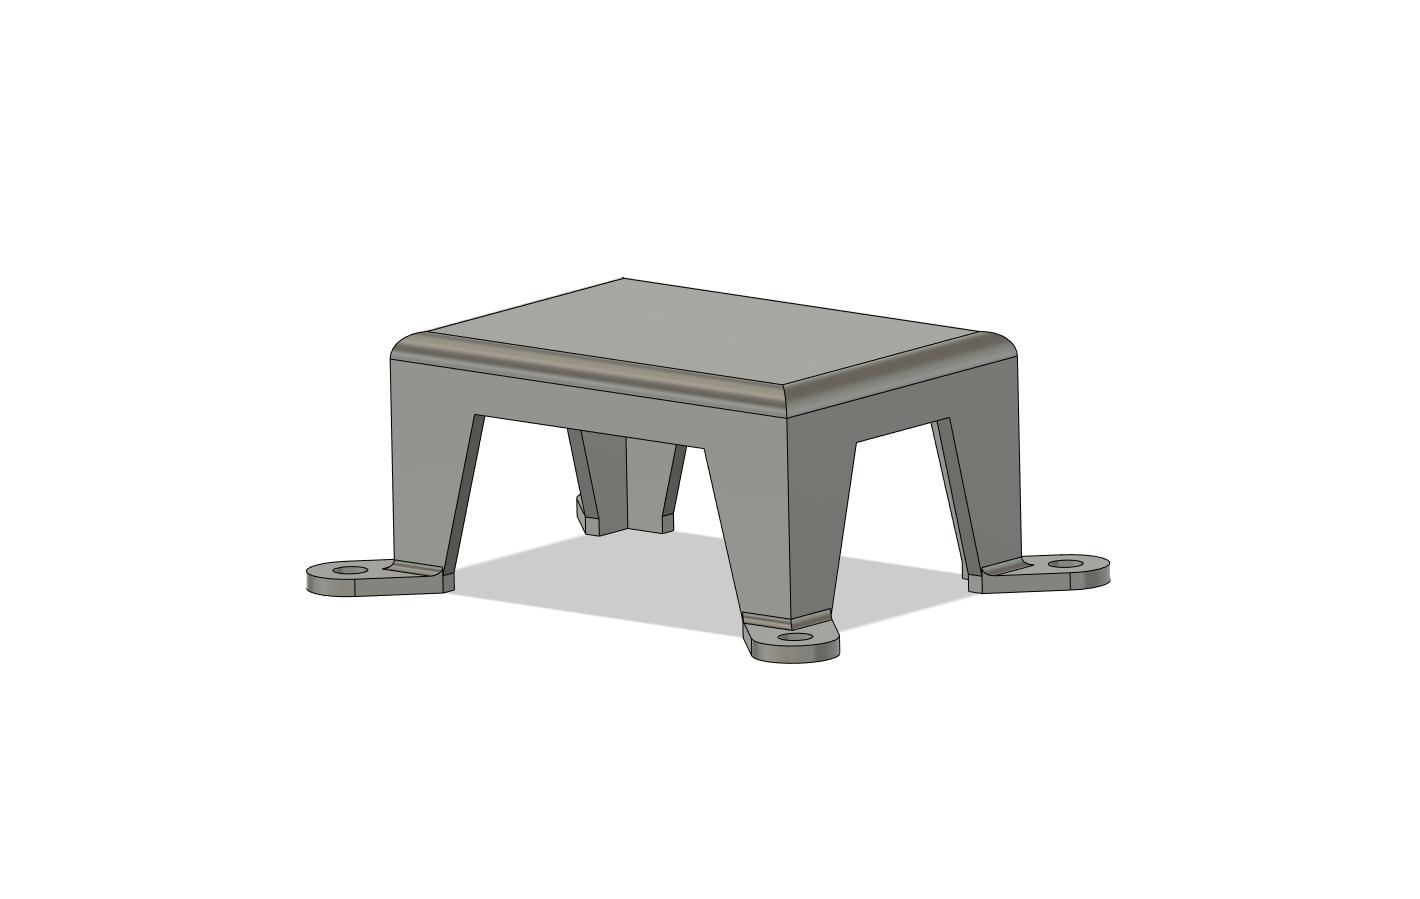
 Close-up of the turn signal housing, which I designed in CAD, 3D printed, and upholsered in leather.
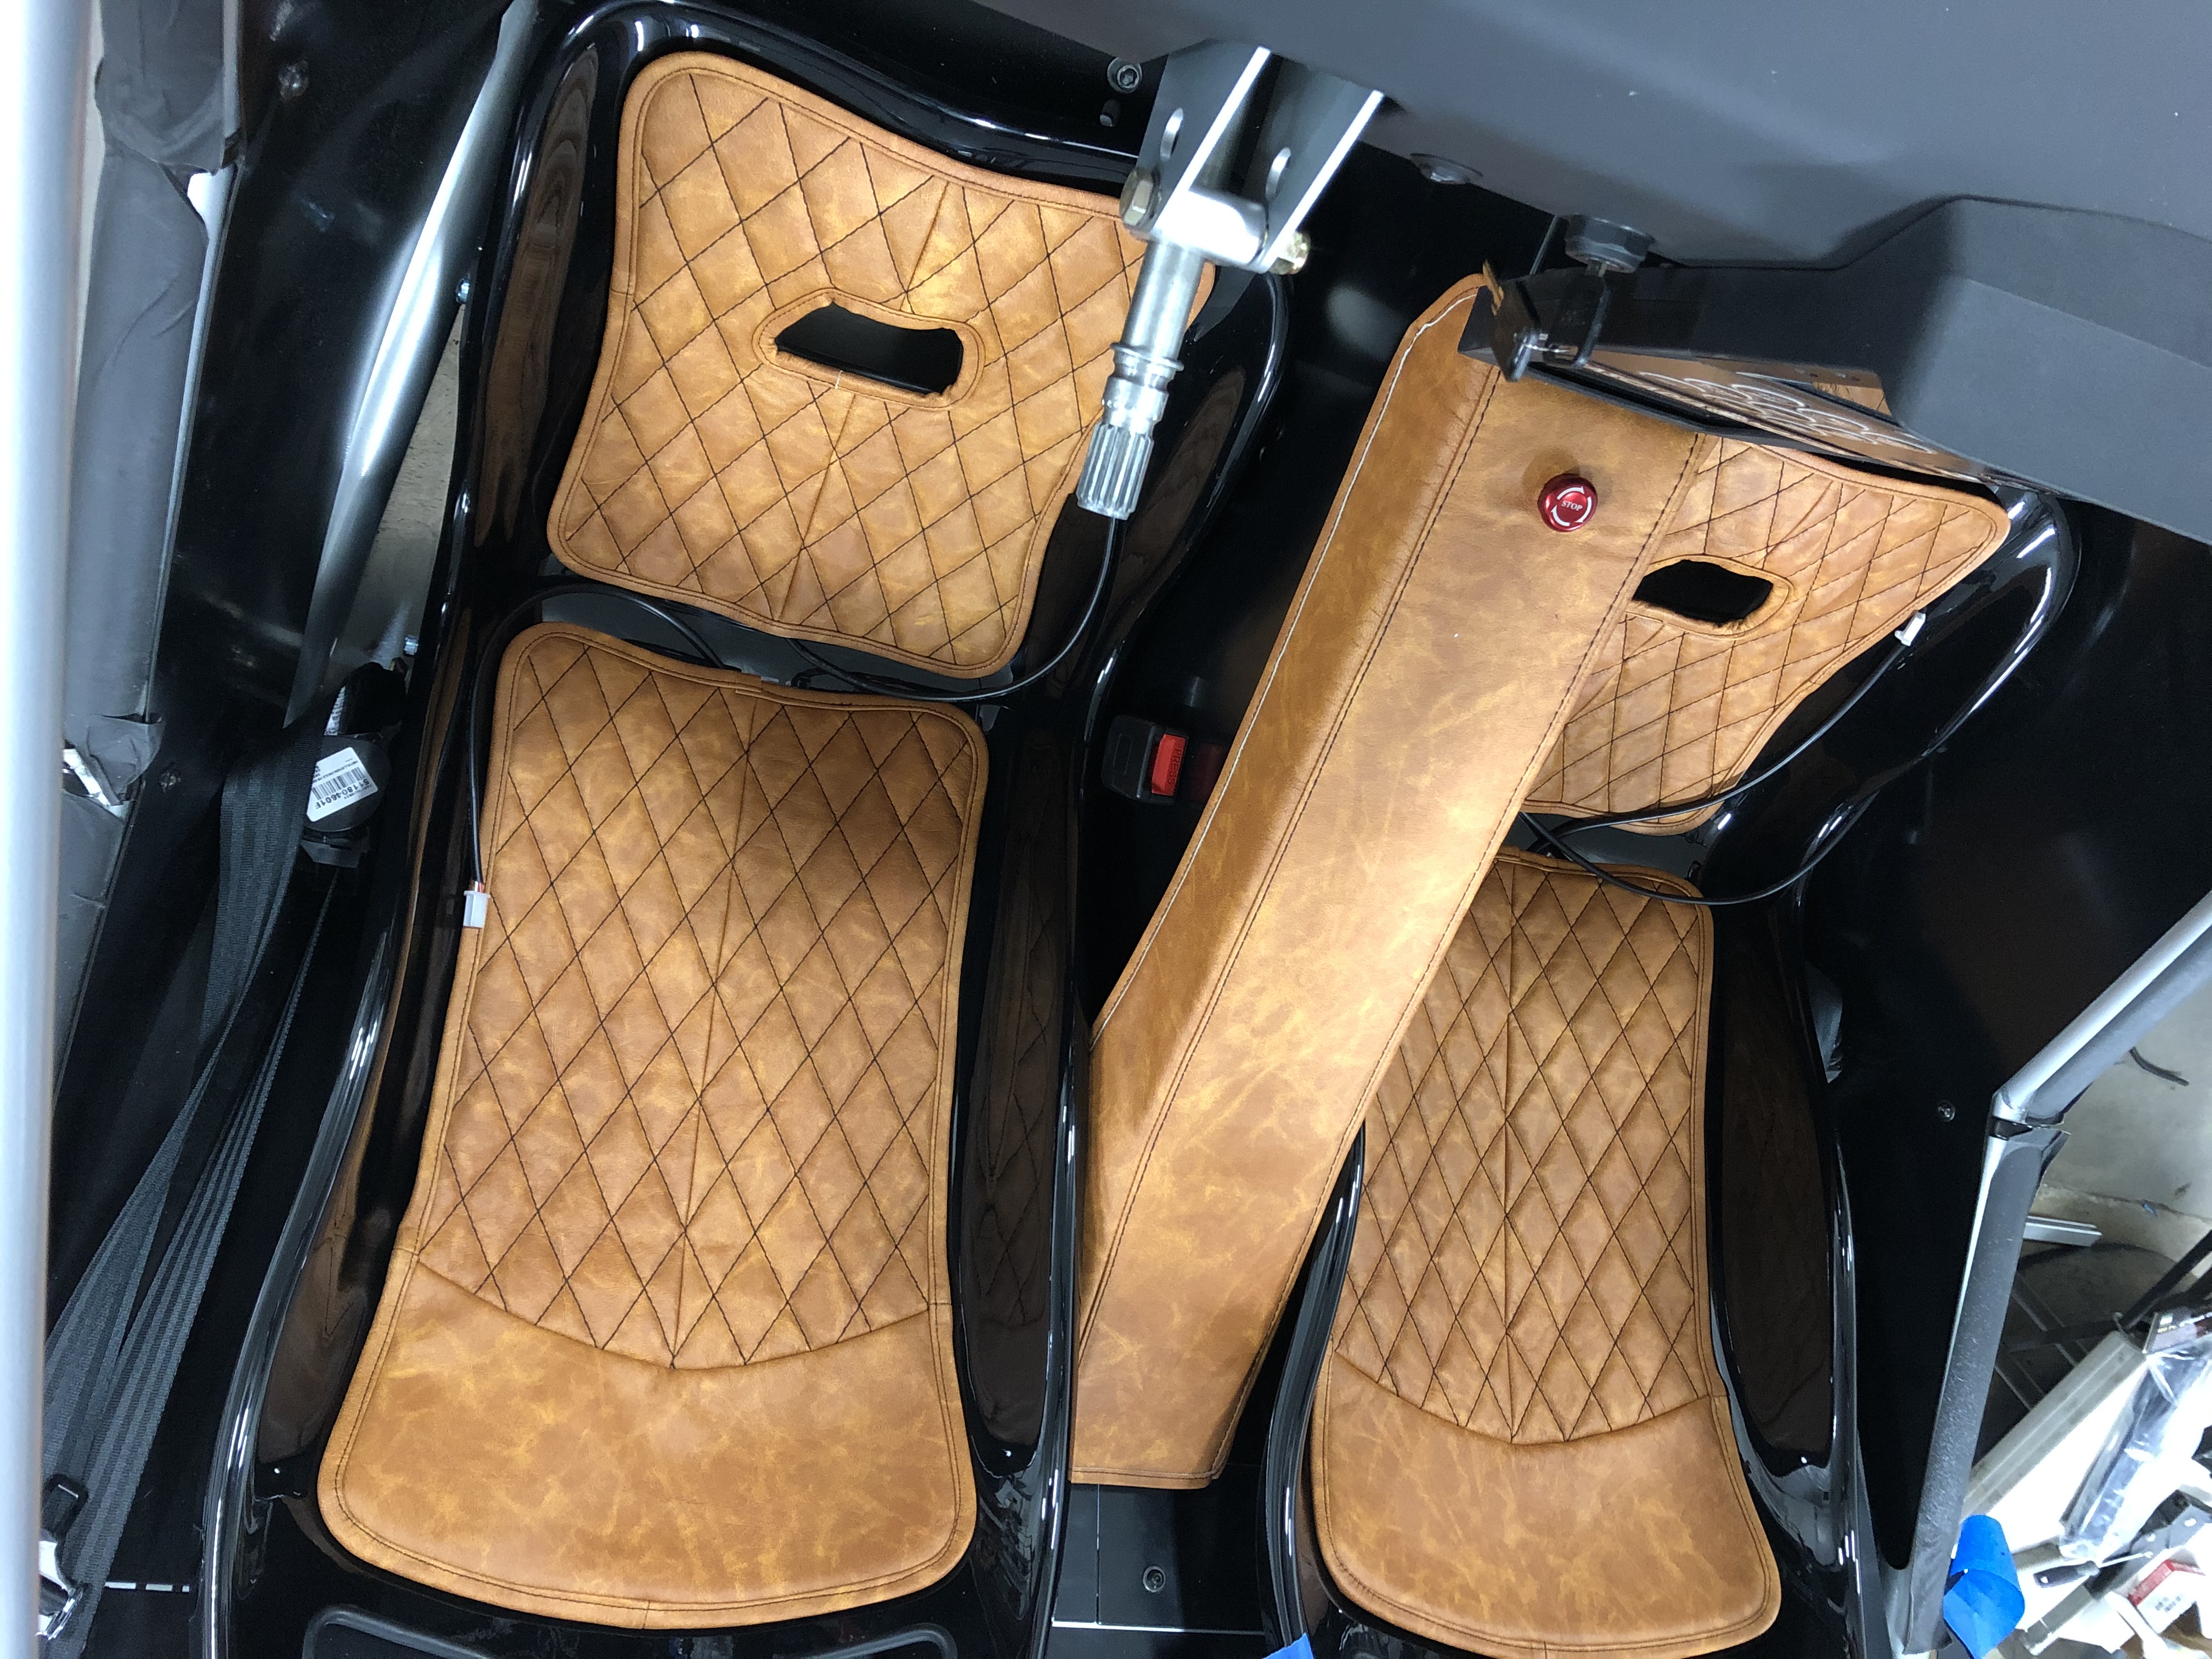
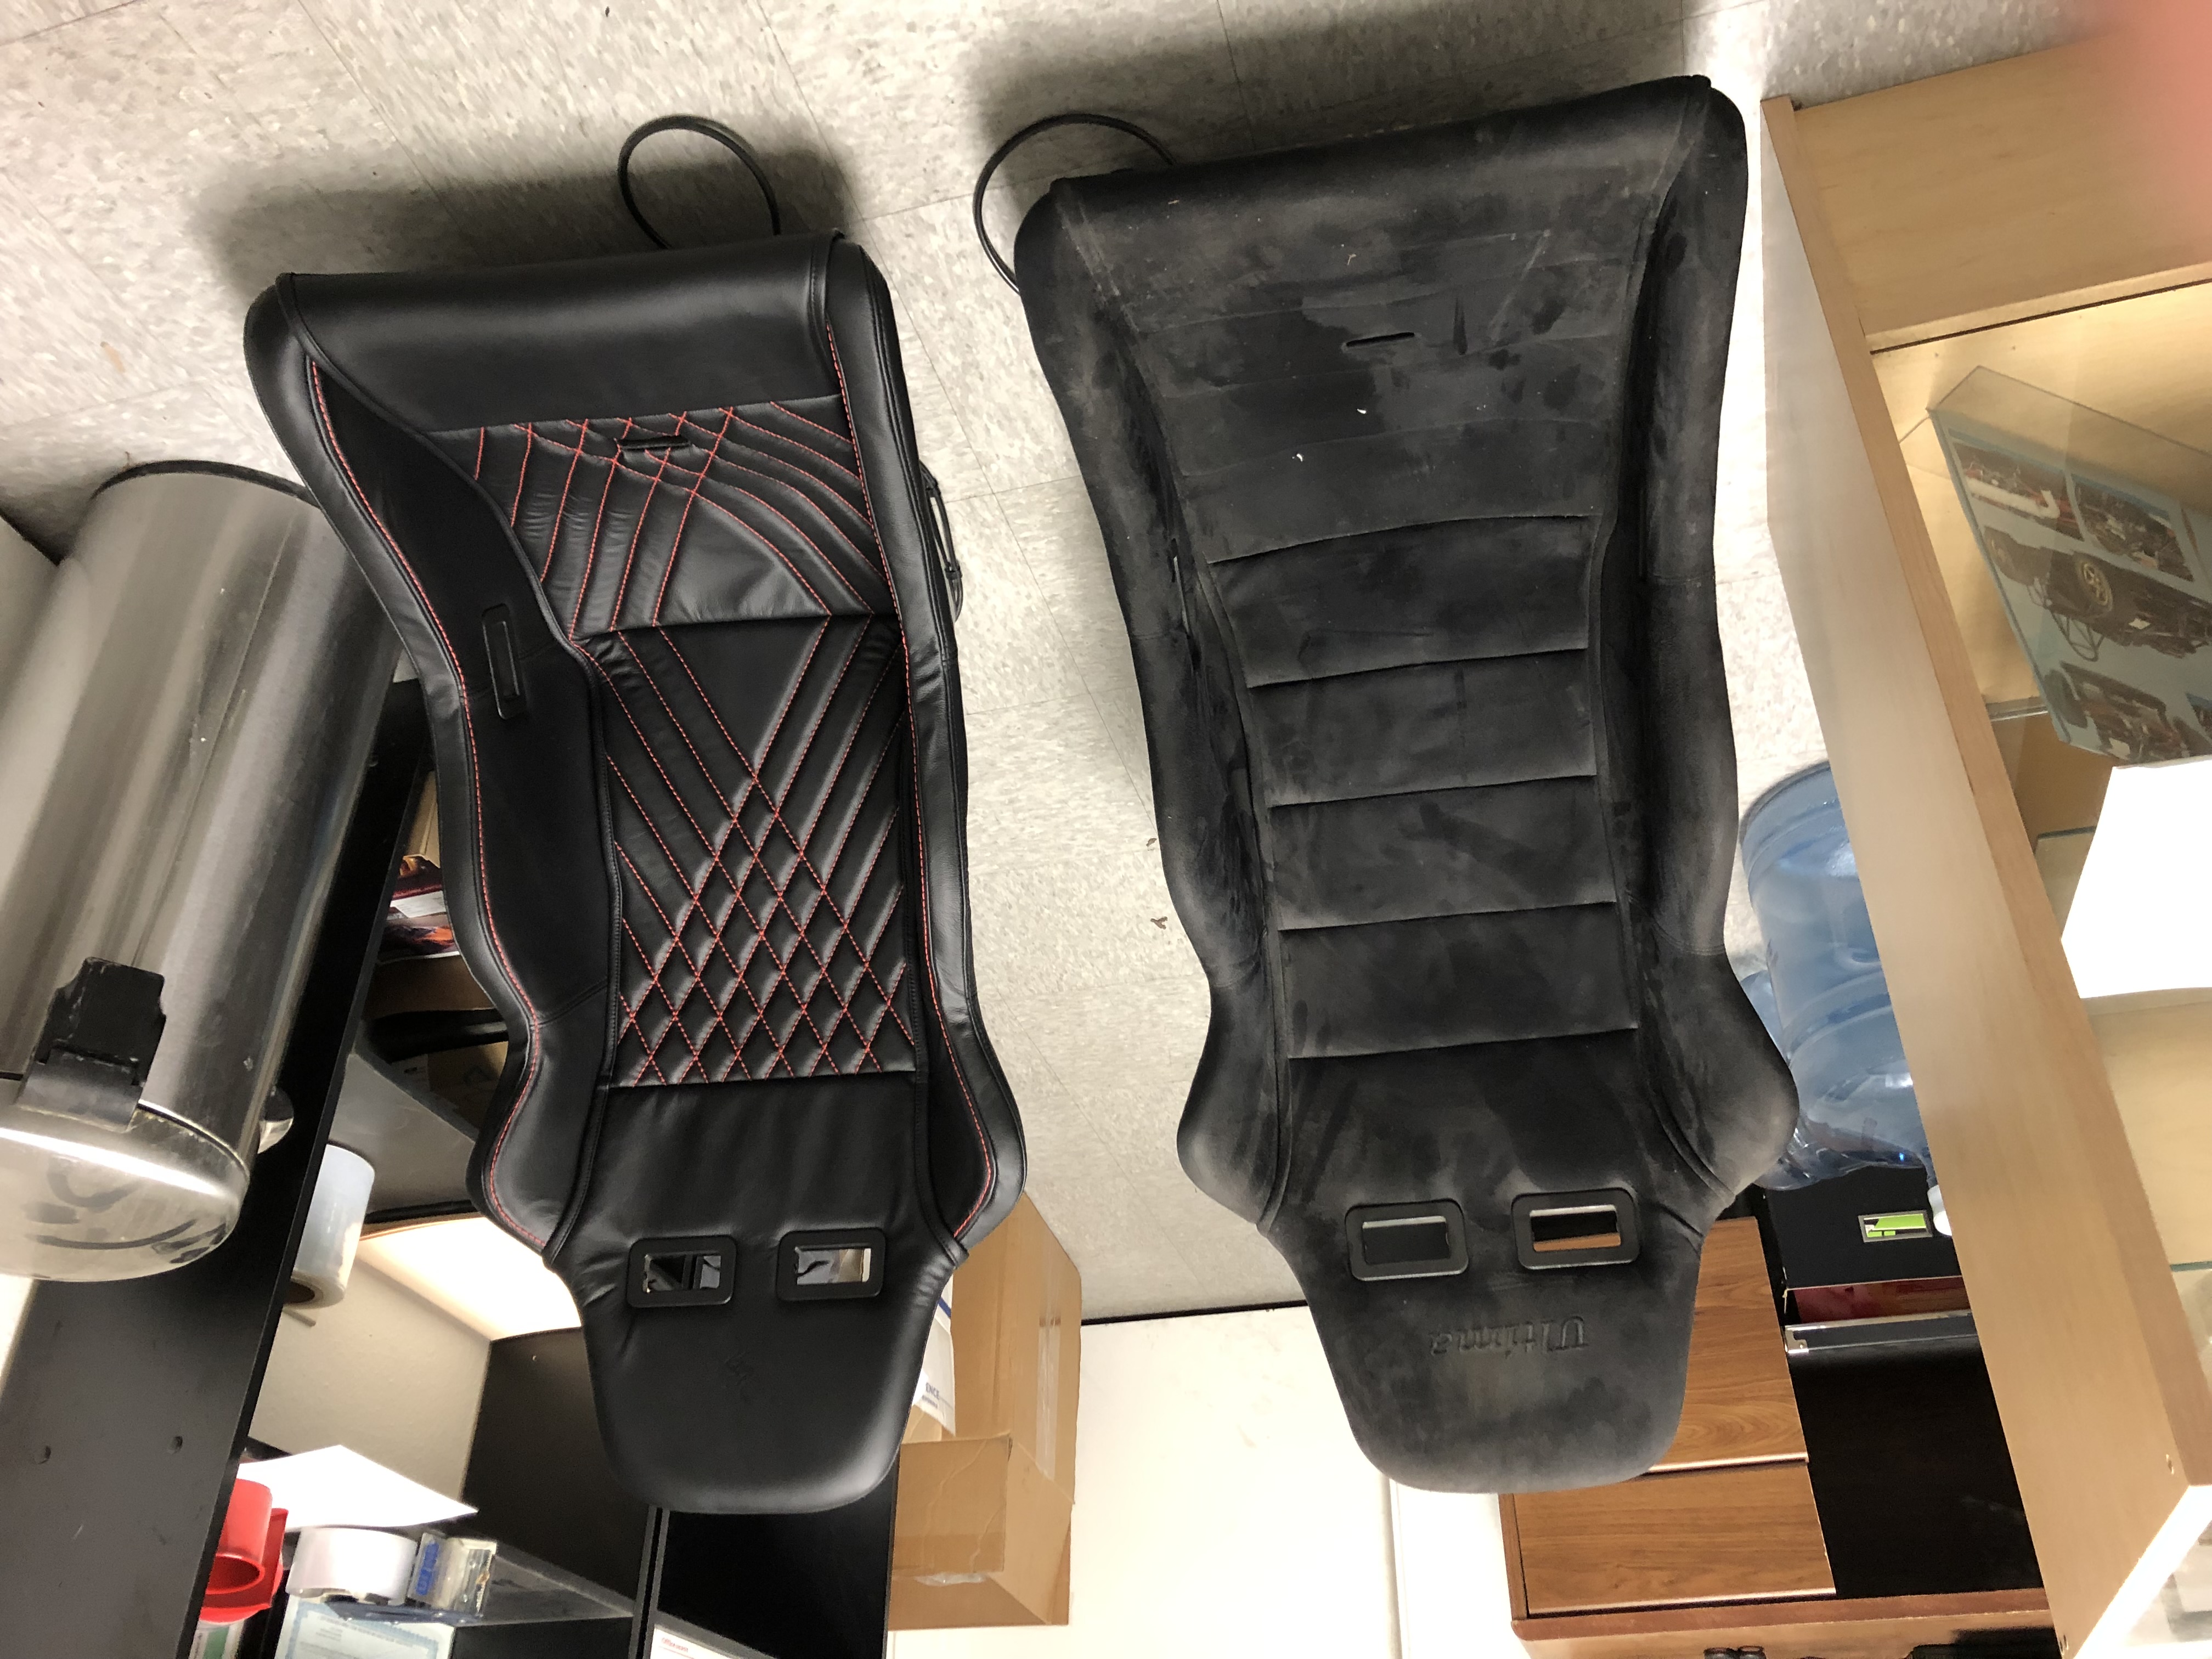 Ultima seats, original and upgraded leather upholstery.
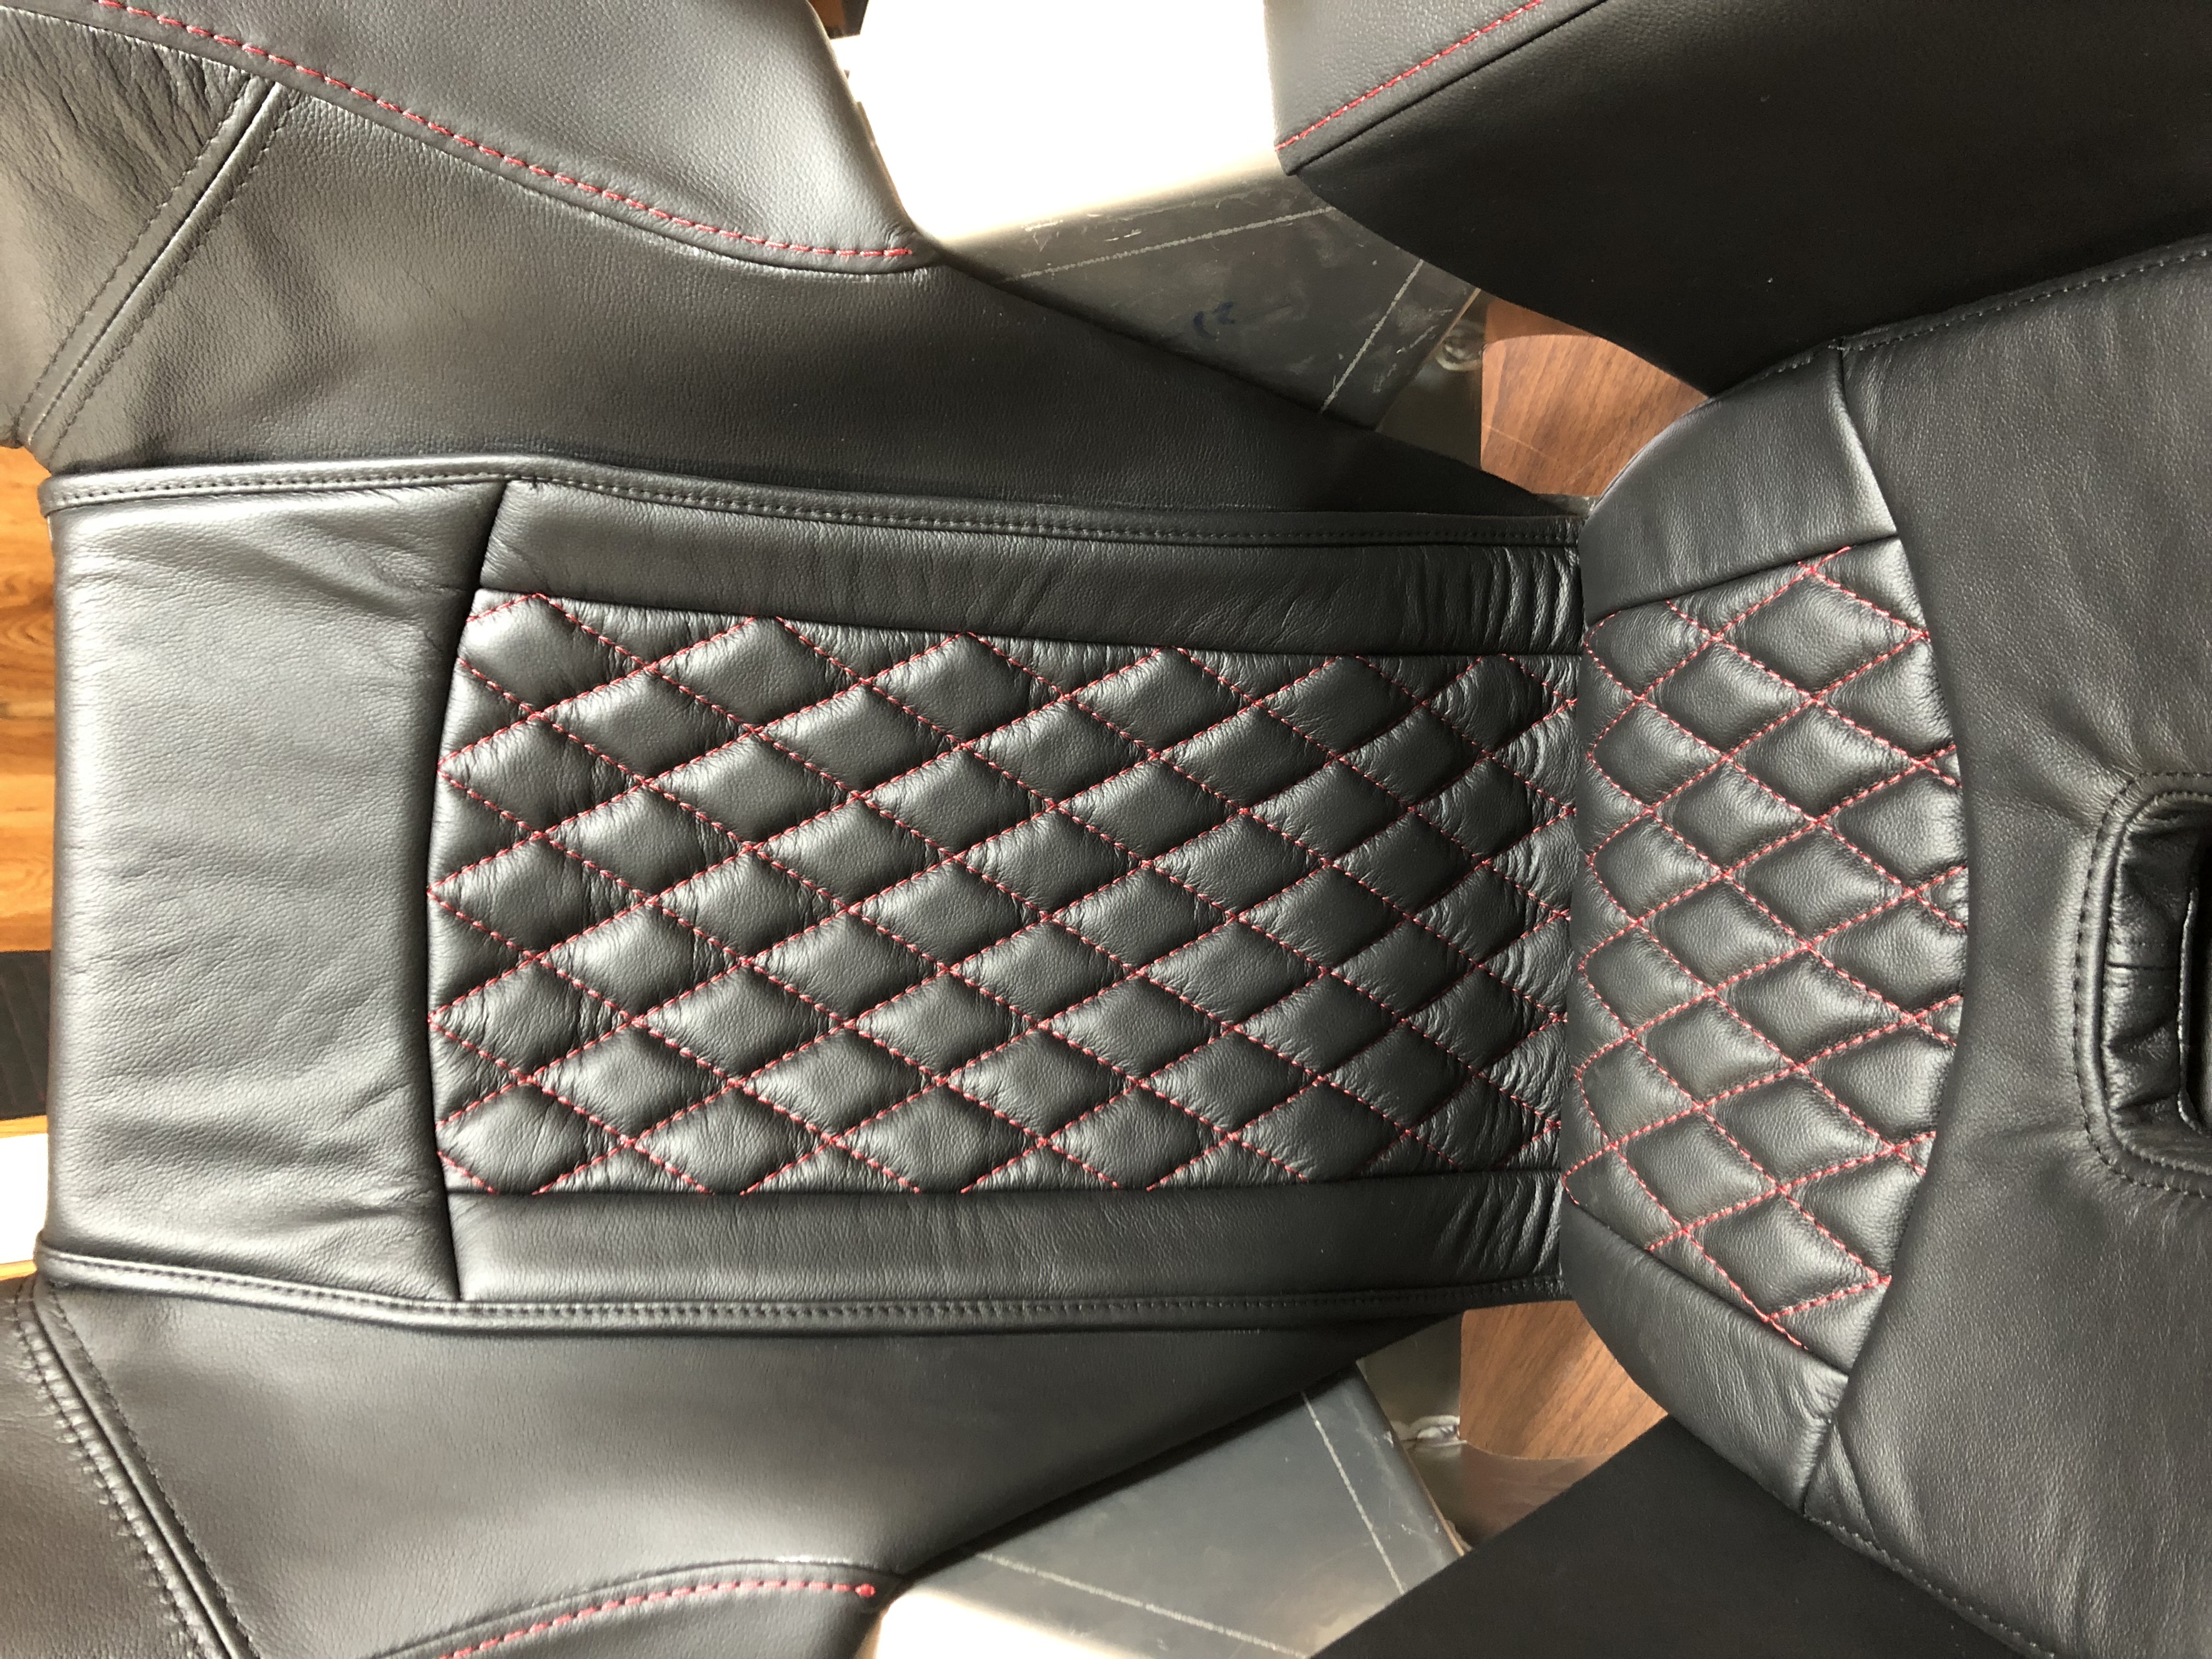 Close-up of some diamond quilting.
 Tillet B5 seats with custom leather upholstery.
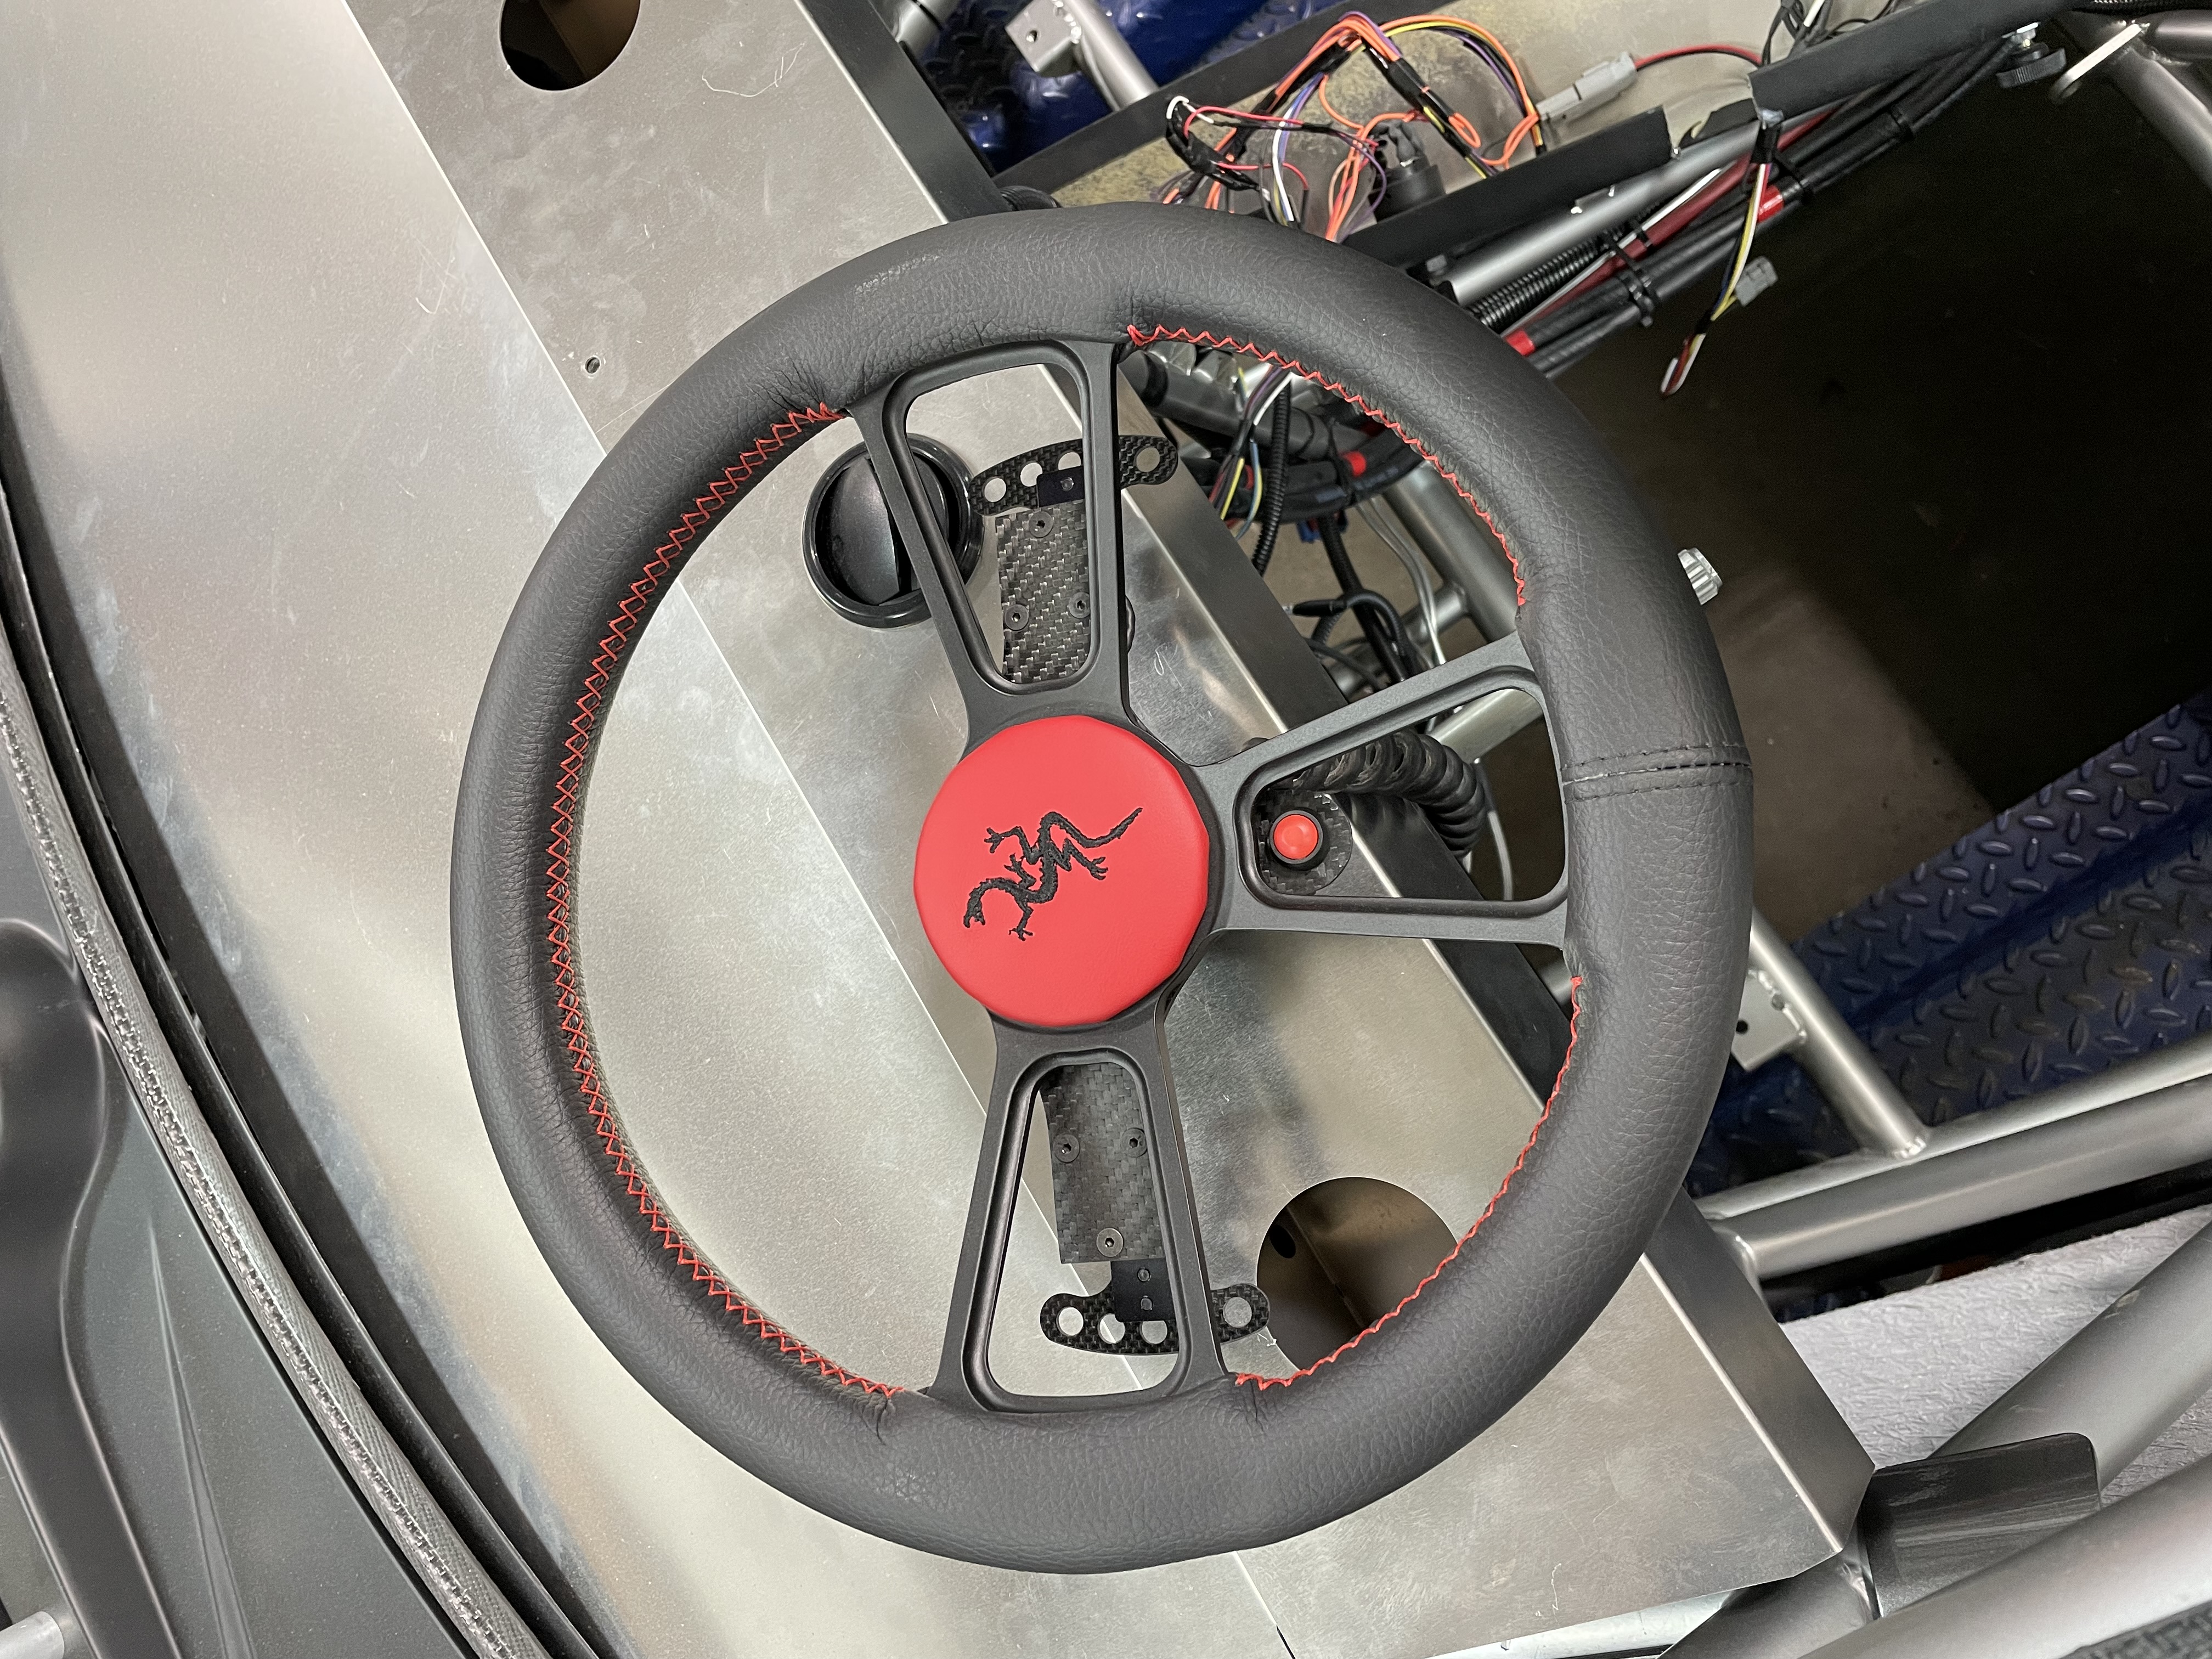 Upholstered center cap on steering wheel.
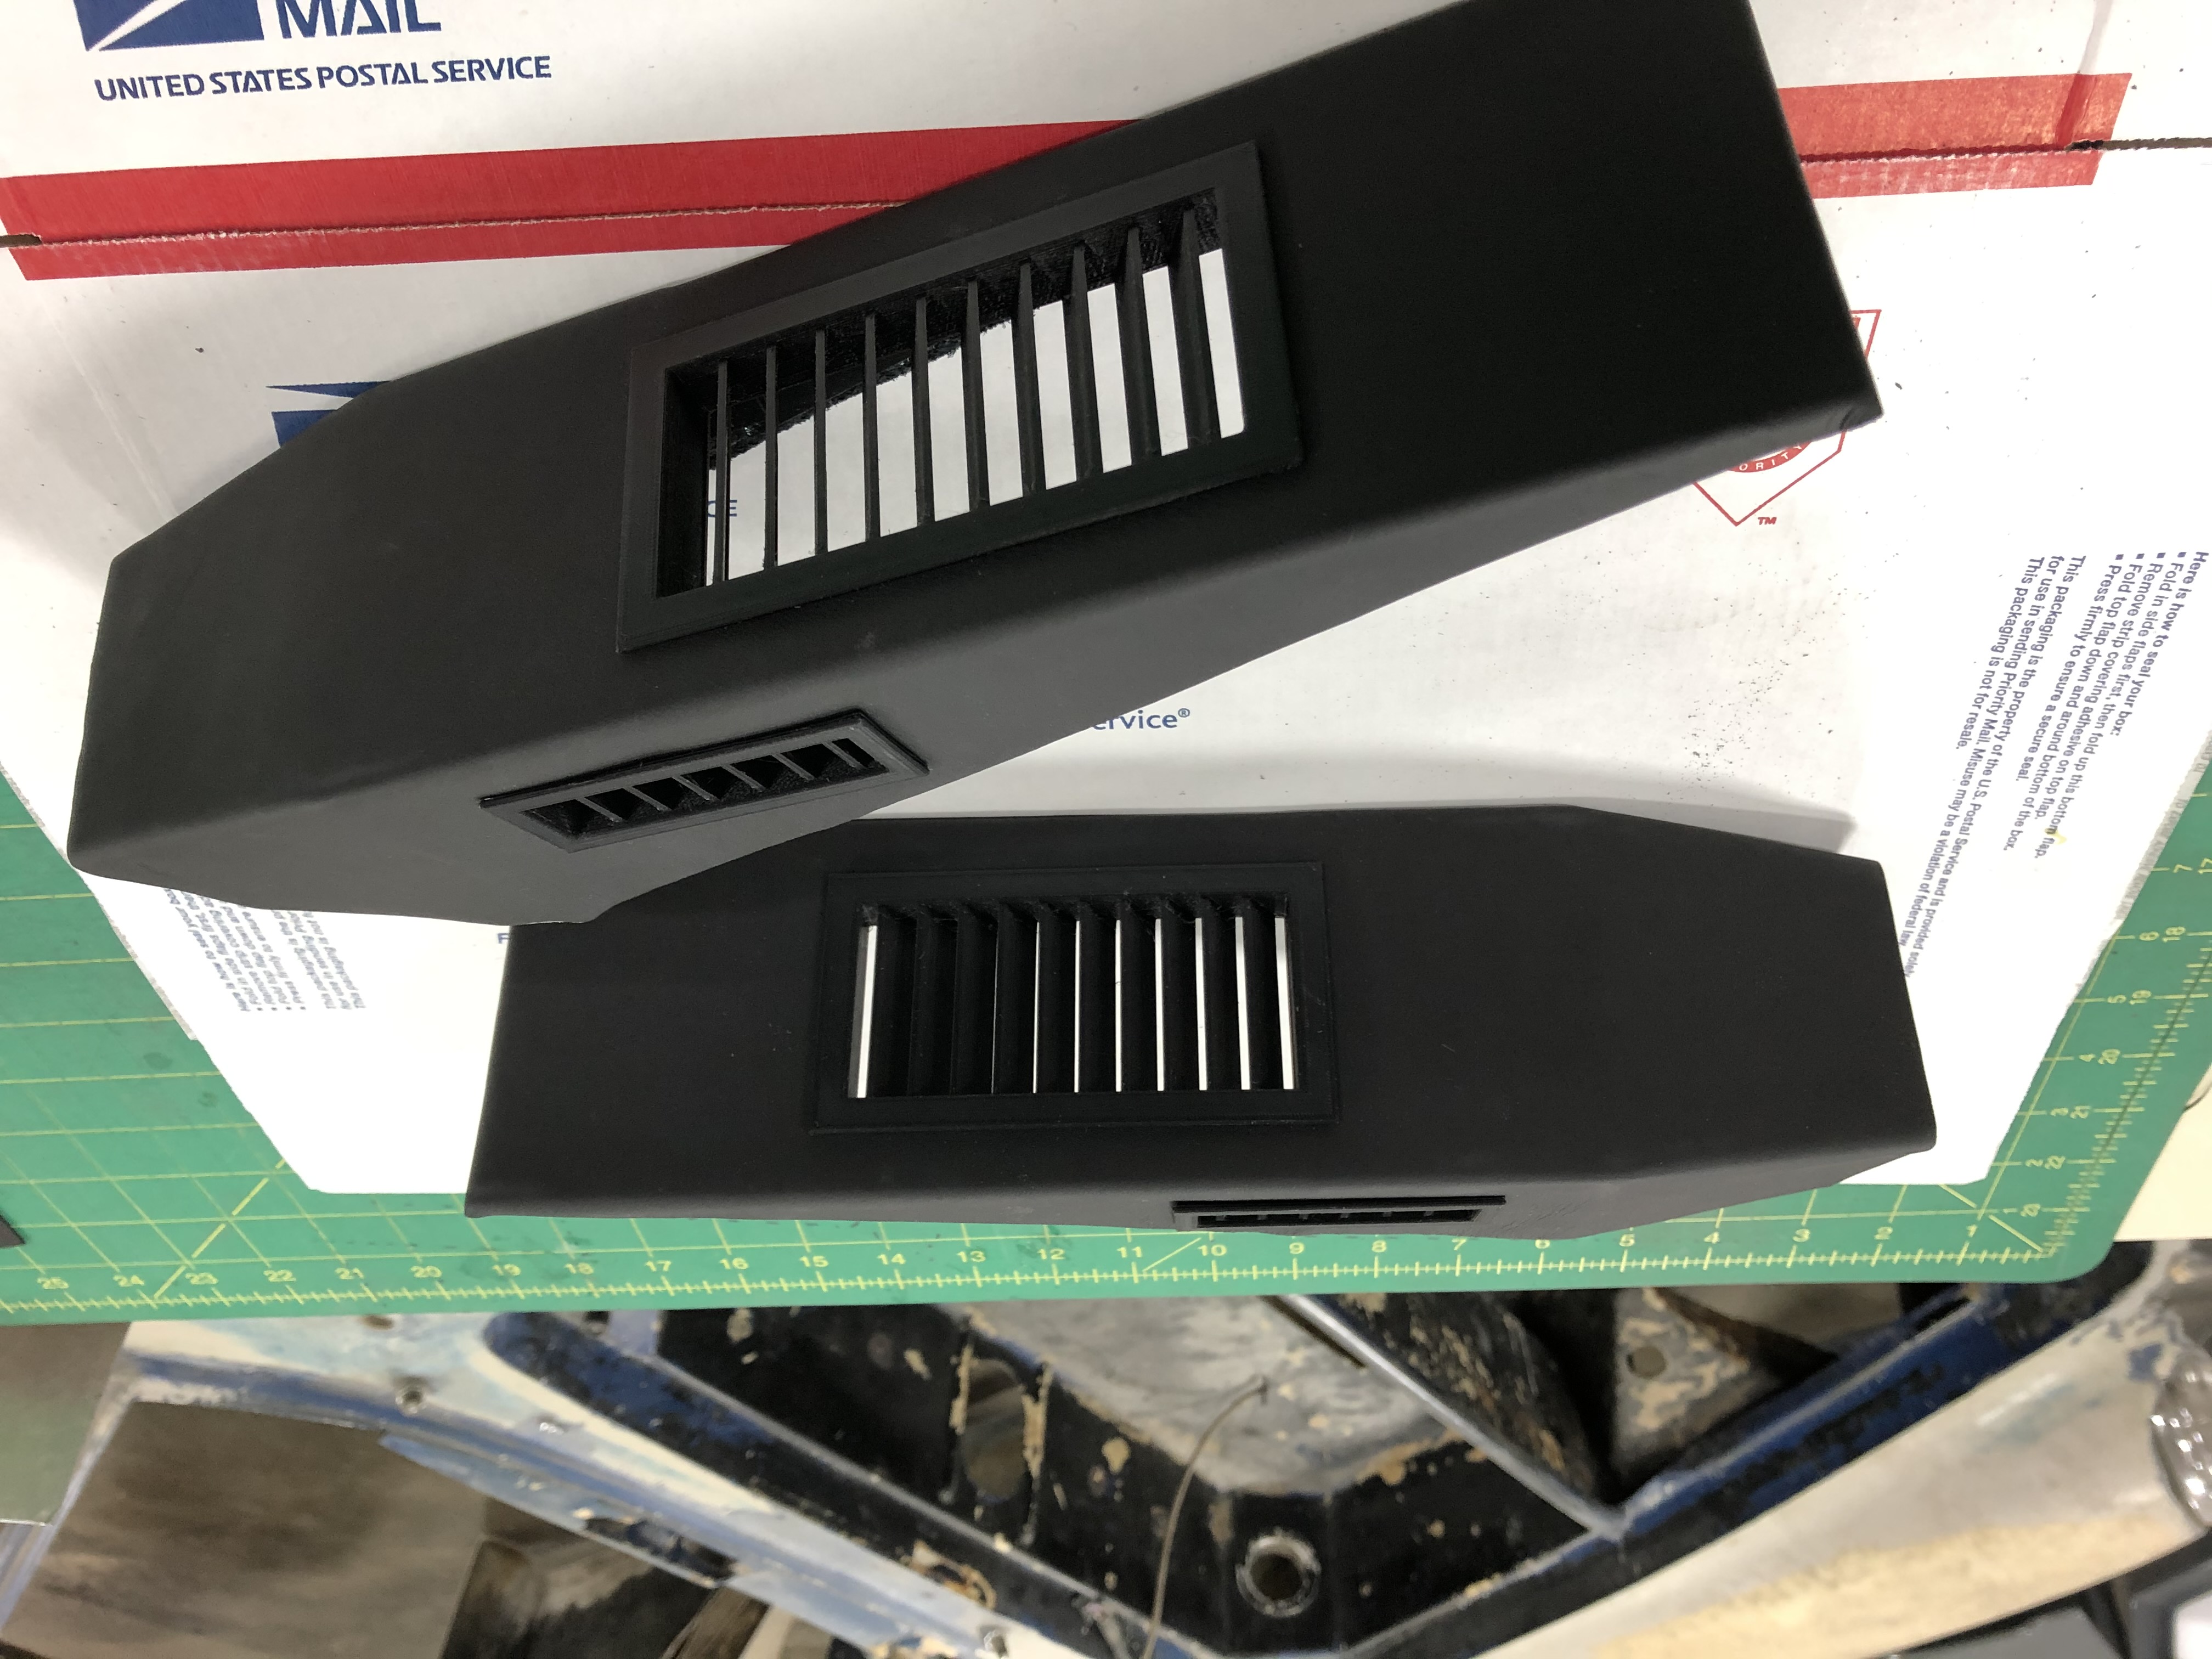 Air vents I designed in CAD, 3D printed, and upholstered in leather.
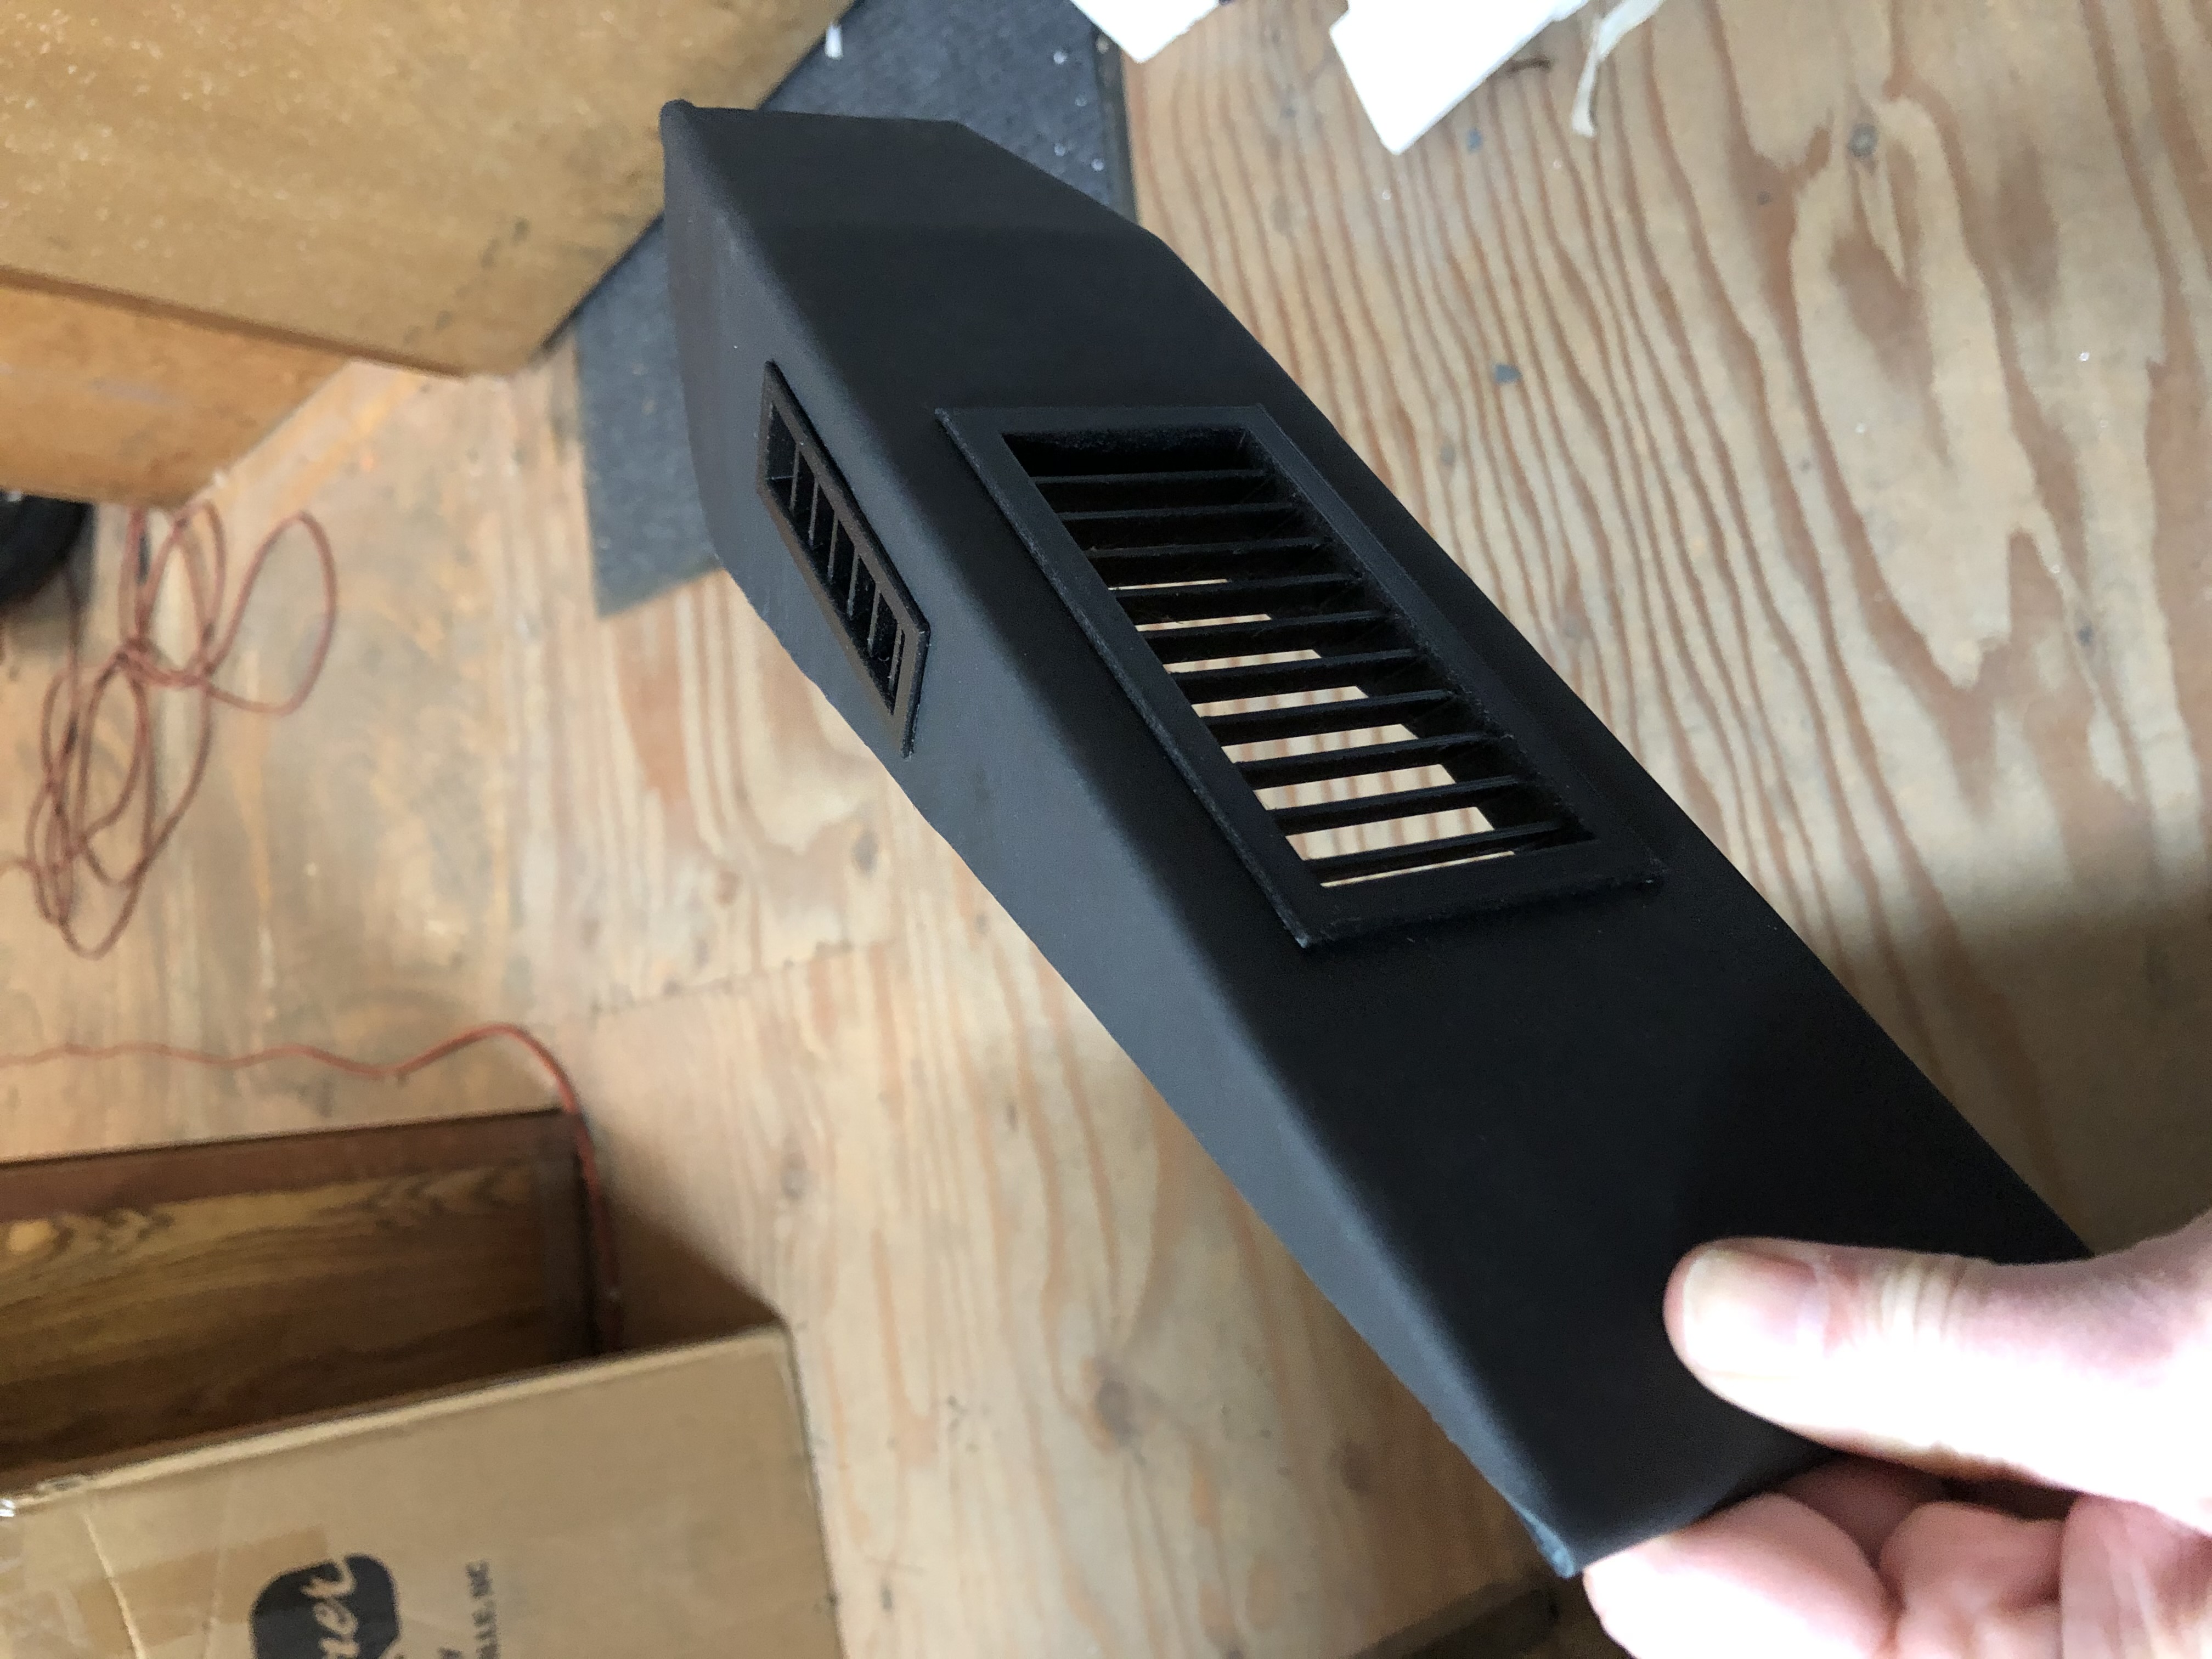 Air vents I designed in CAD, 3D printed, and upholstered in leather.
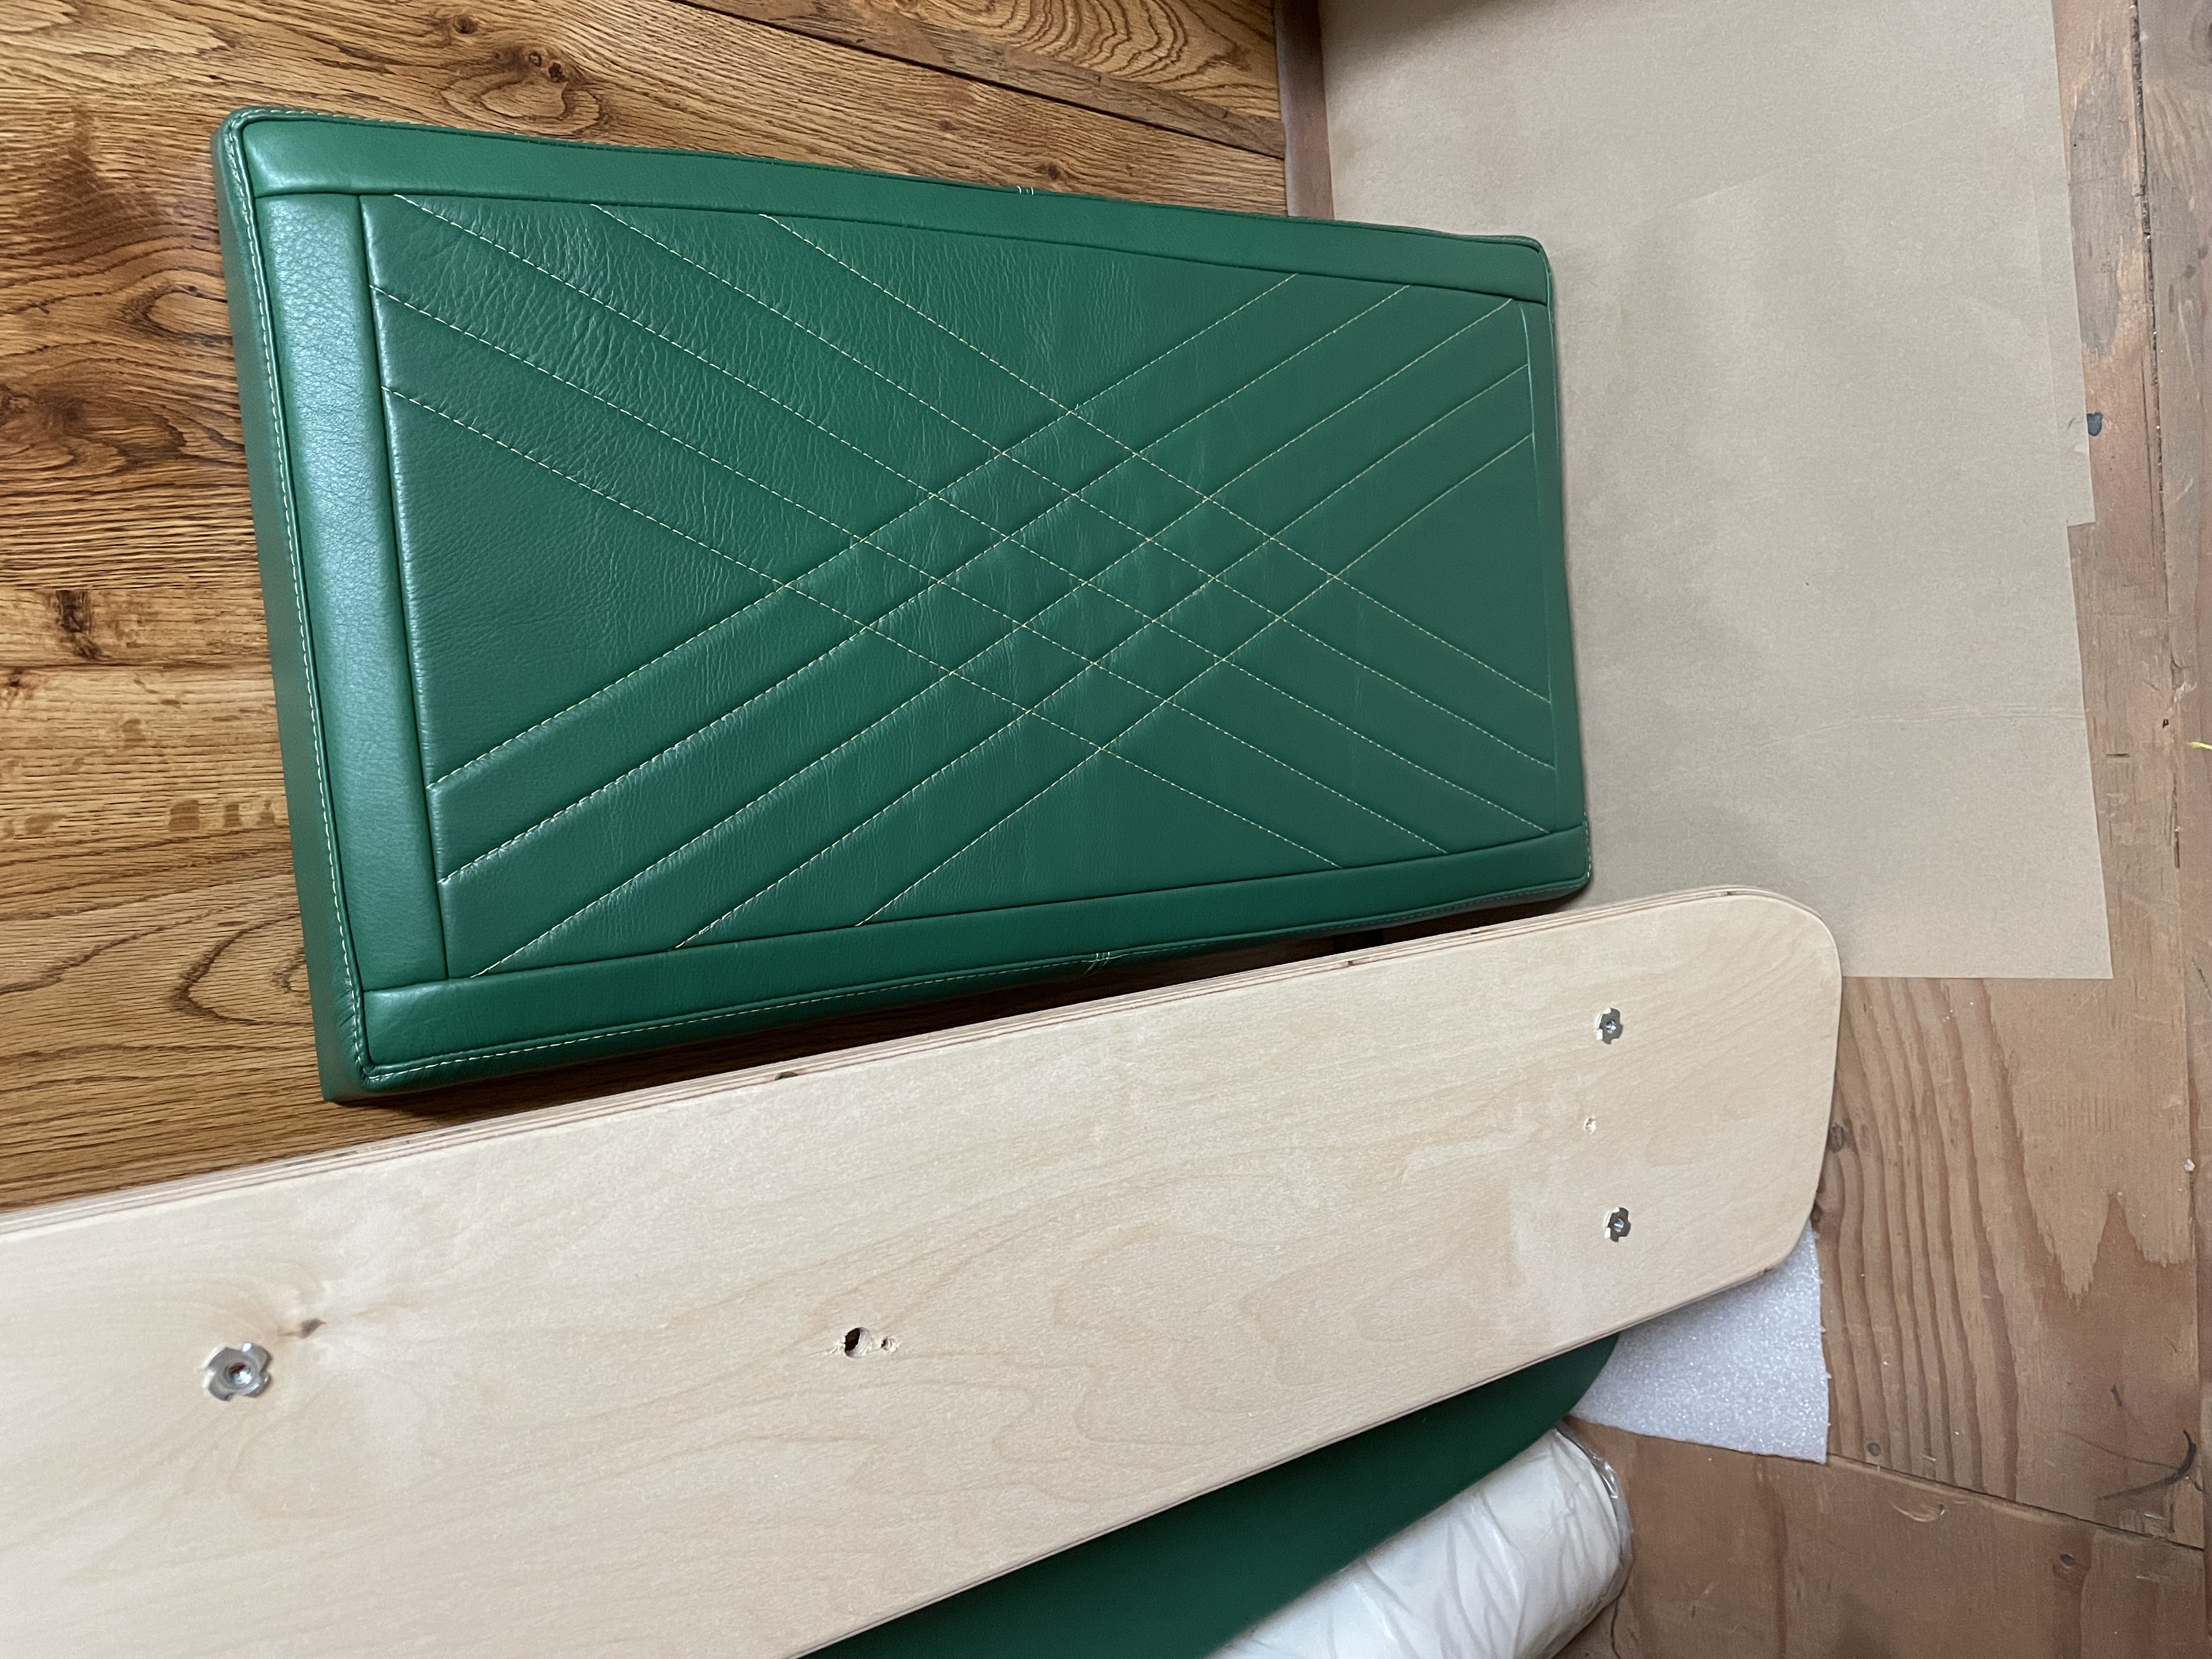 Bench seat cushion in leather with custom quilting.
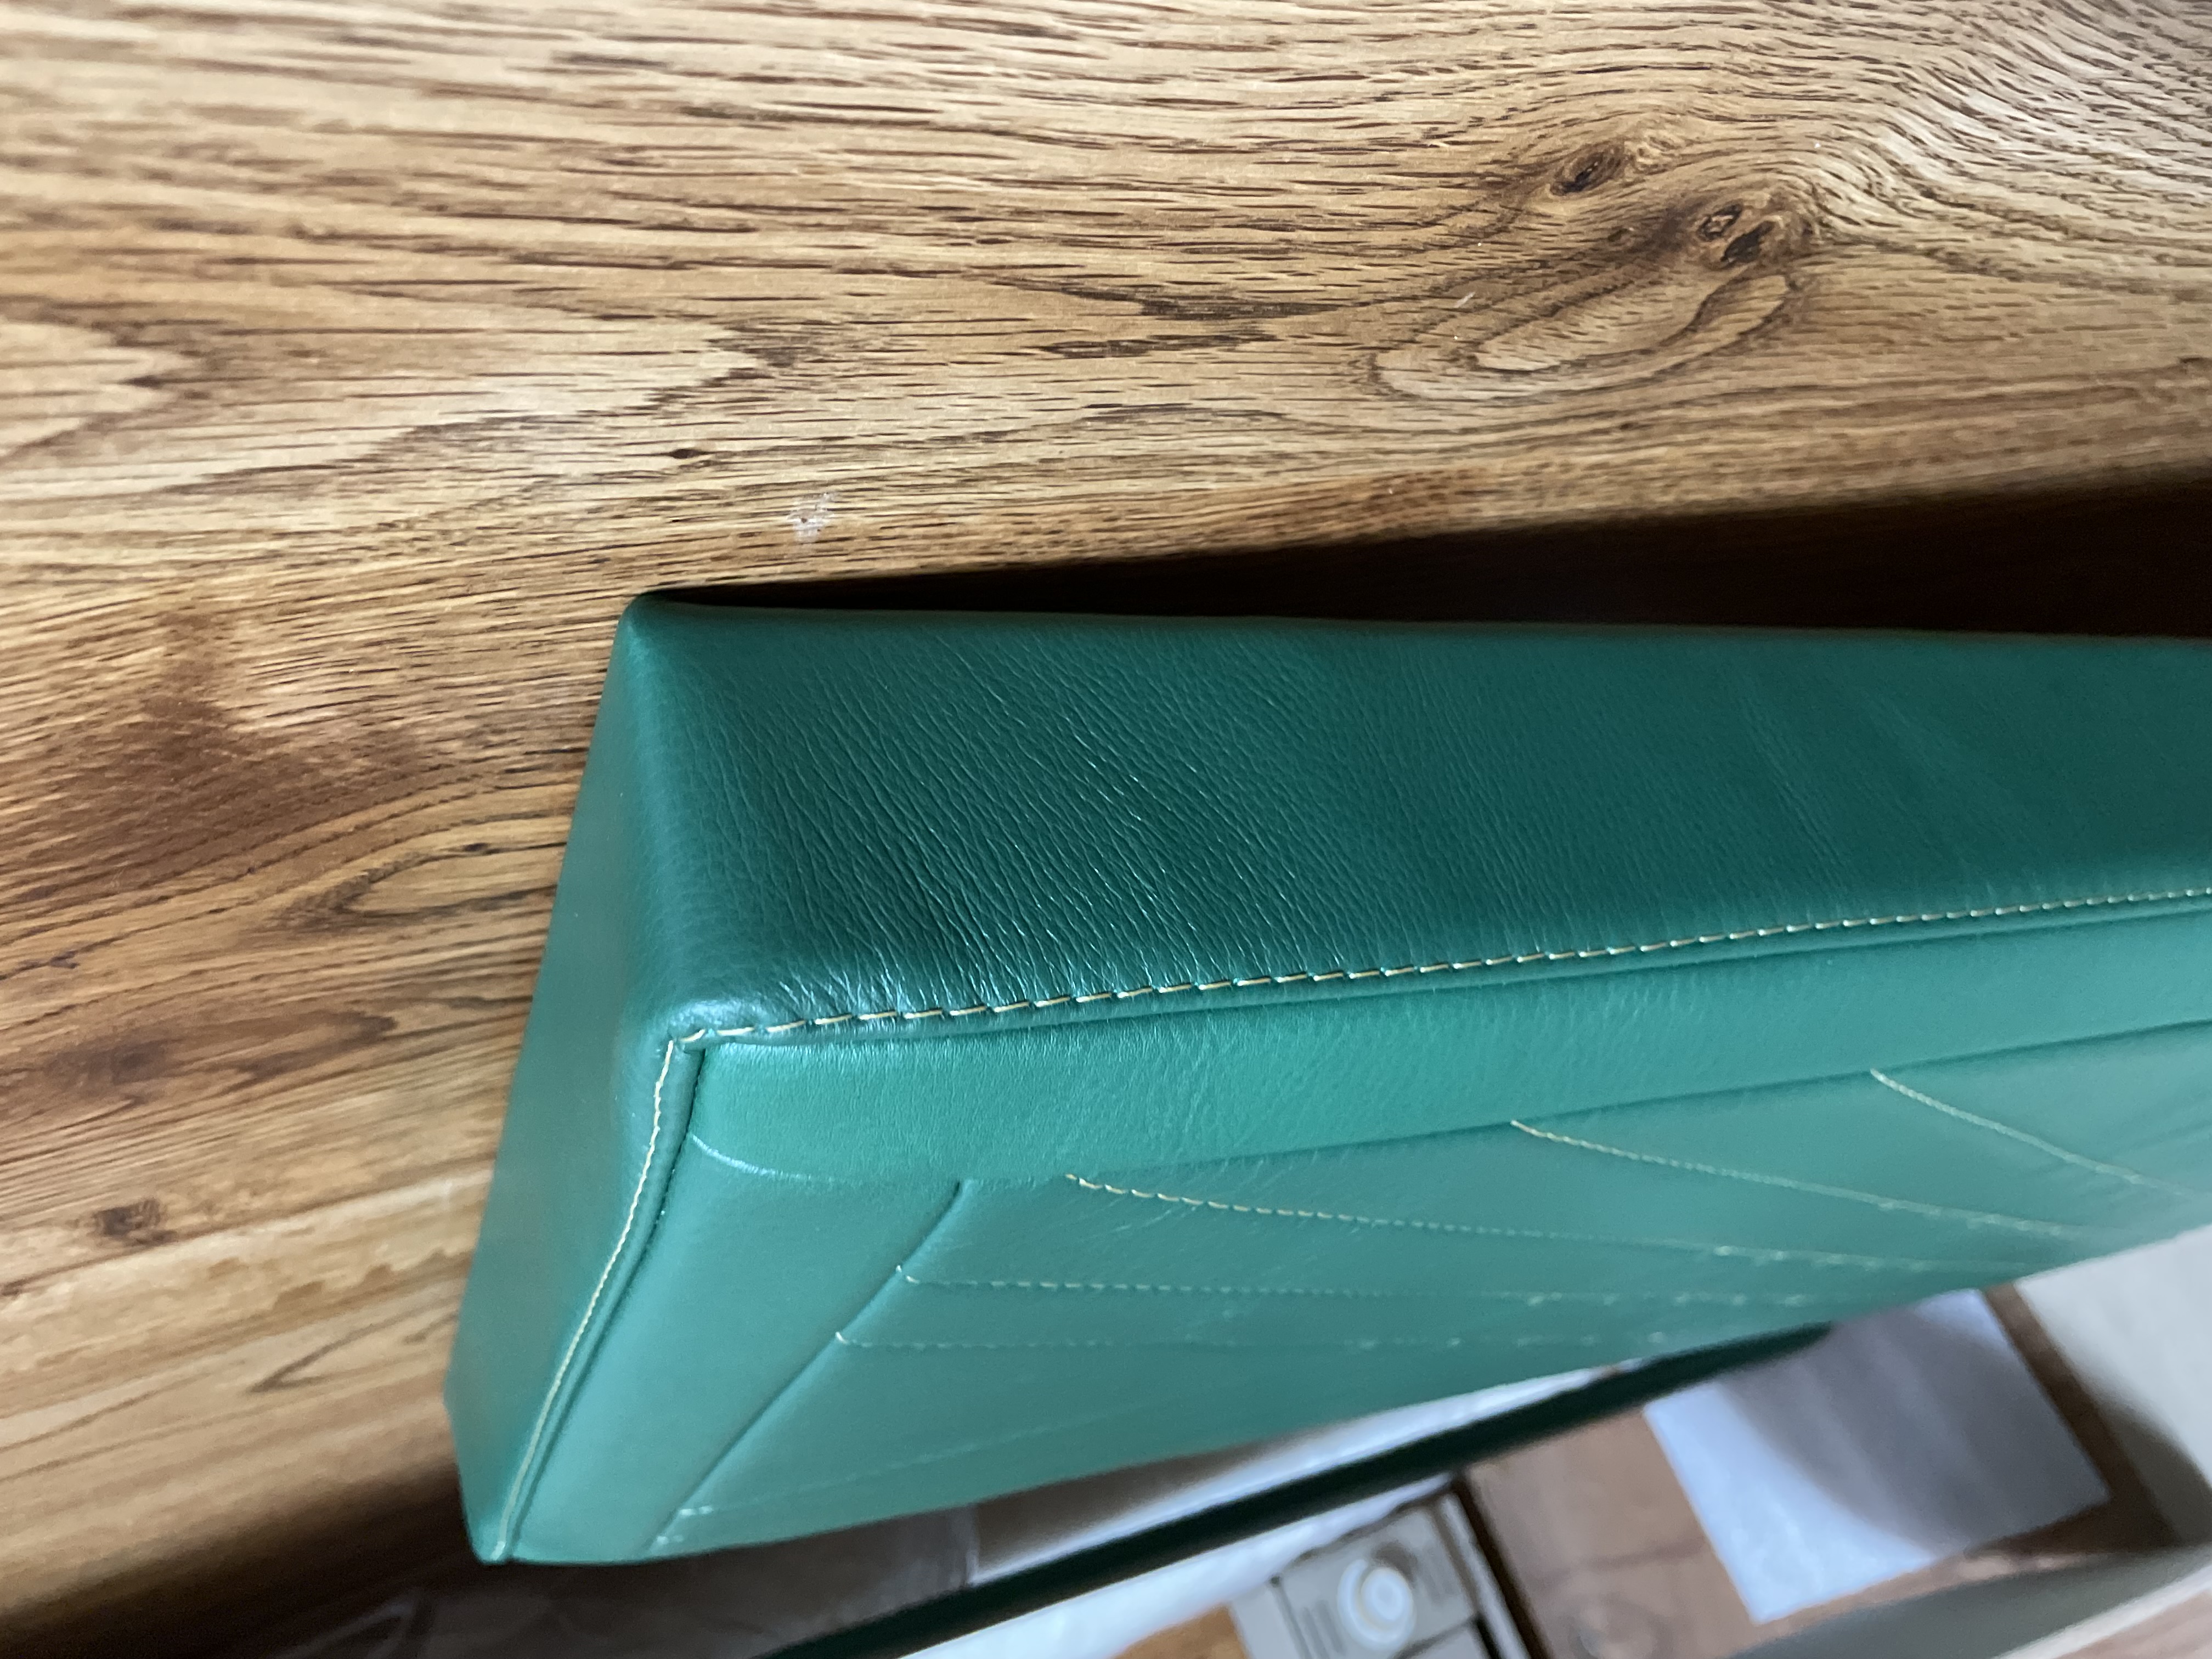 Close up of bench seat cushion.
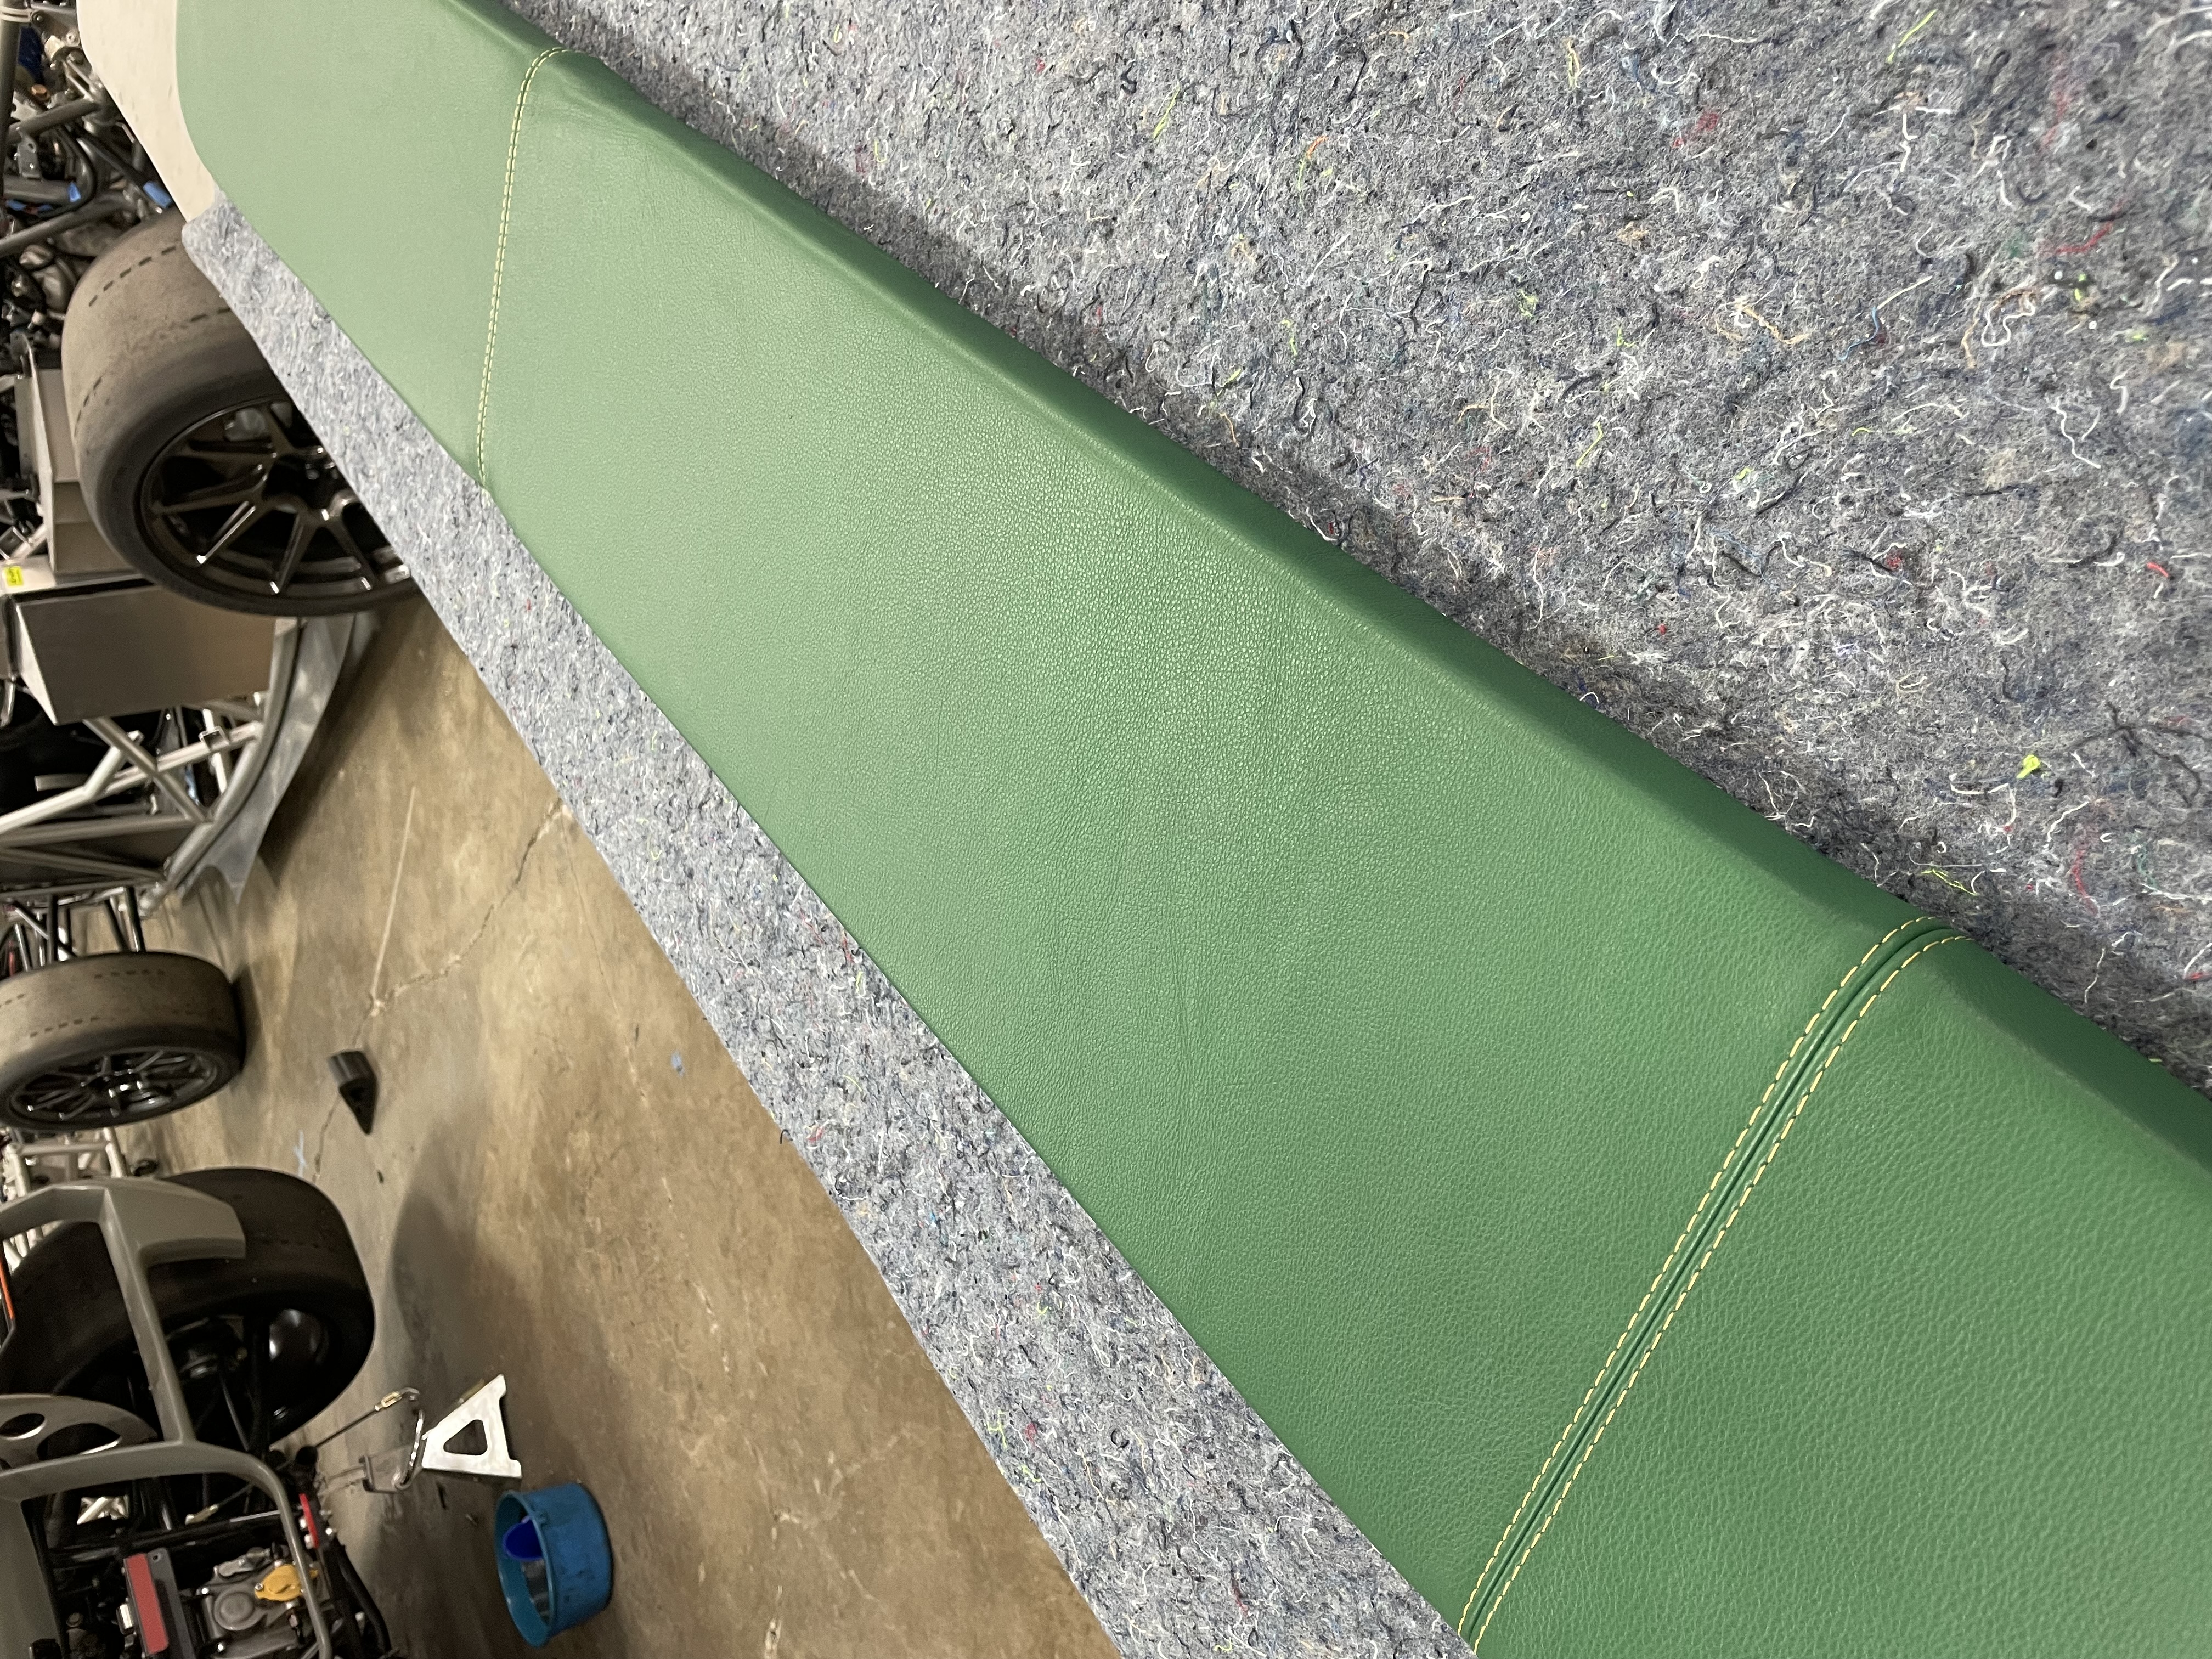 Bench seat back, showing necessary seams.
 A seat pad with an angled edge that needed new foam and upholstery.
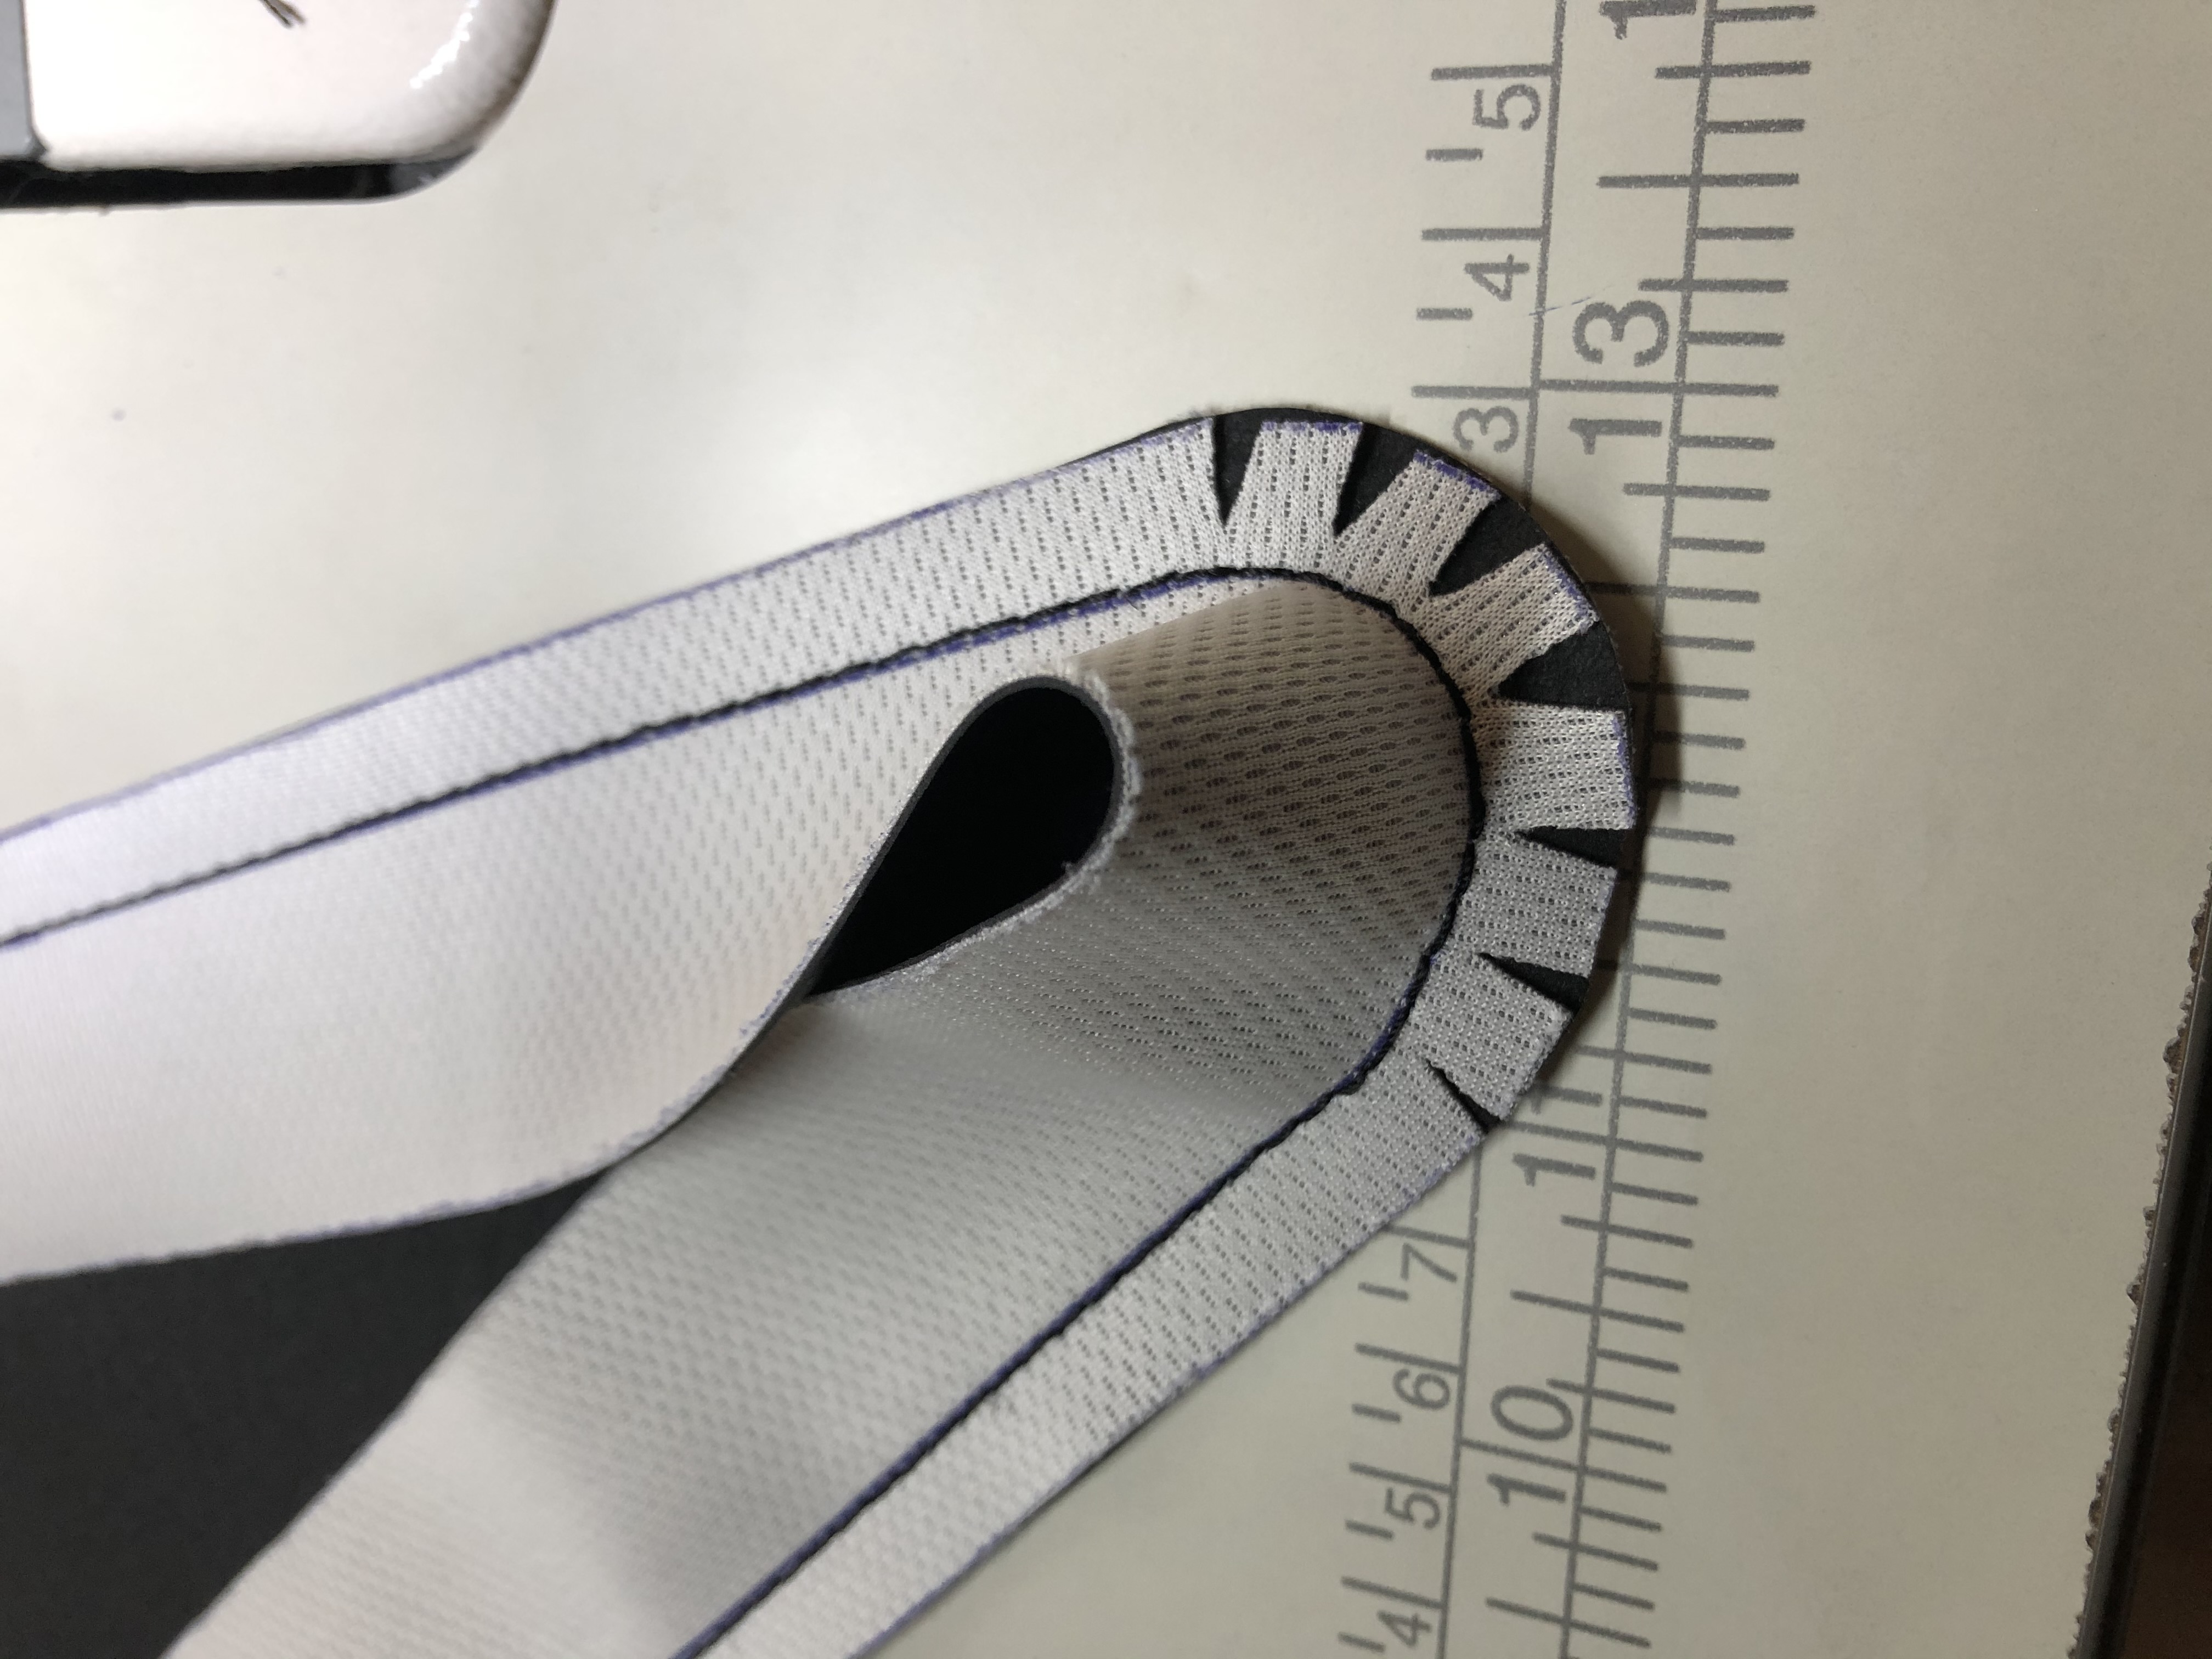 The seat pad upholstery in process of being sewn.
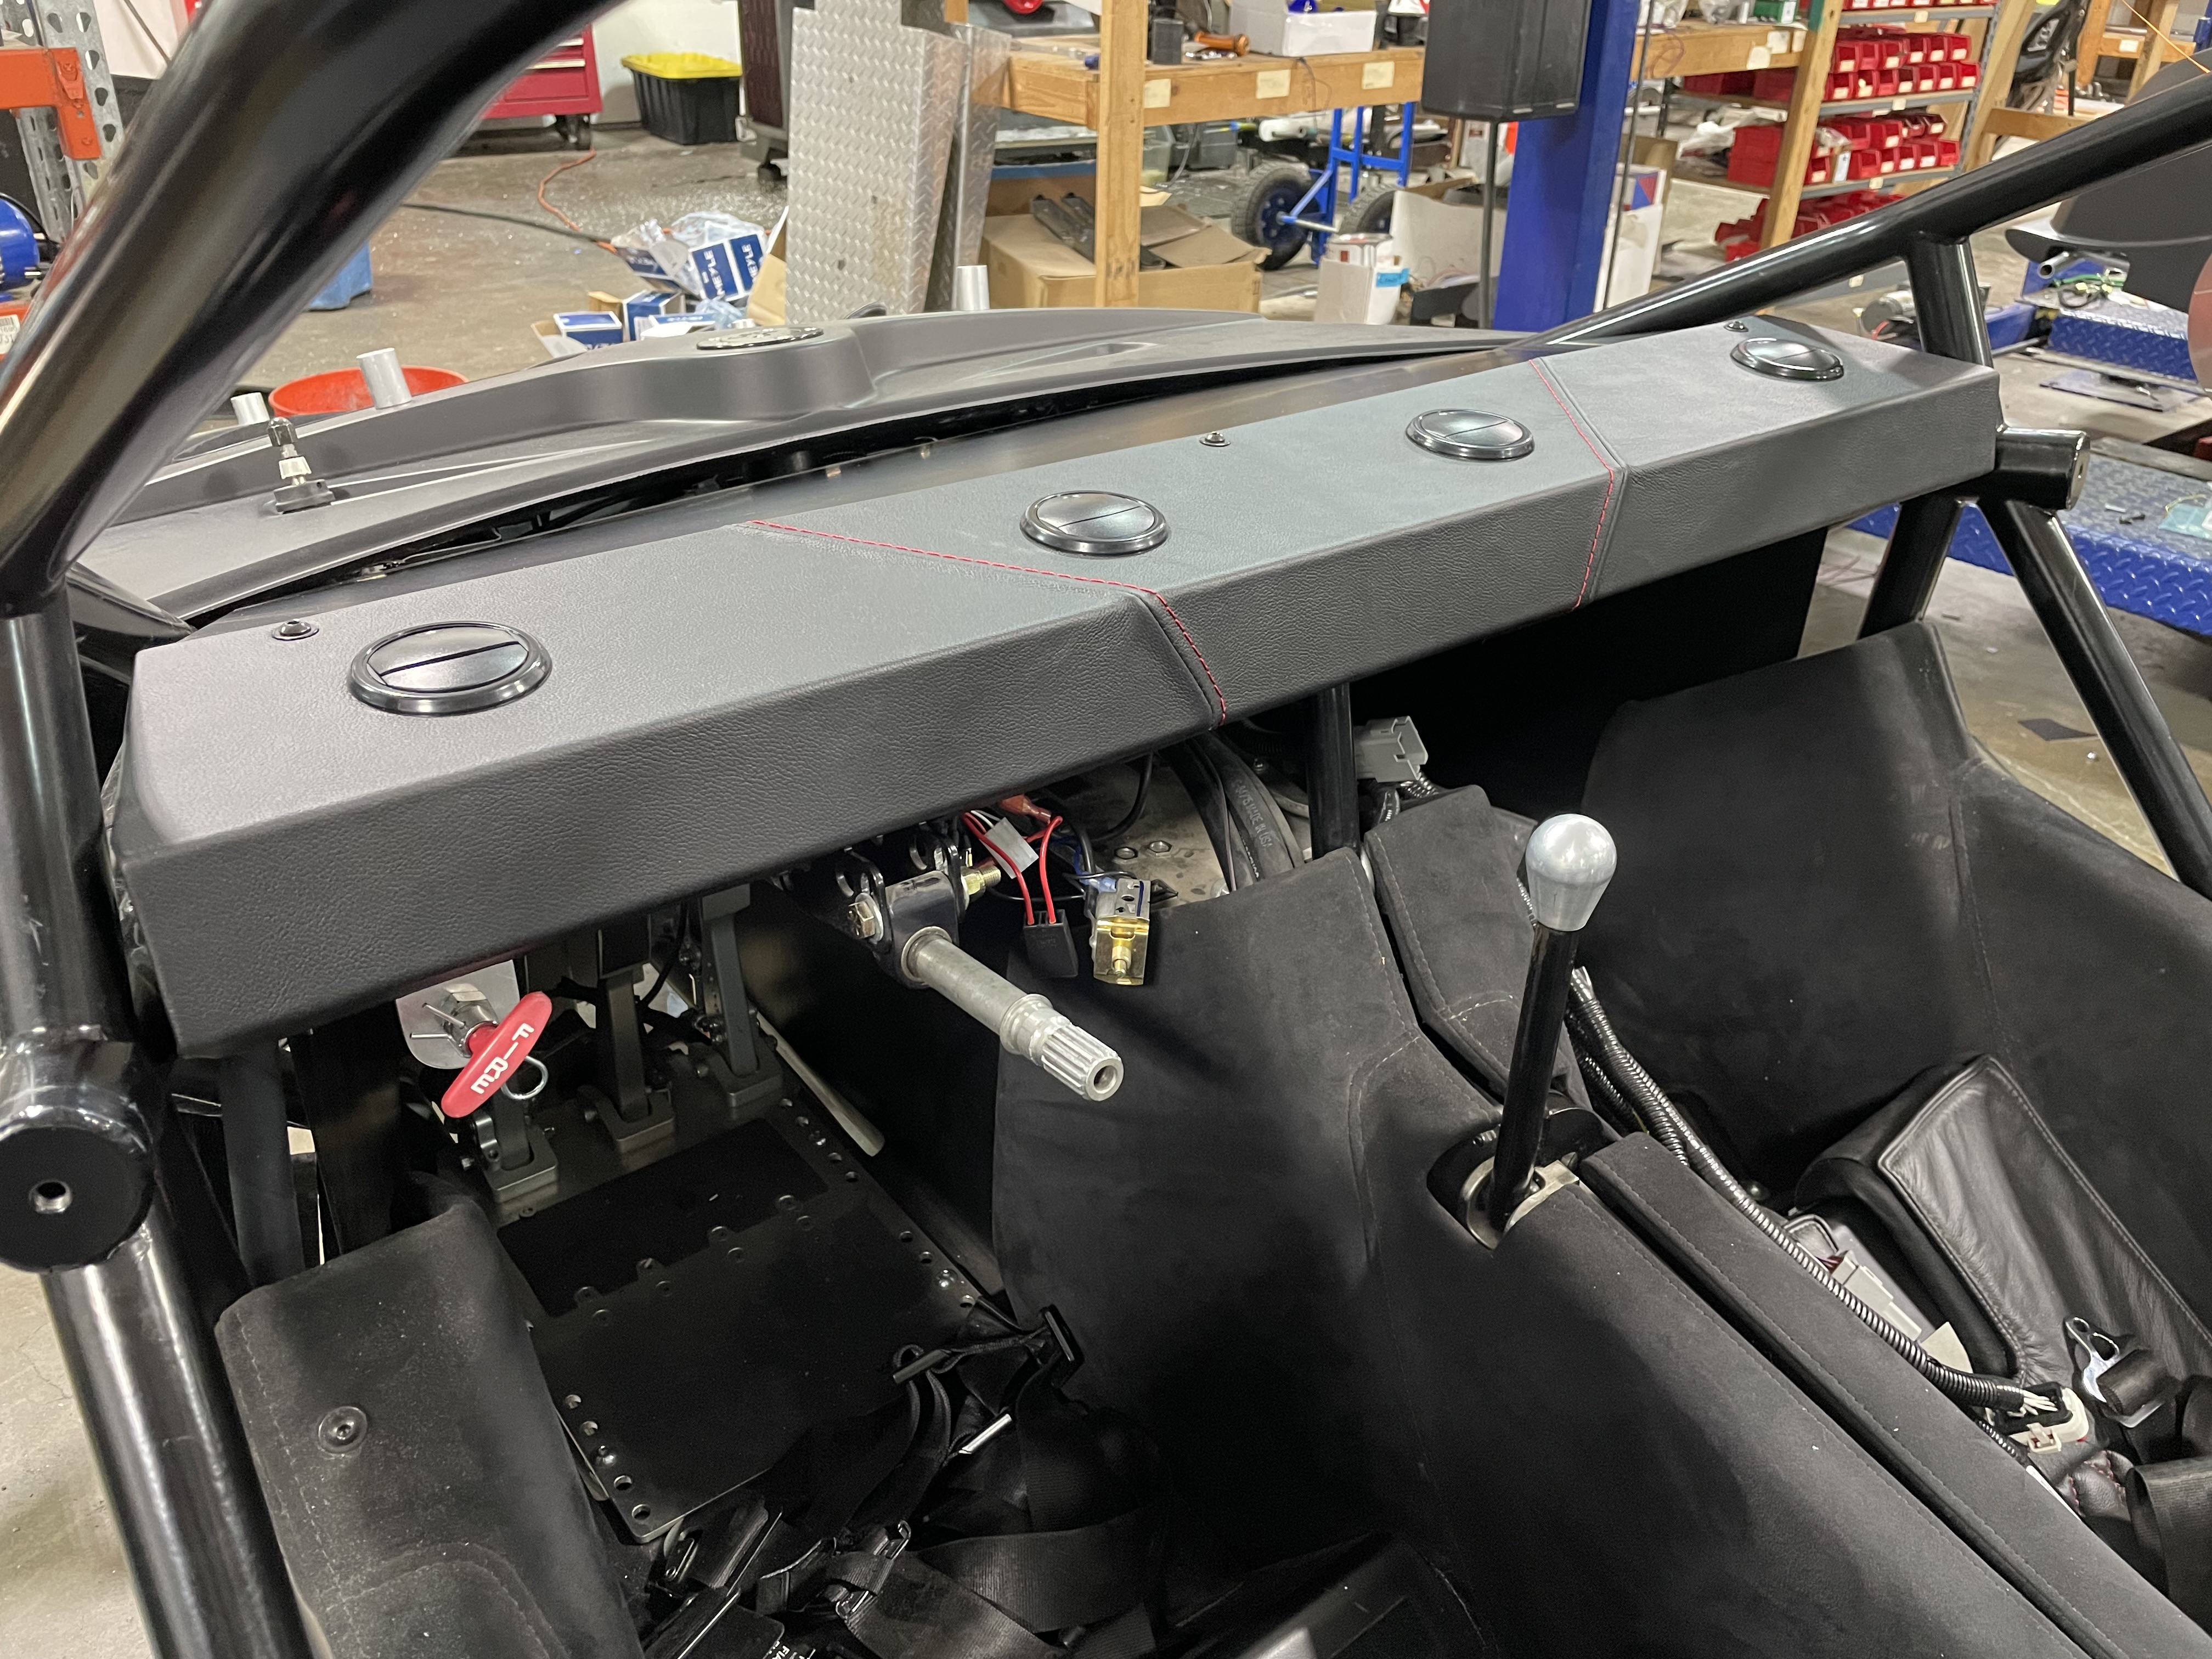 Custom dash upholstery with strategically placed seams.
 Dash upholstery seams were made to mimic the seat upholstery.
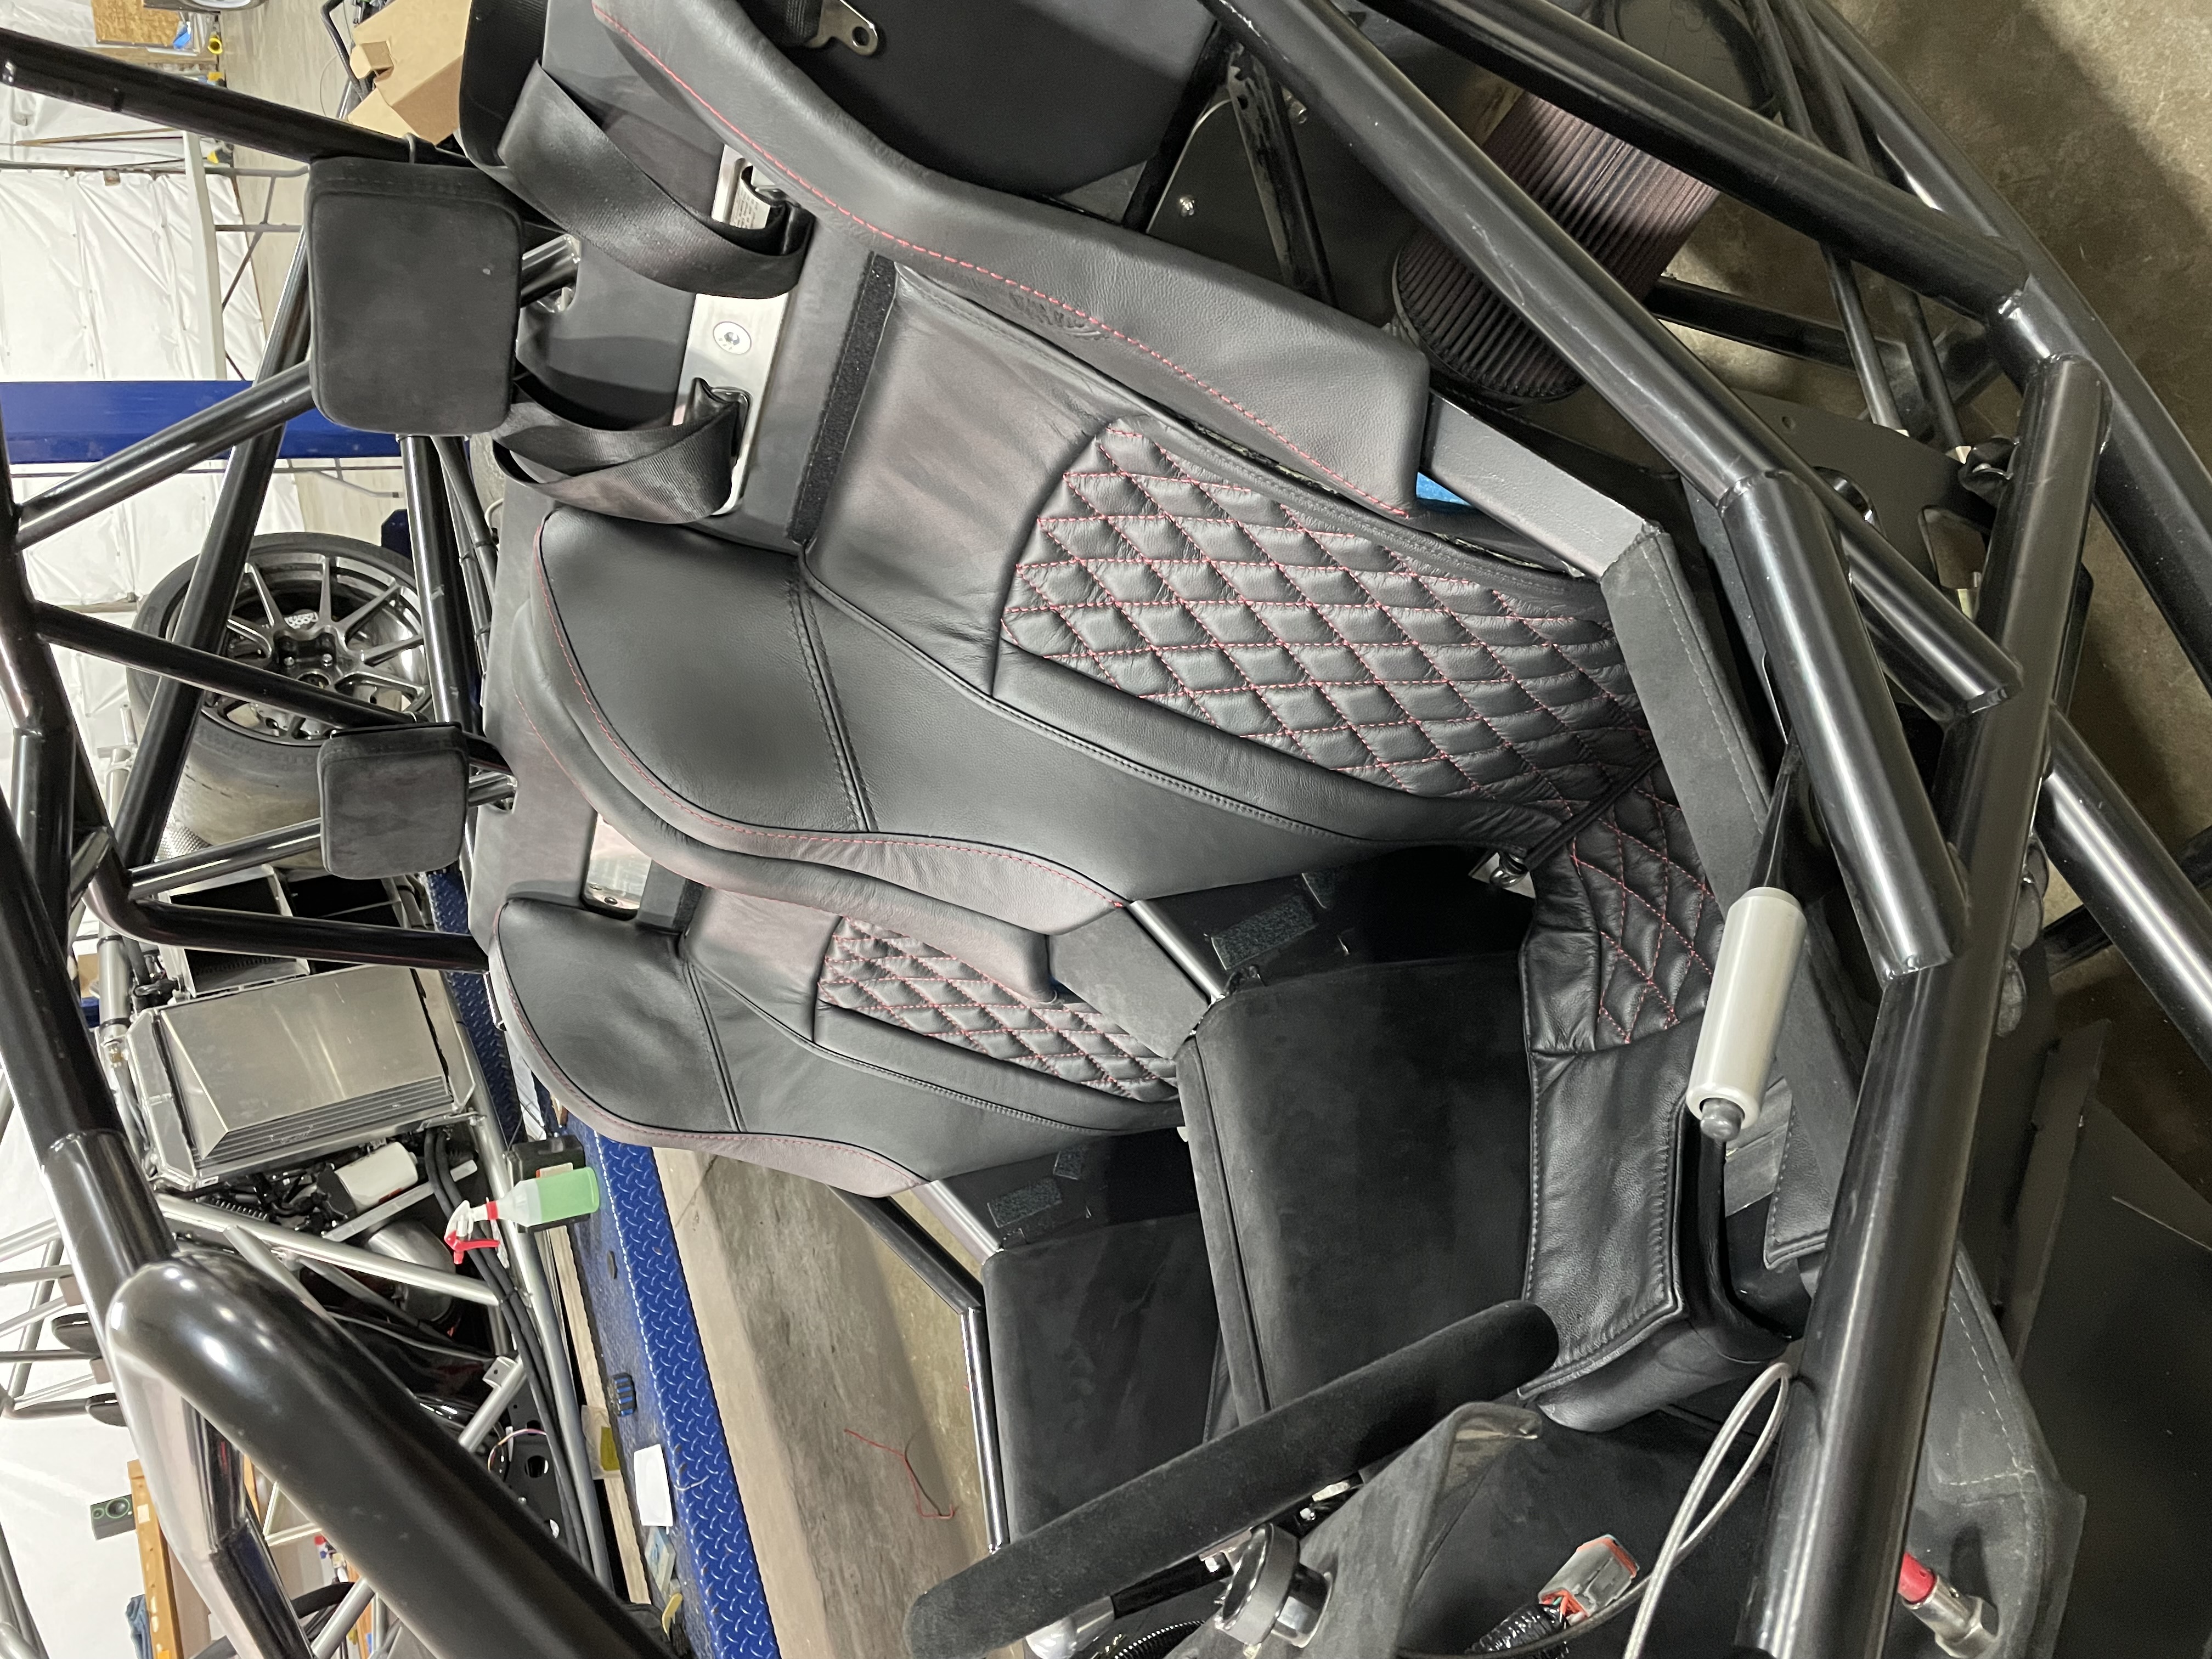 Seats installed in the car.
Back to Top
Track Car Projects
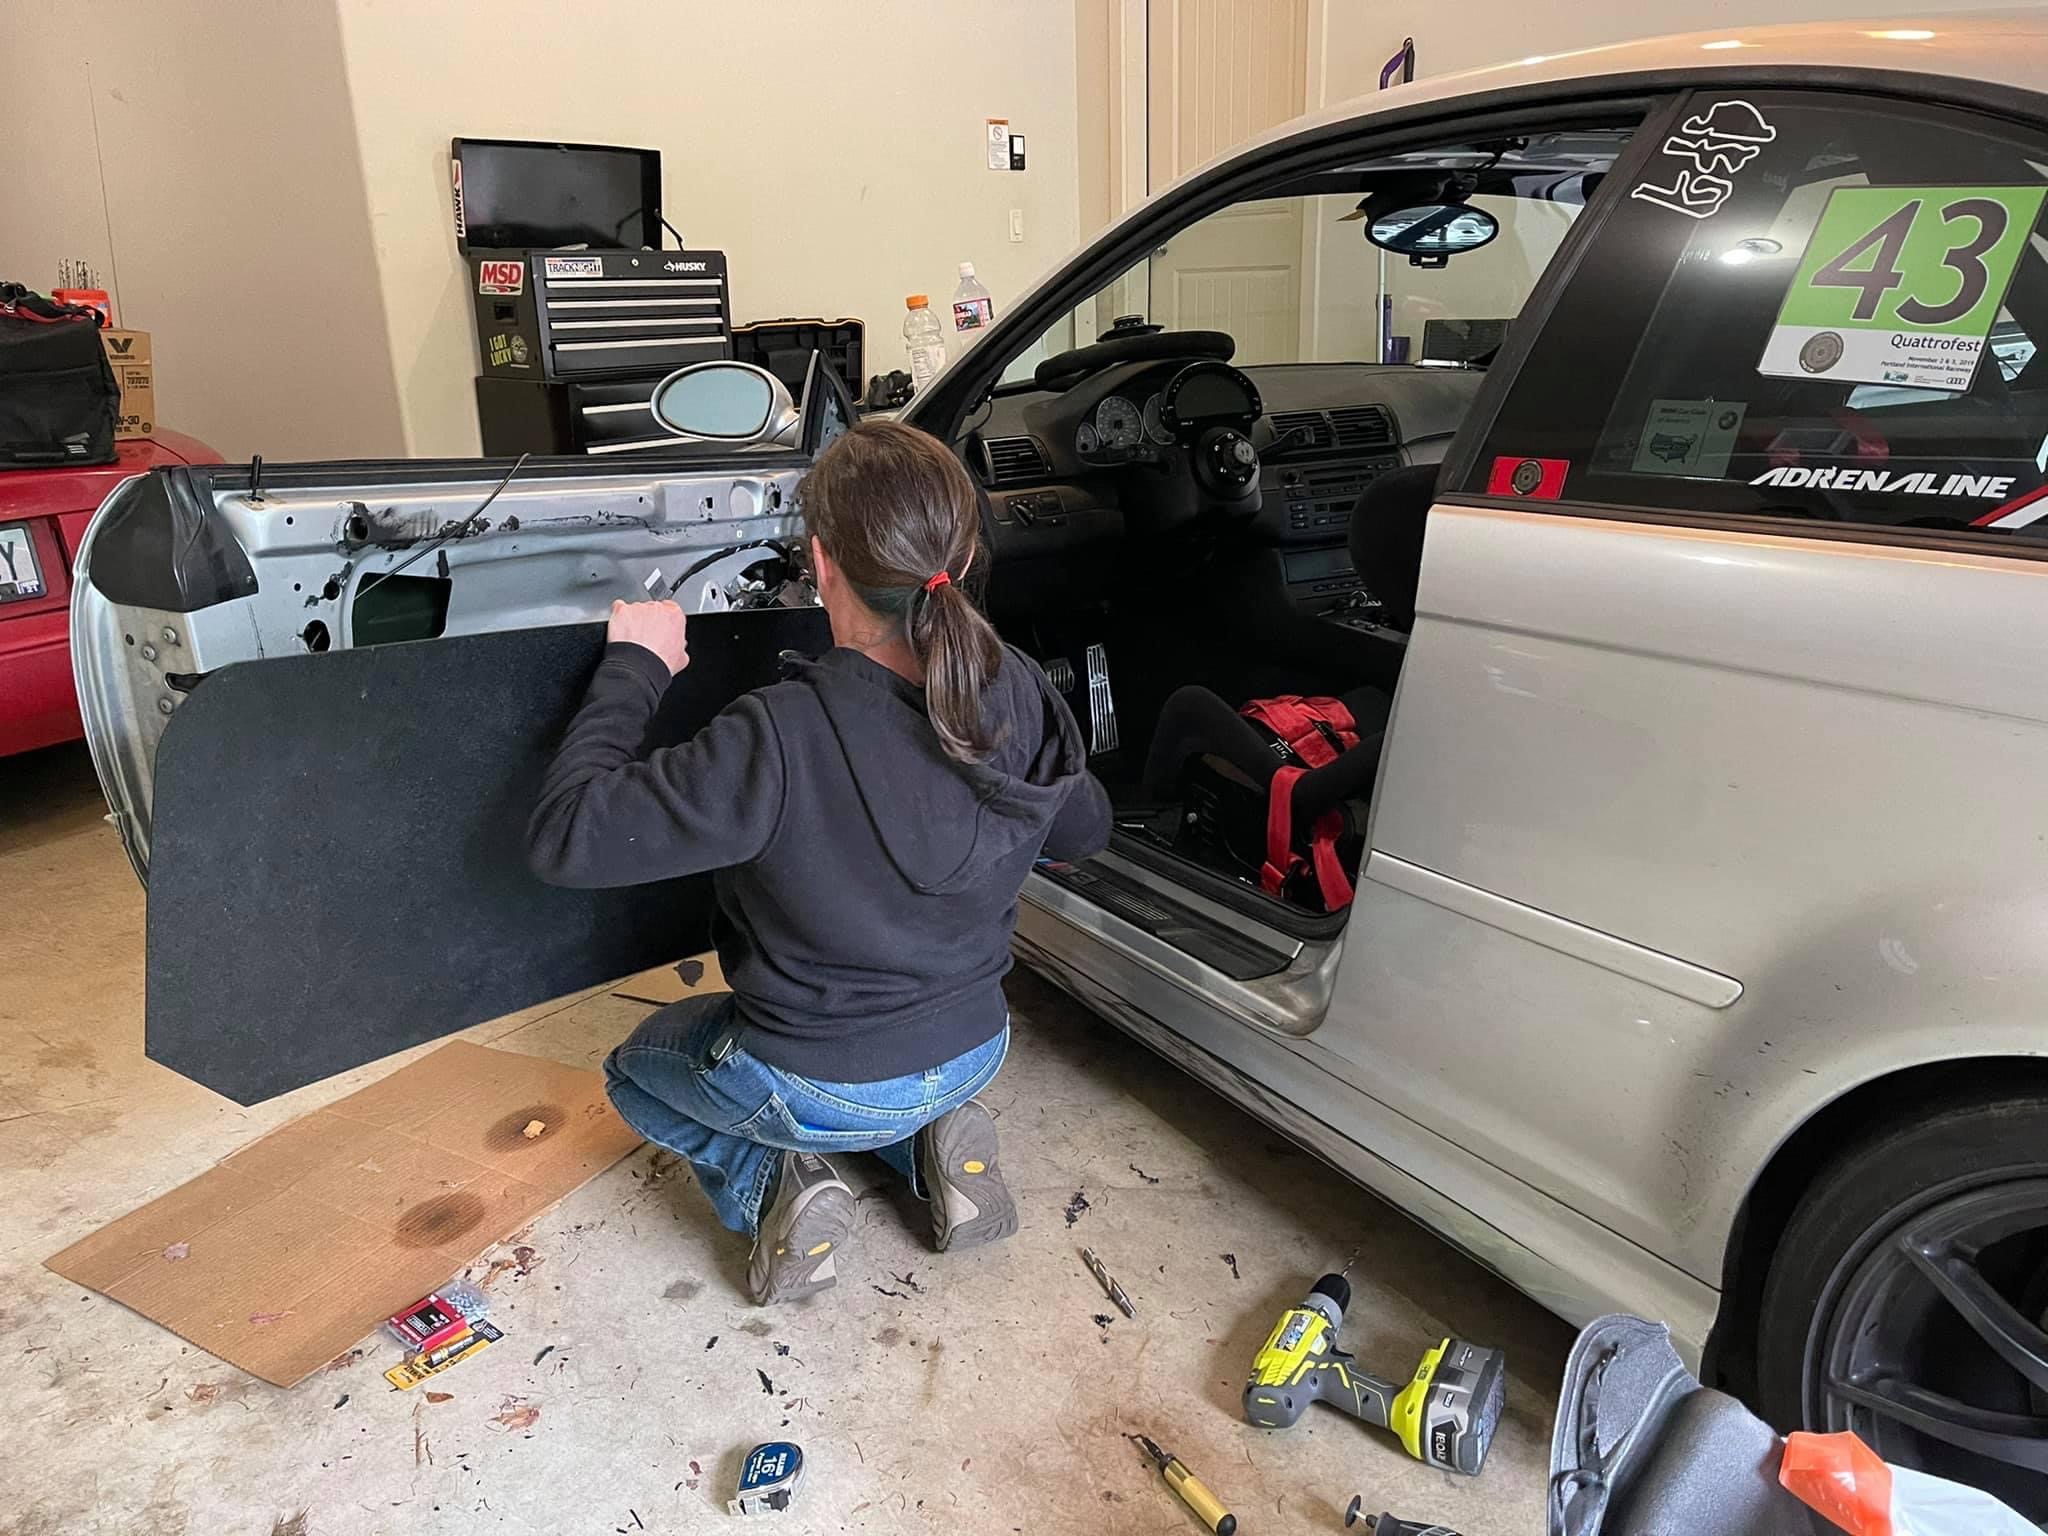 Installing a plastic door card into a friend's track car, to reduce weight.
 Door card successfully installed!
 Another door card on a friend's track car, successfully installed.
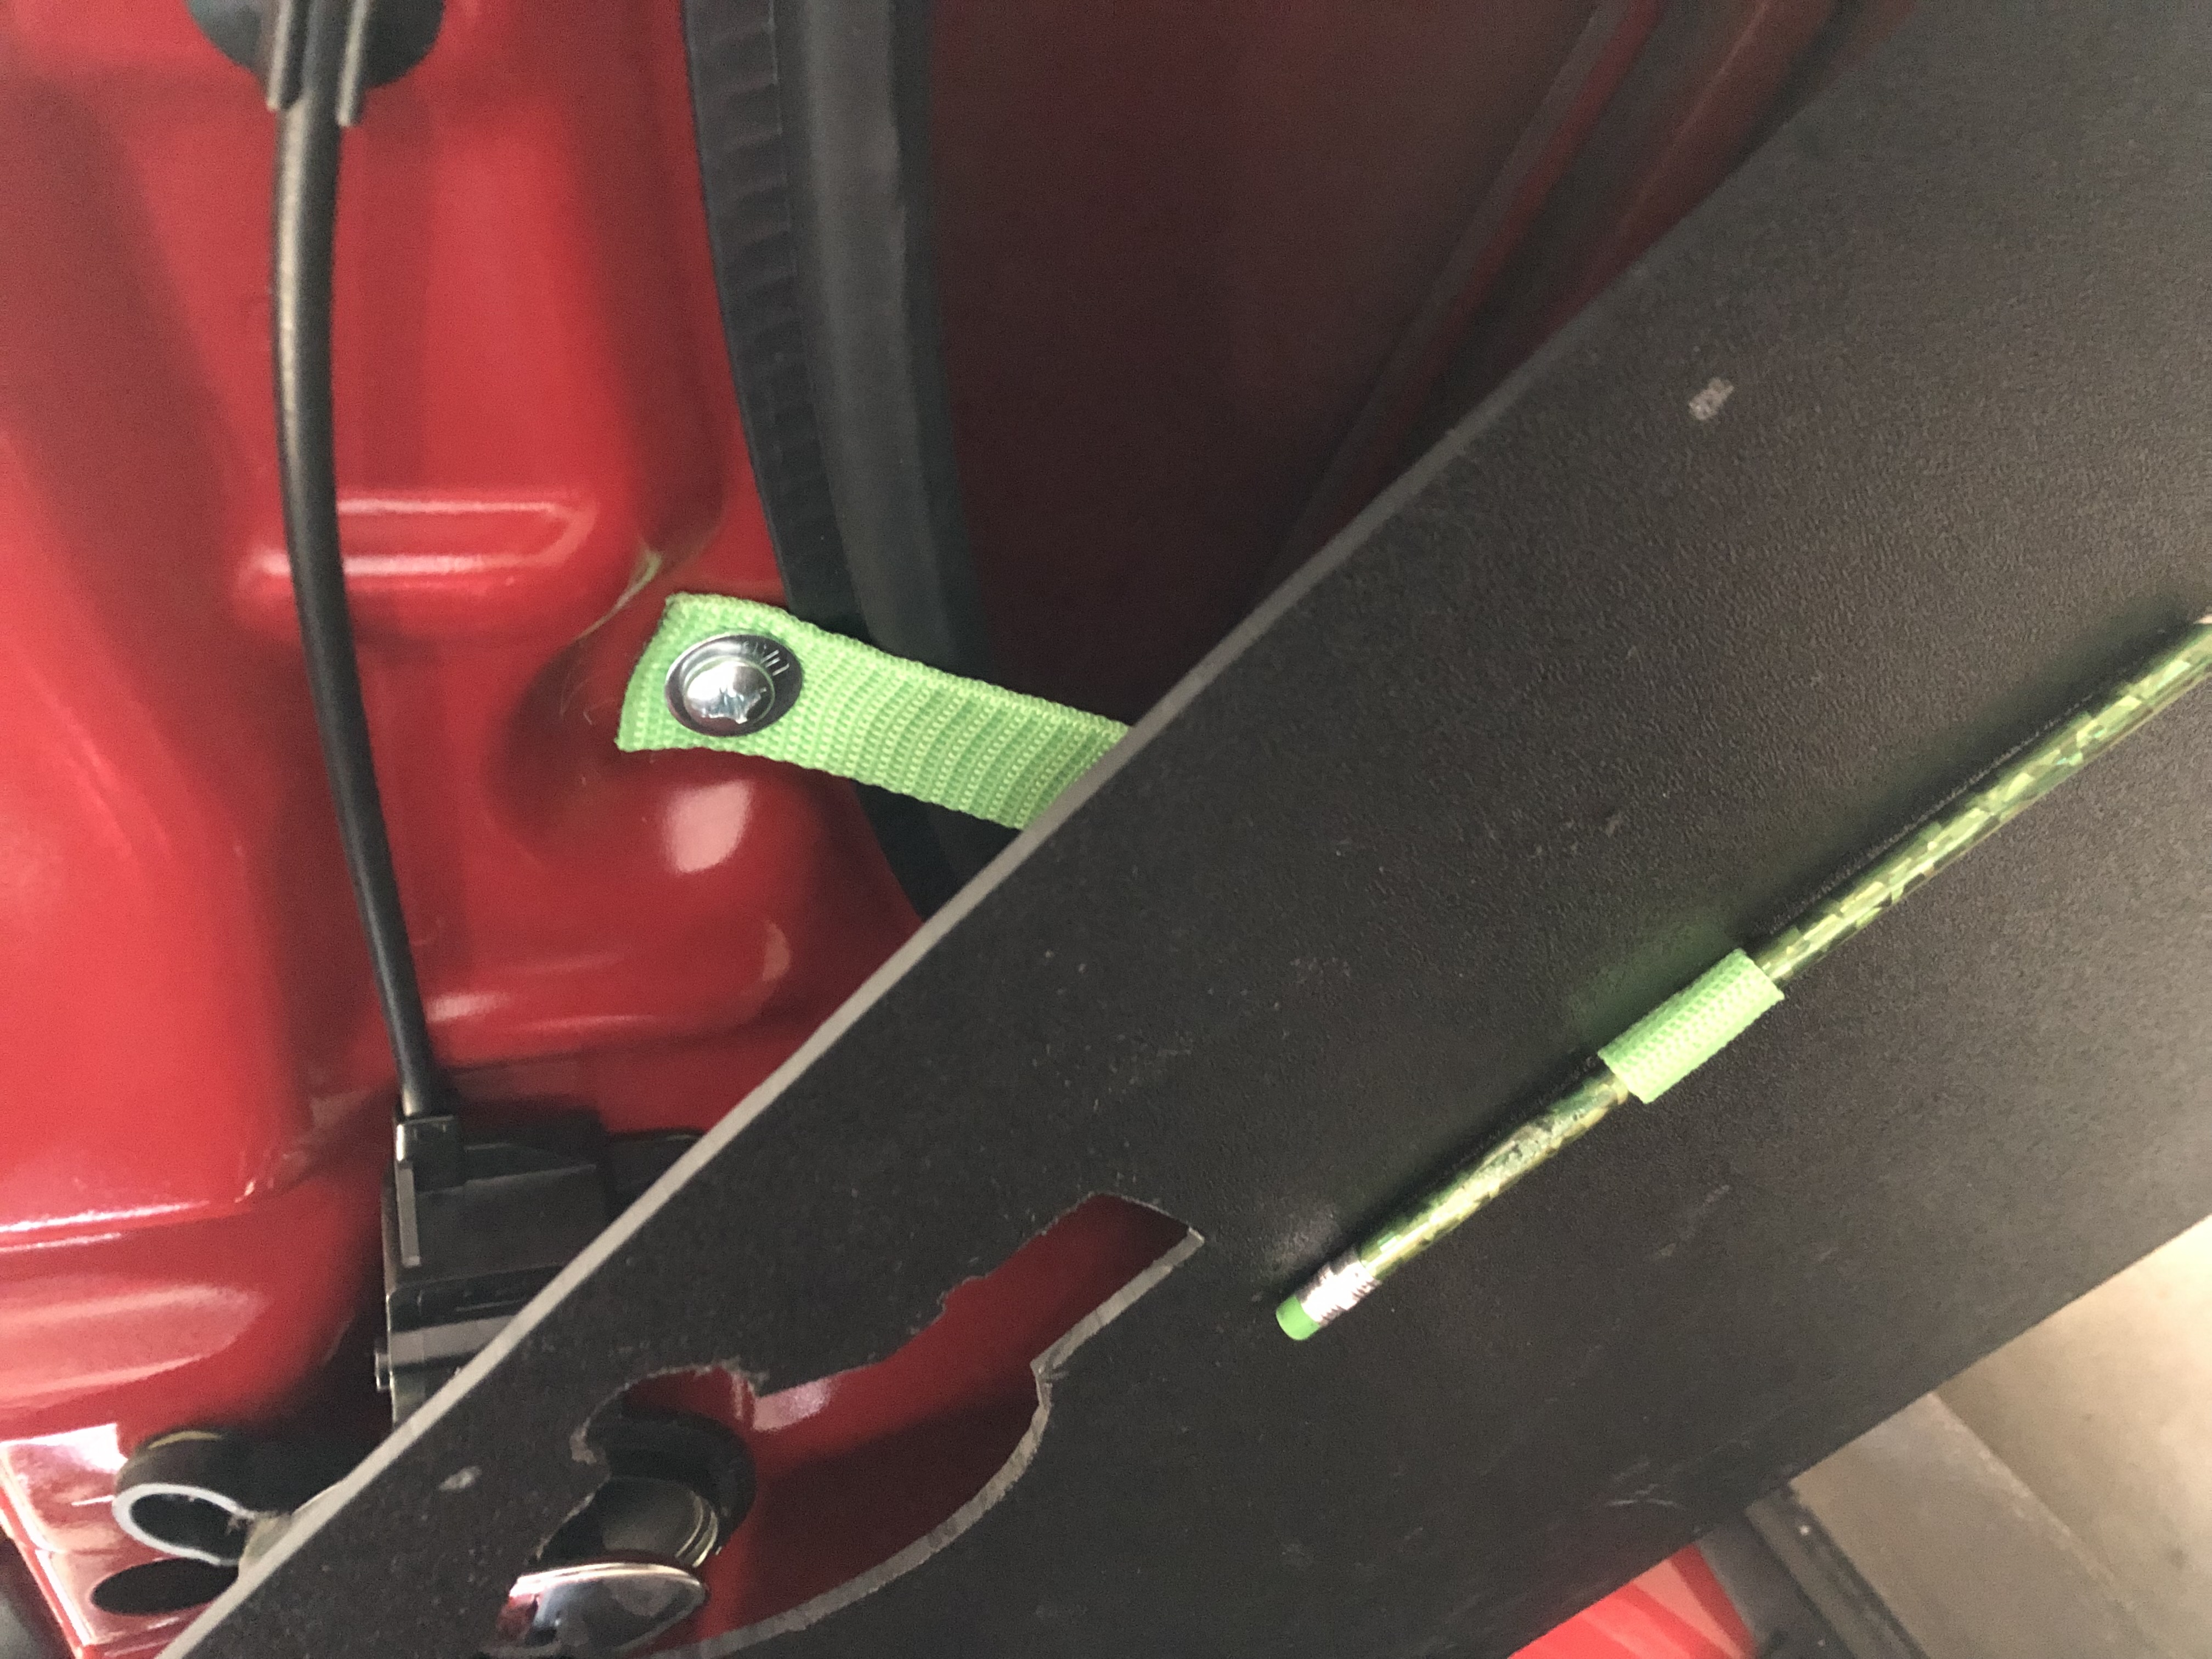 I always mount the pull strap directly to the door's frame.
Back to Top
3D Printing / CAD
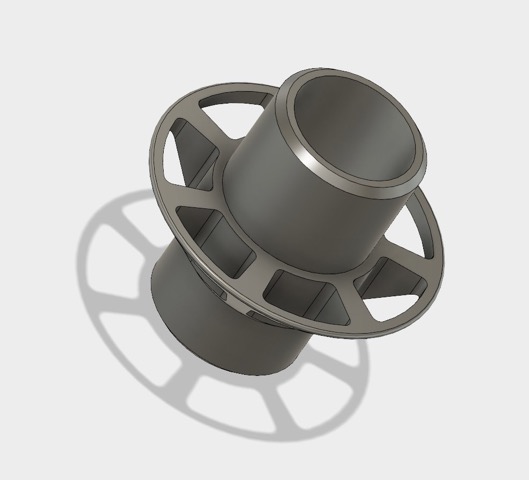 3D printed thread cone stacker, for quilting thread.
 Watch the cone stacker in action!
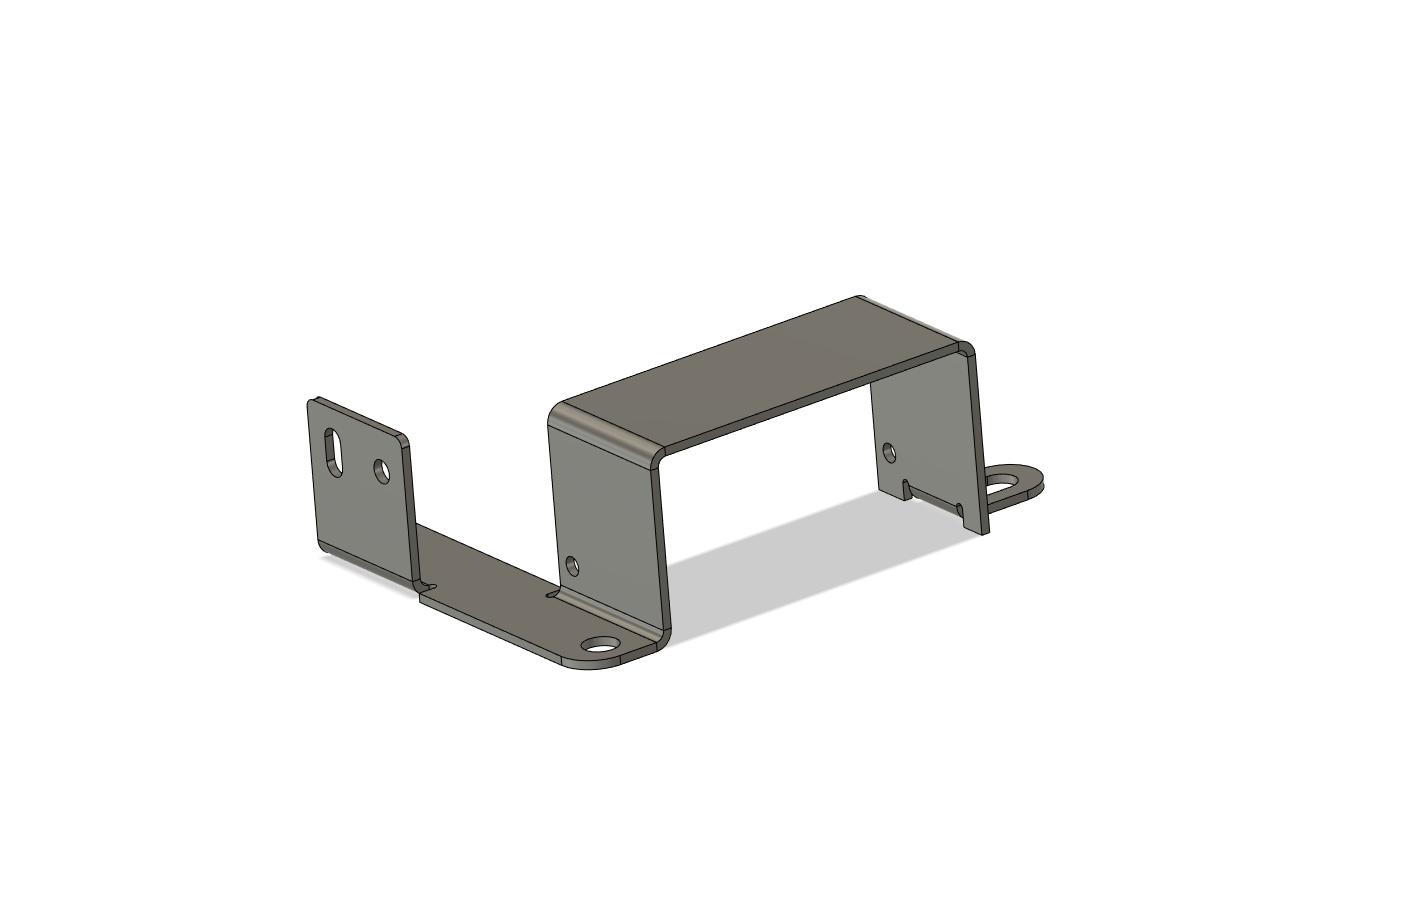 Stainless steel spinner bracket, reversed from original design.
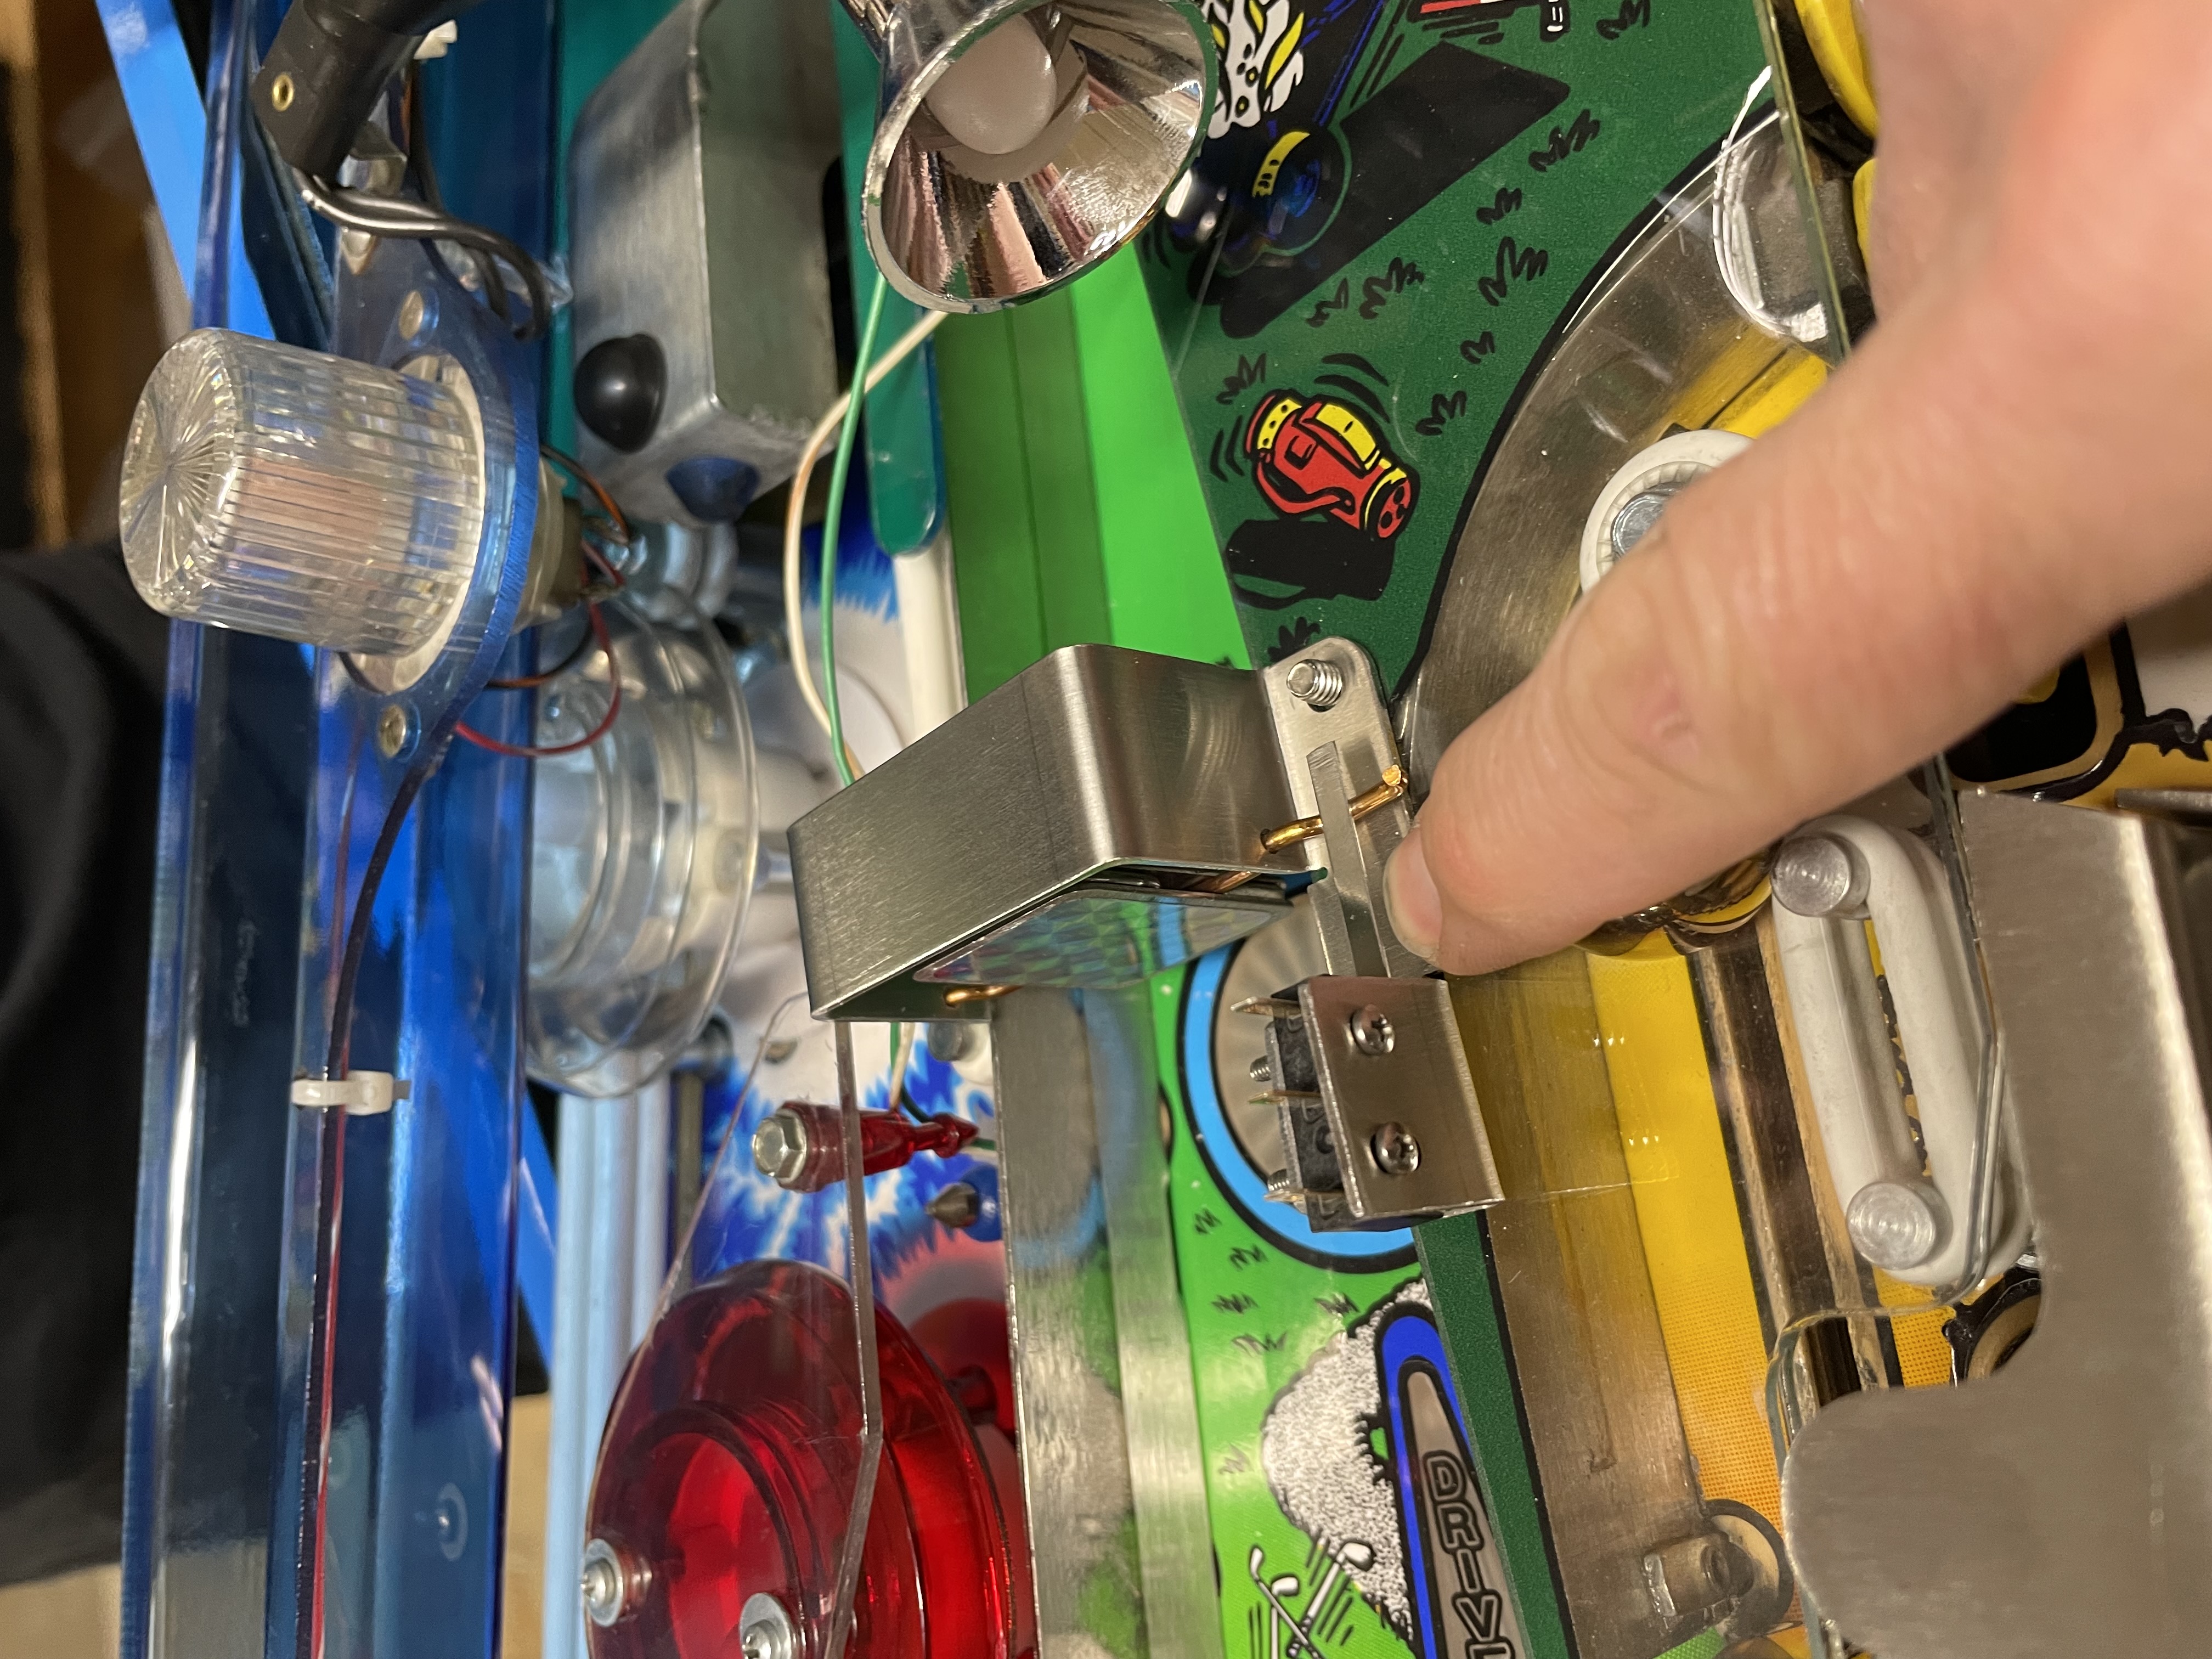 The finished part, installed in the machine..
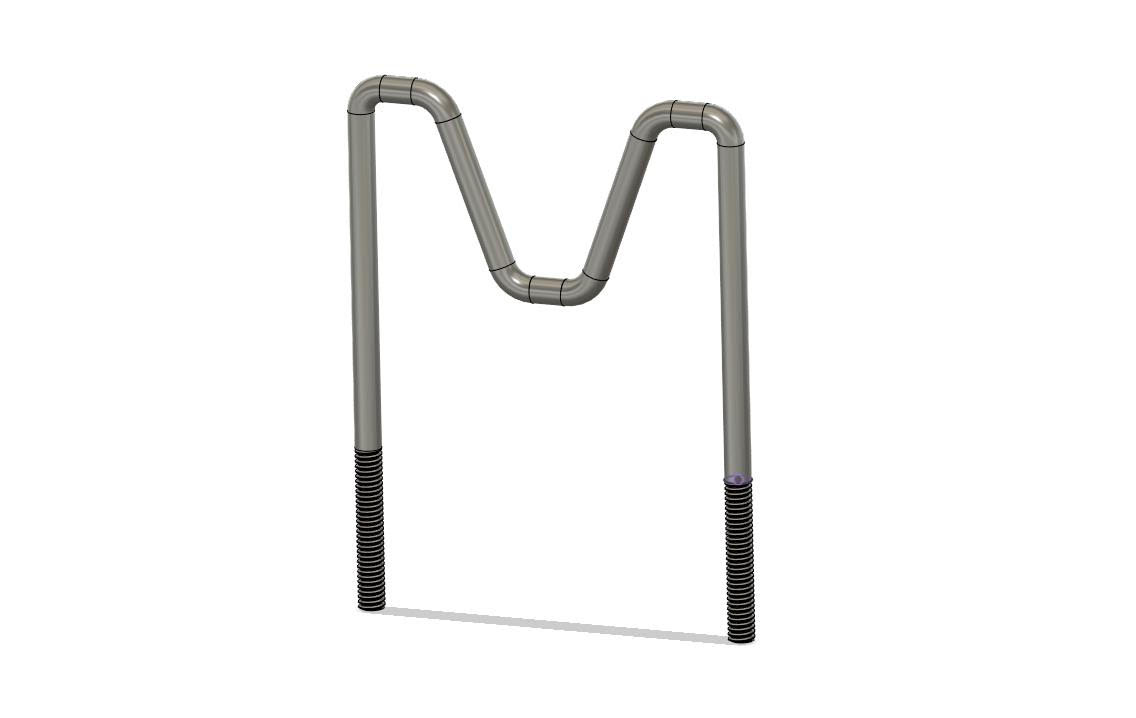 Redesign of a bent wire form that usually simply embeds into the playfield, this one will go through and bolt in place.
Design is still in progress...
 Here are both cube seating components, installed in a seat.
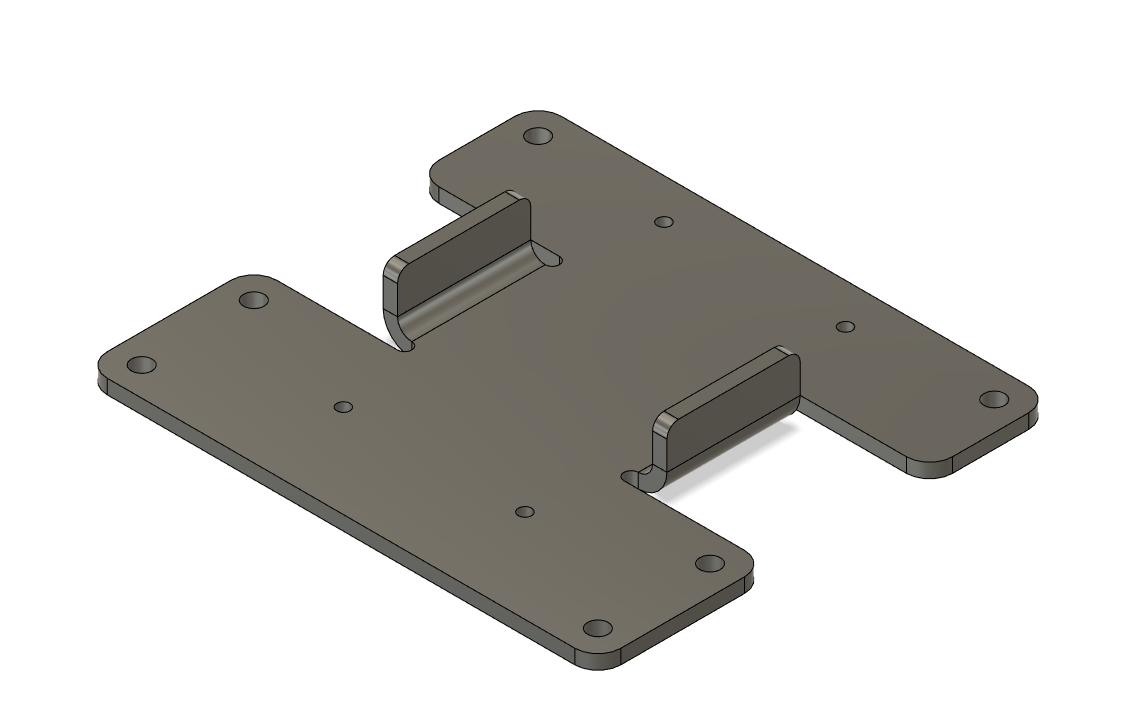
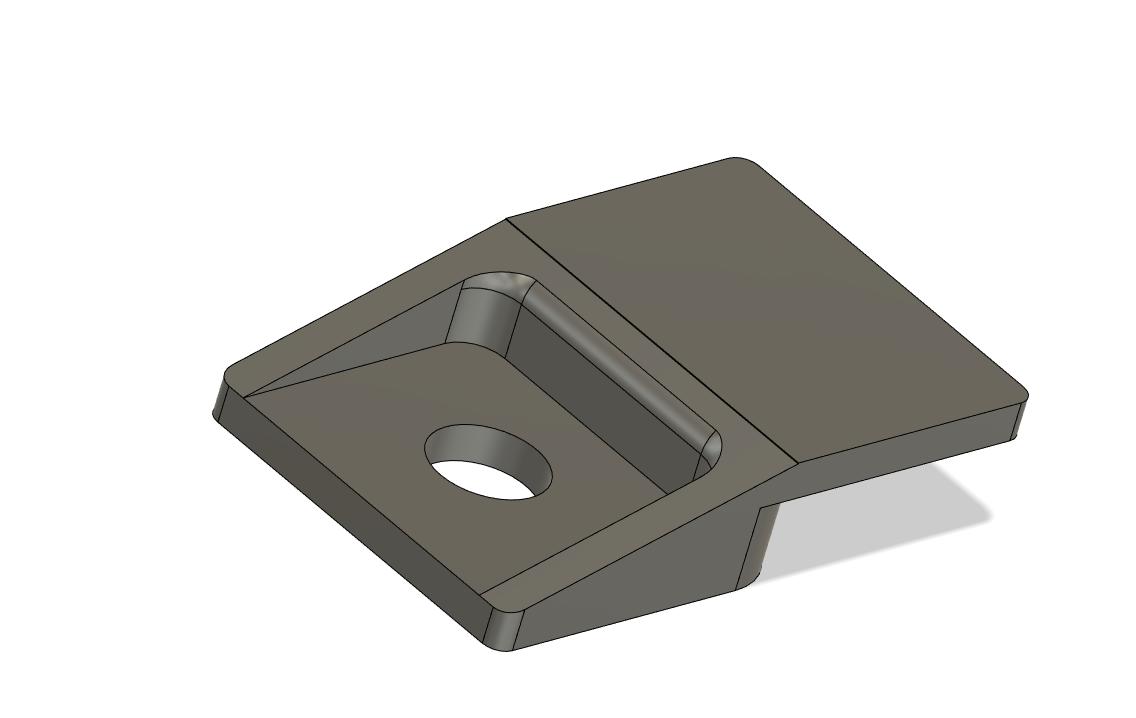 3D printed recreation of a bezel bracket for Midway video game cabinets. Top view.
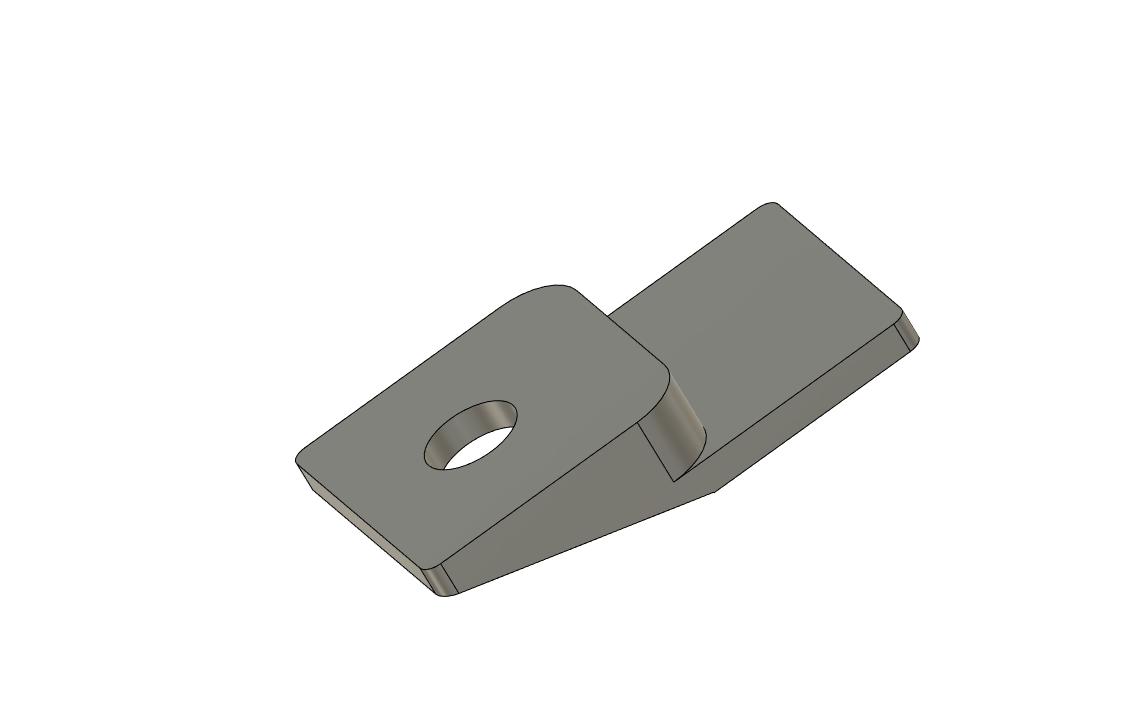 3D printed recreation of a bezel bracket for Midway video game cabinets. Bottom view.
 Design for a new wire spool rack for the Ground Kontrol tech office. Still in progress...
Back to Top
Coaching / Pit Crew Services
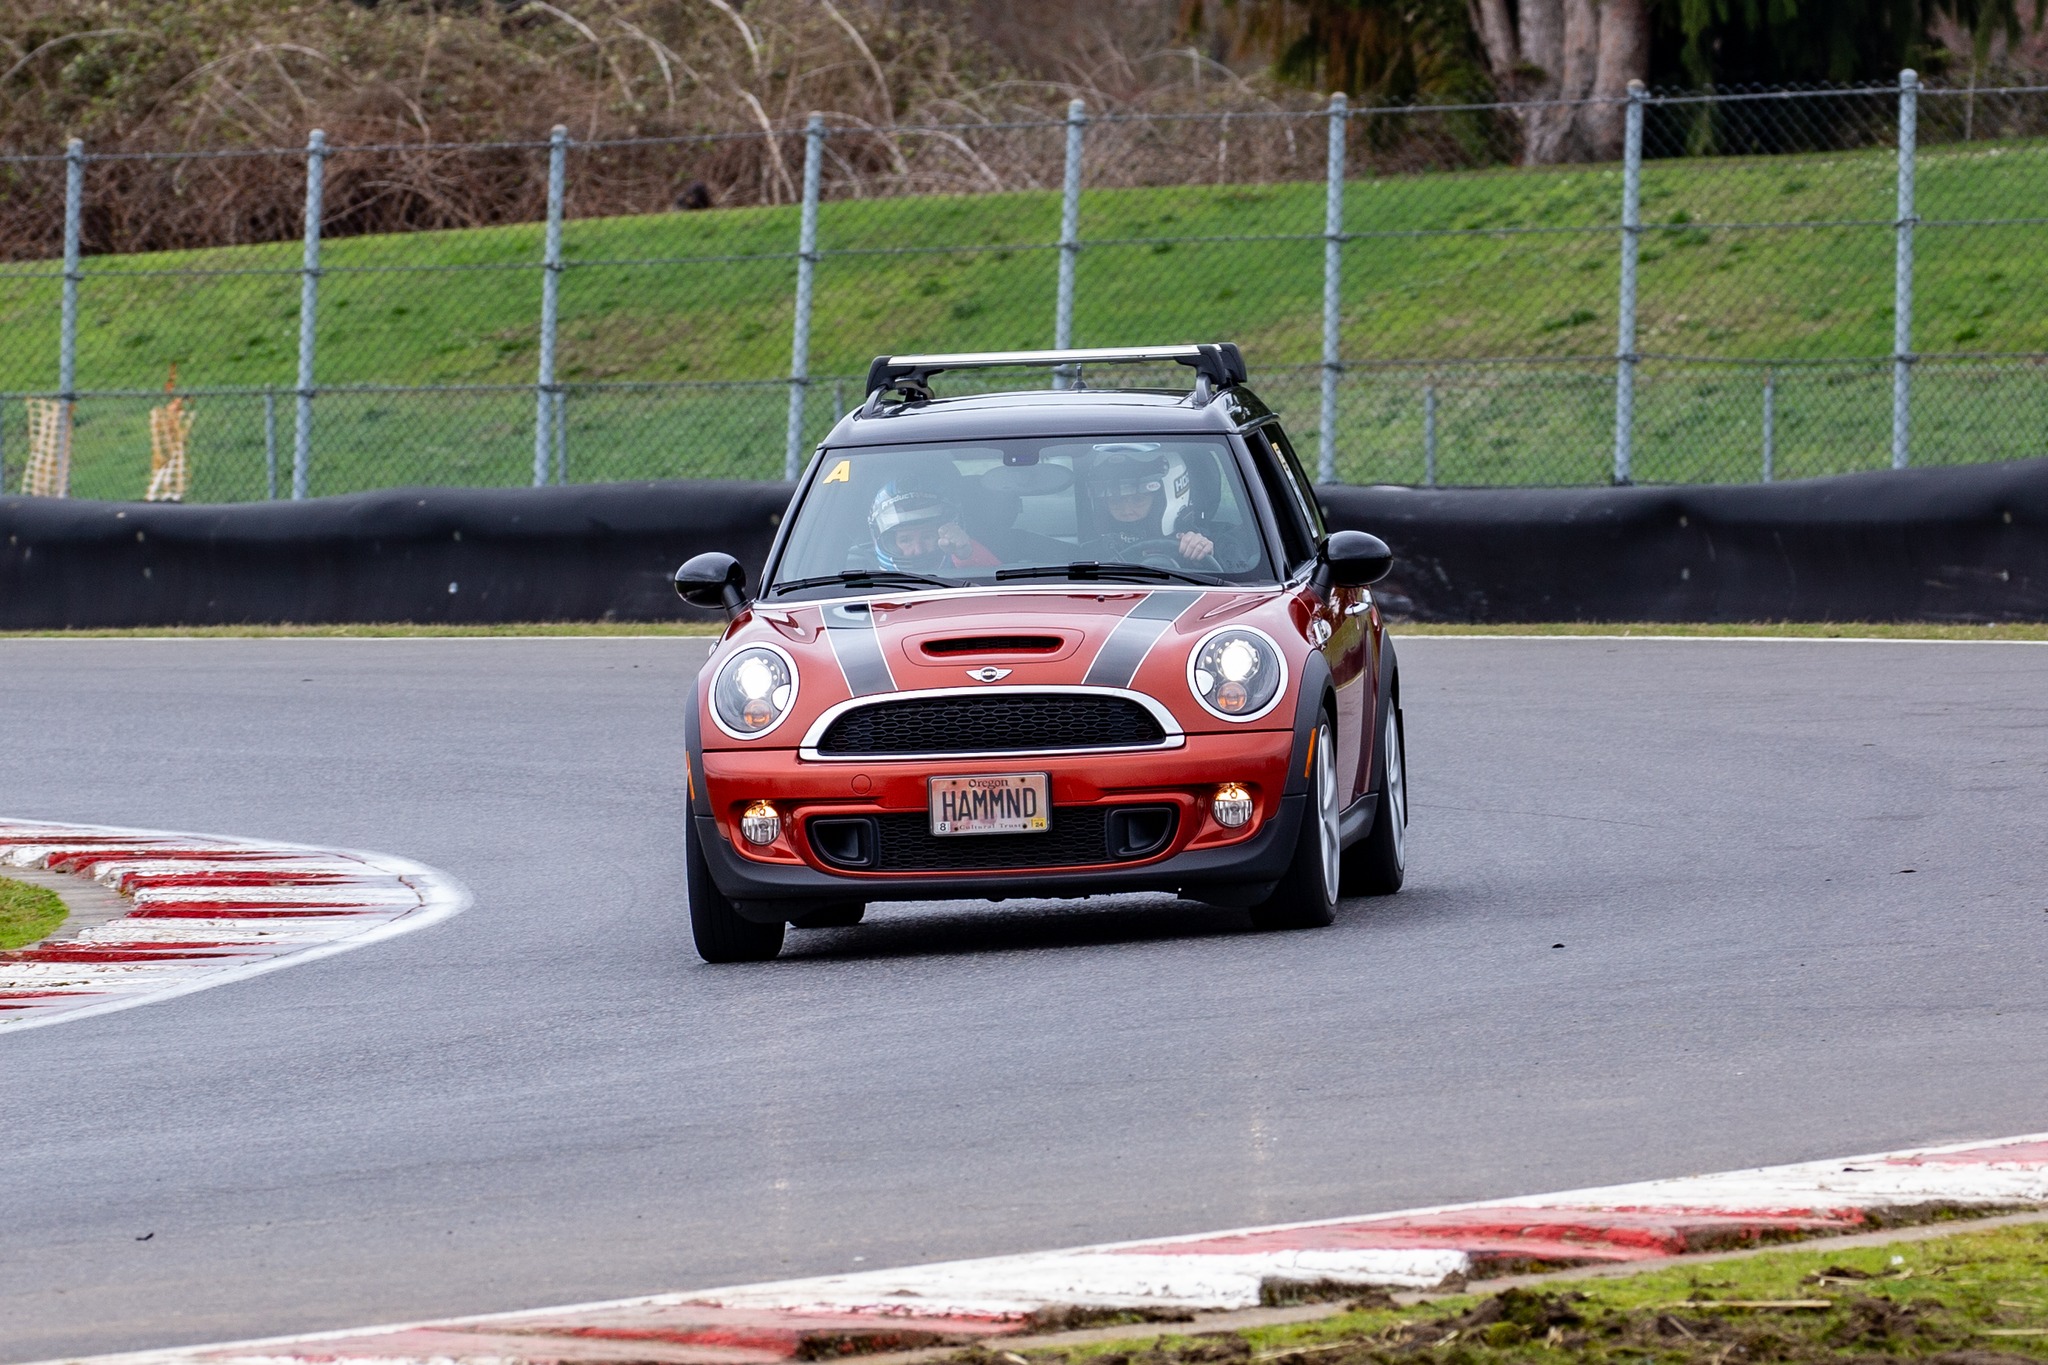 Demonstrating the amount of steering input needed for the corner. (You can see my hands!)
 Taking a student on a demo ride through an autocross course.
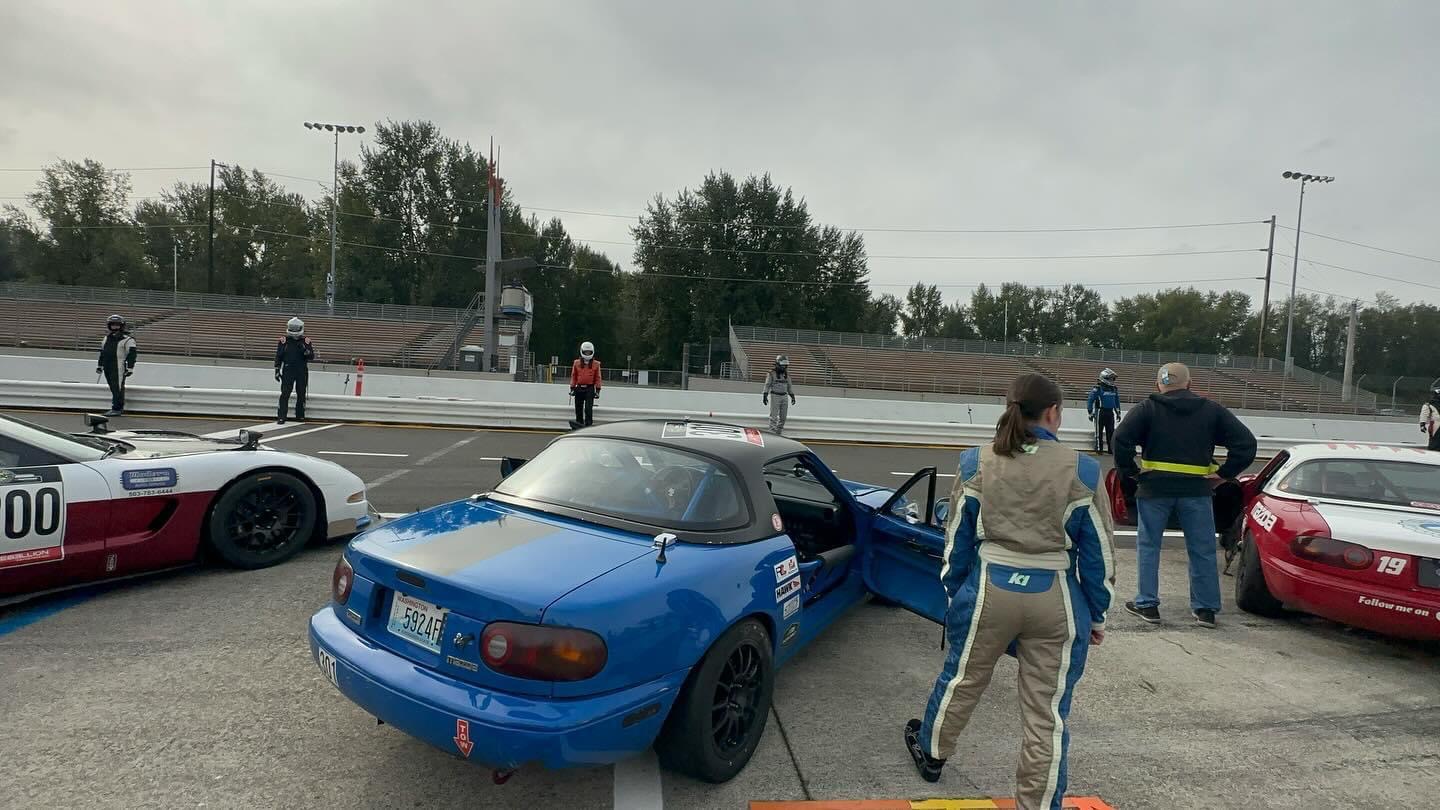
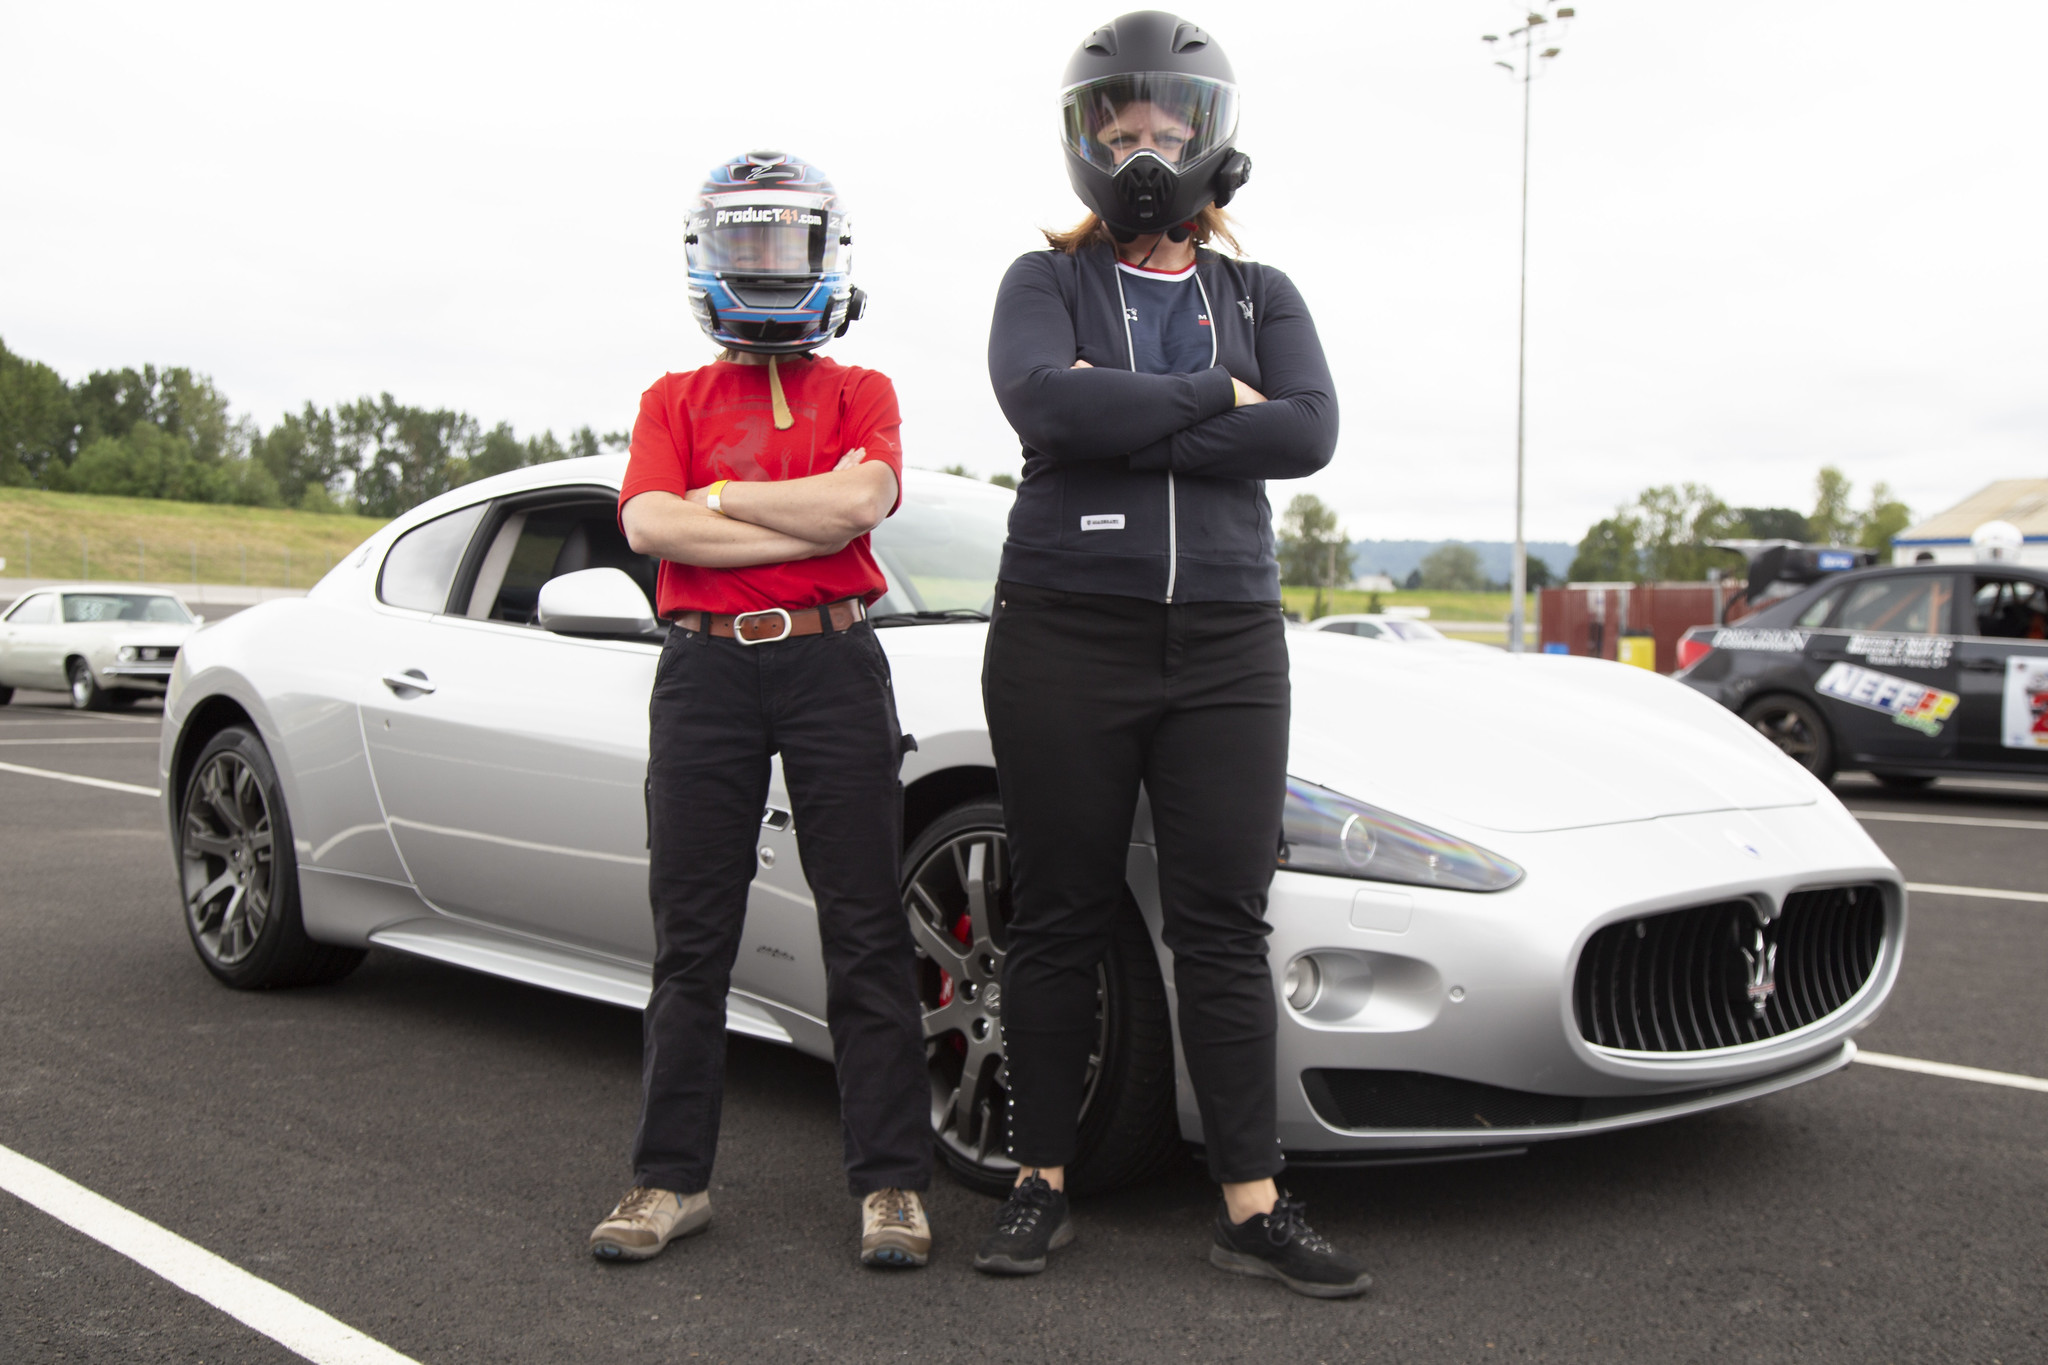 Me and my student at a Ferrari / Maserati private track day, doing our best Stig imitation.
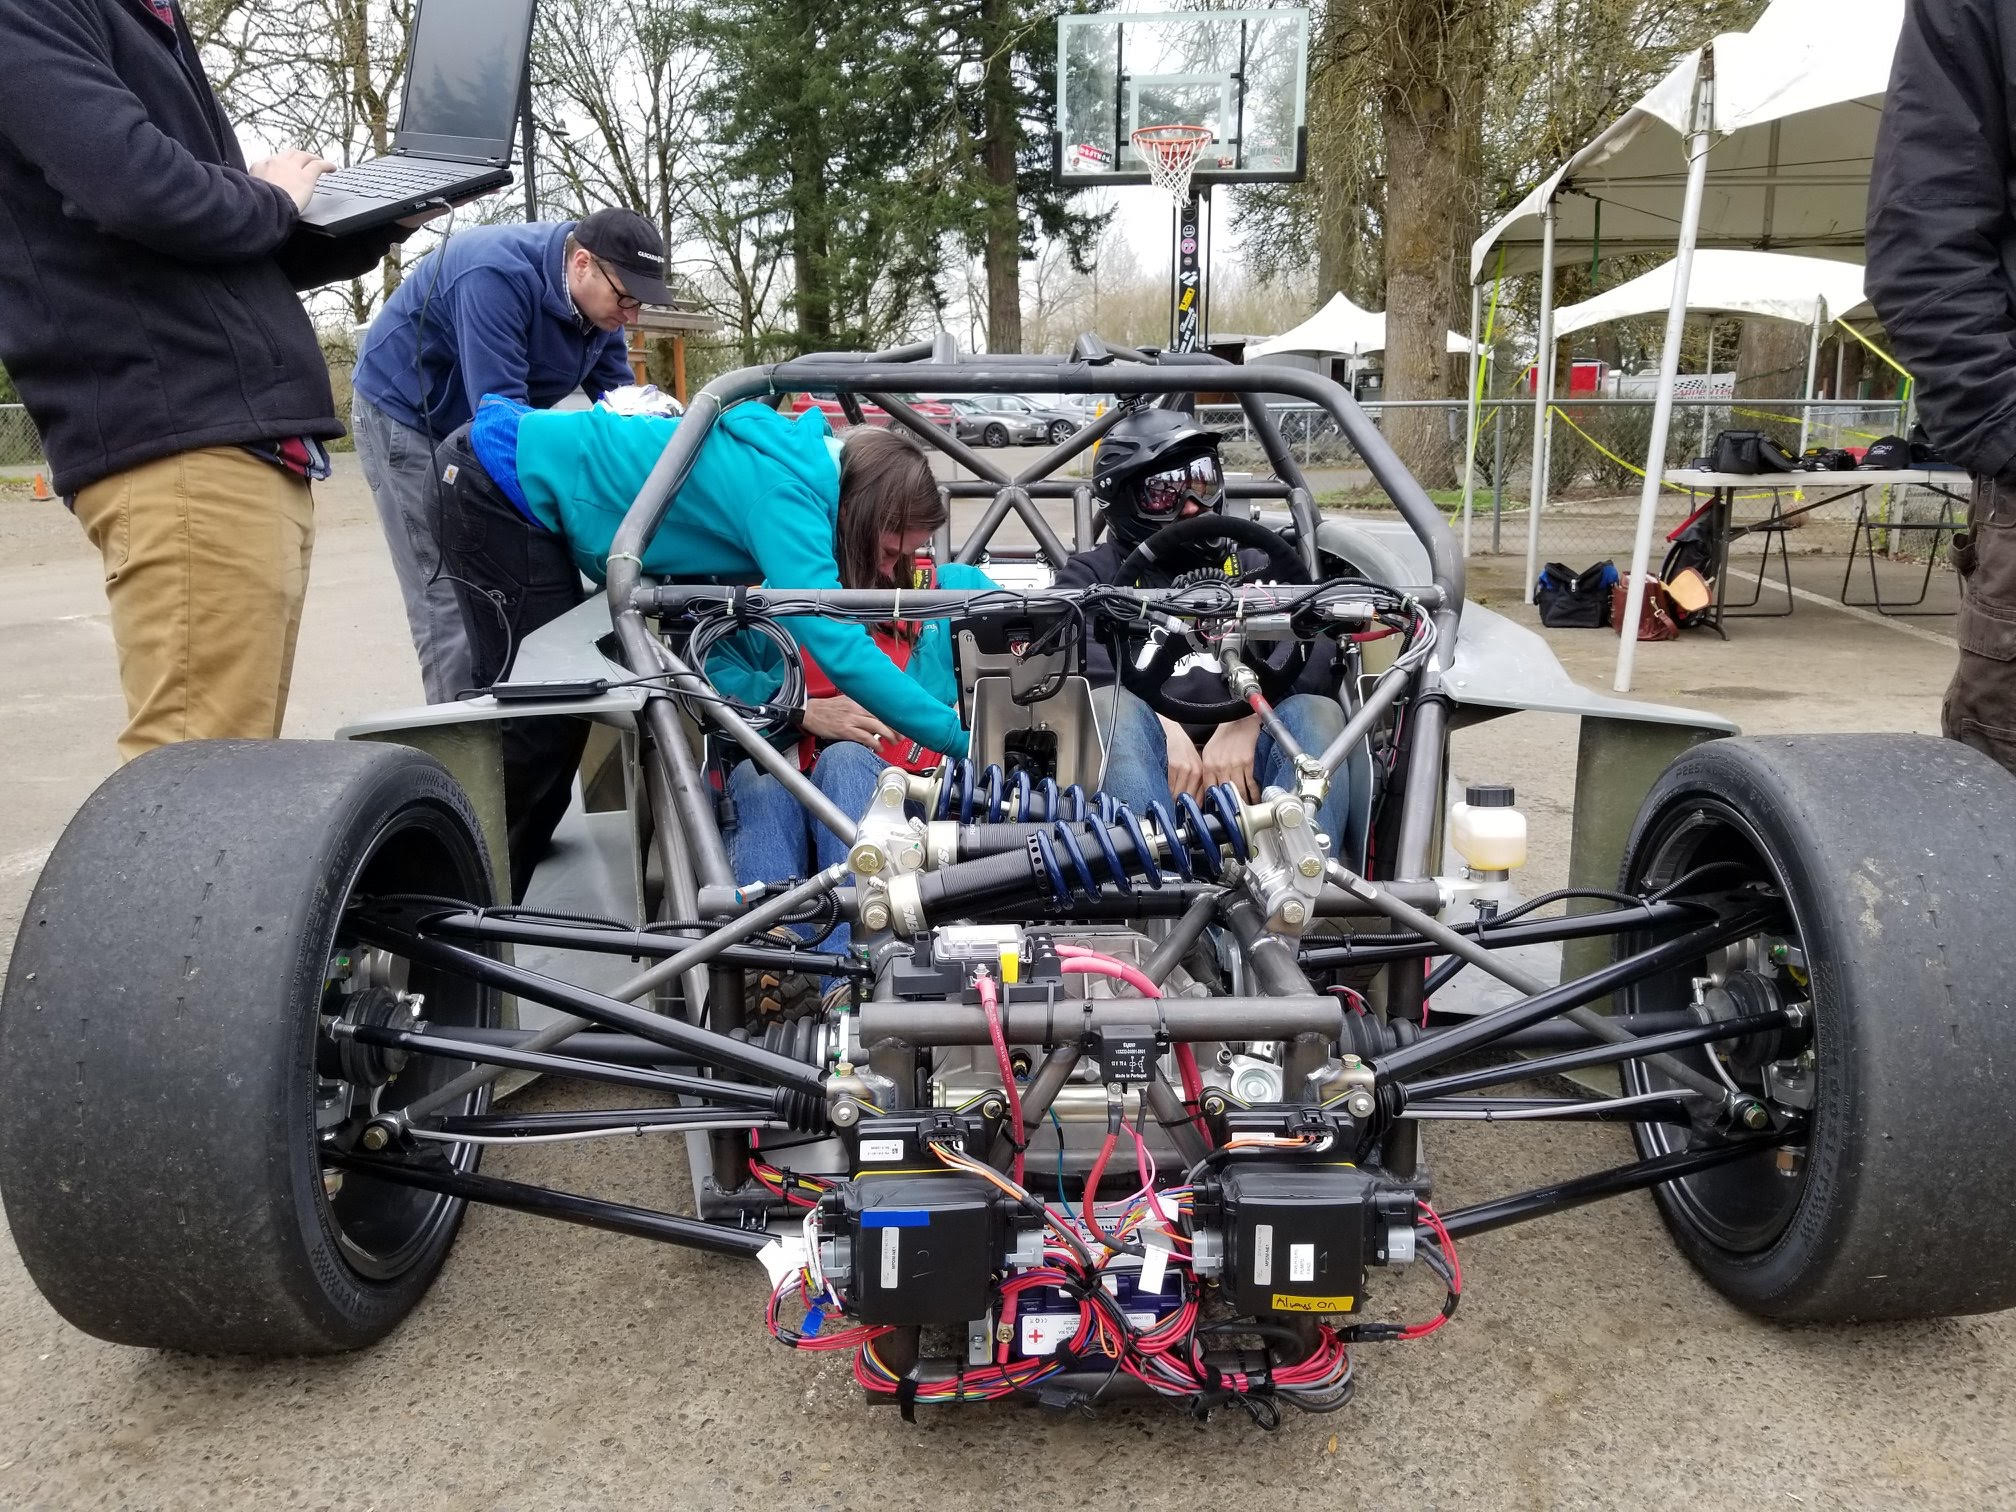 Helping one of the engineers strap in to the D2EV during an early development test.
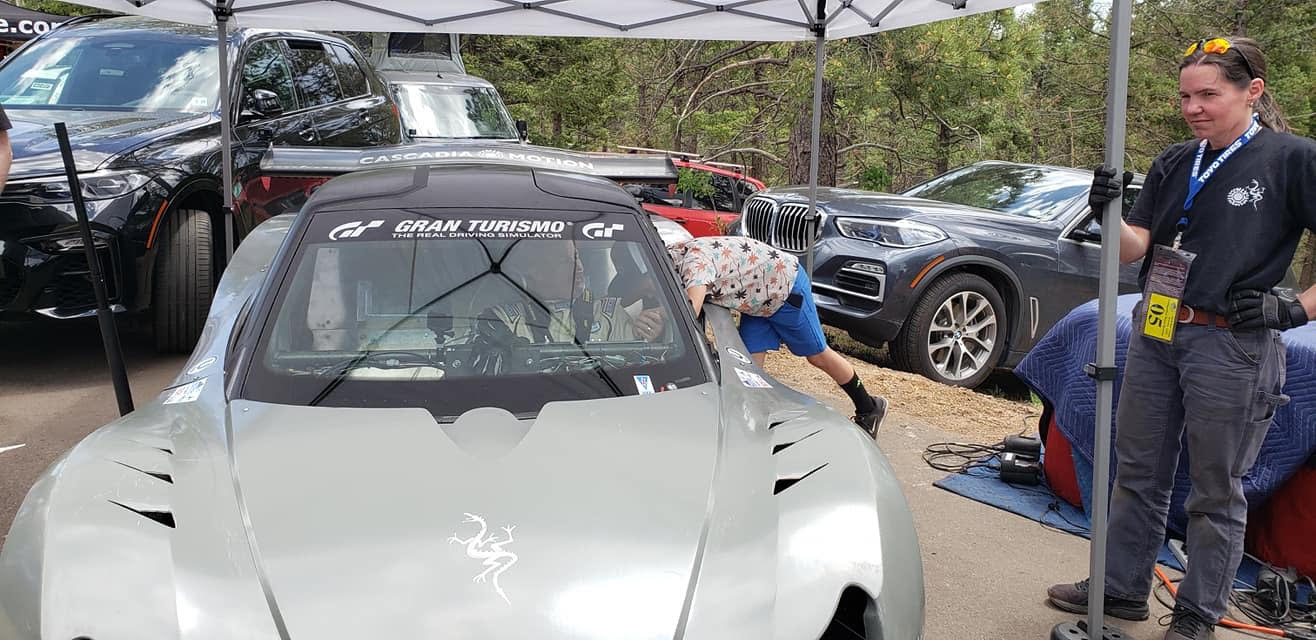 Standing by on race day at Pikes Peak, while our driver gets a pep talk from his son.
 Keeping the vehicle looking good while waiting for our turn up the mountain.
 One of my duties at Pikes Peak was to manage the tire warmers.
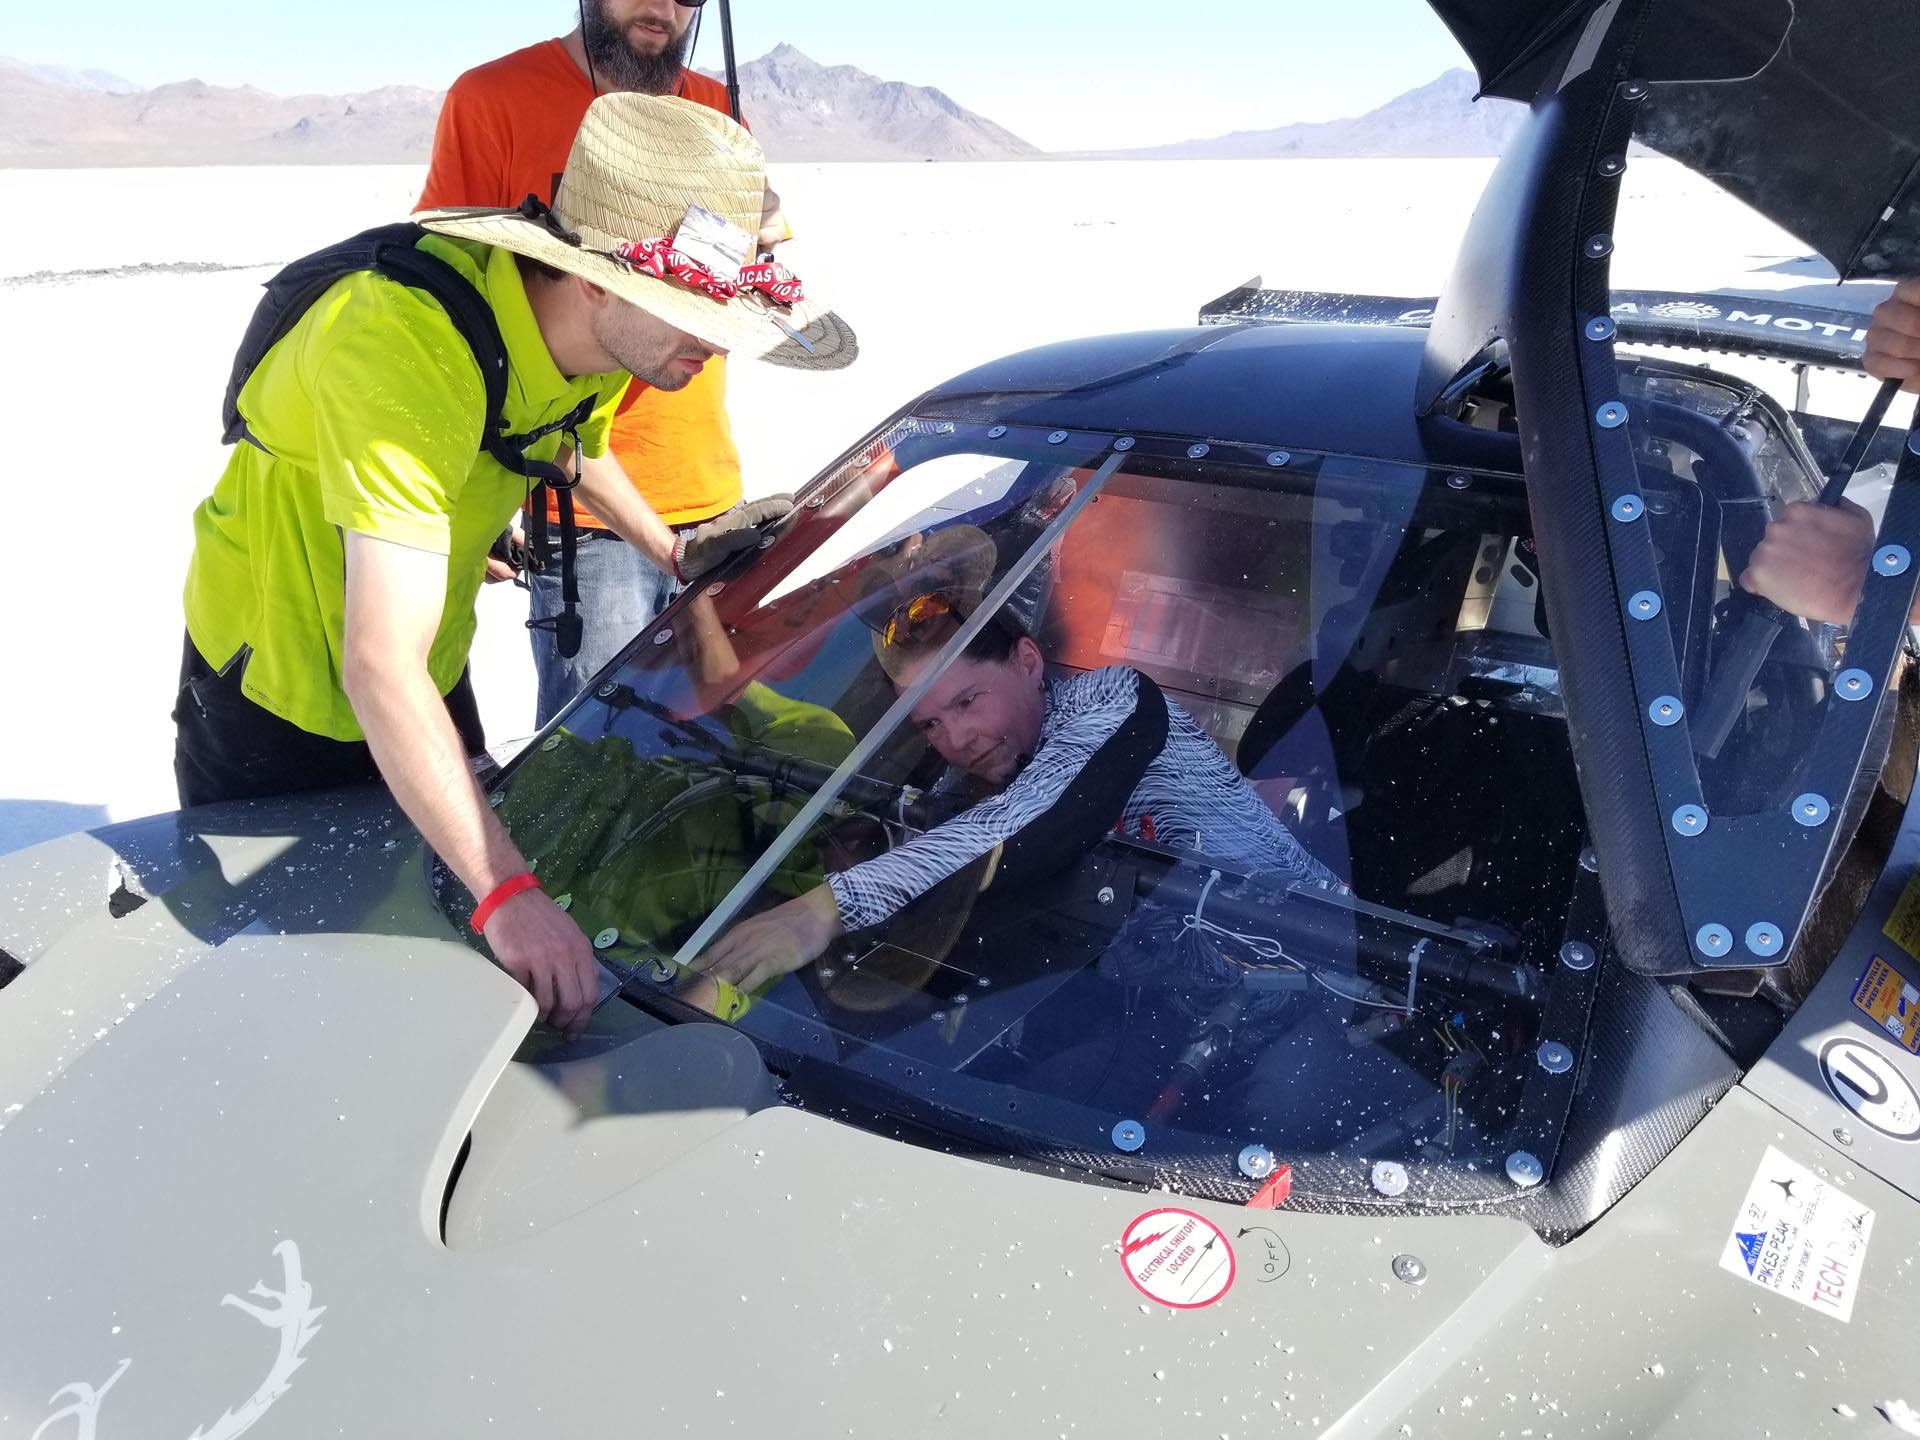 At Bonneville, helping to install a windshield brace to prevent the lexan windshield from flexing at high speeds.
 The rules at Bonneville stated that competition vehicles had to be towed everywhere, I did some of the flat towing.
 At our pit area at Bonneville, where I had to help install additional barriers between the driver compartment and
the motor/battery compartment.
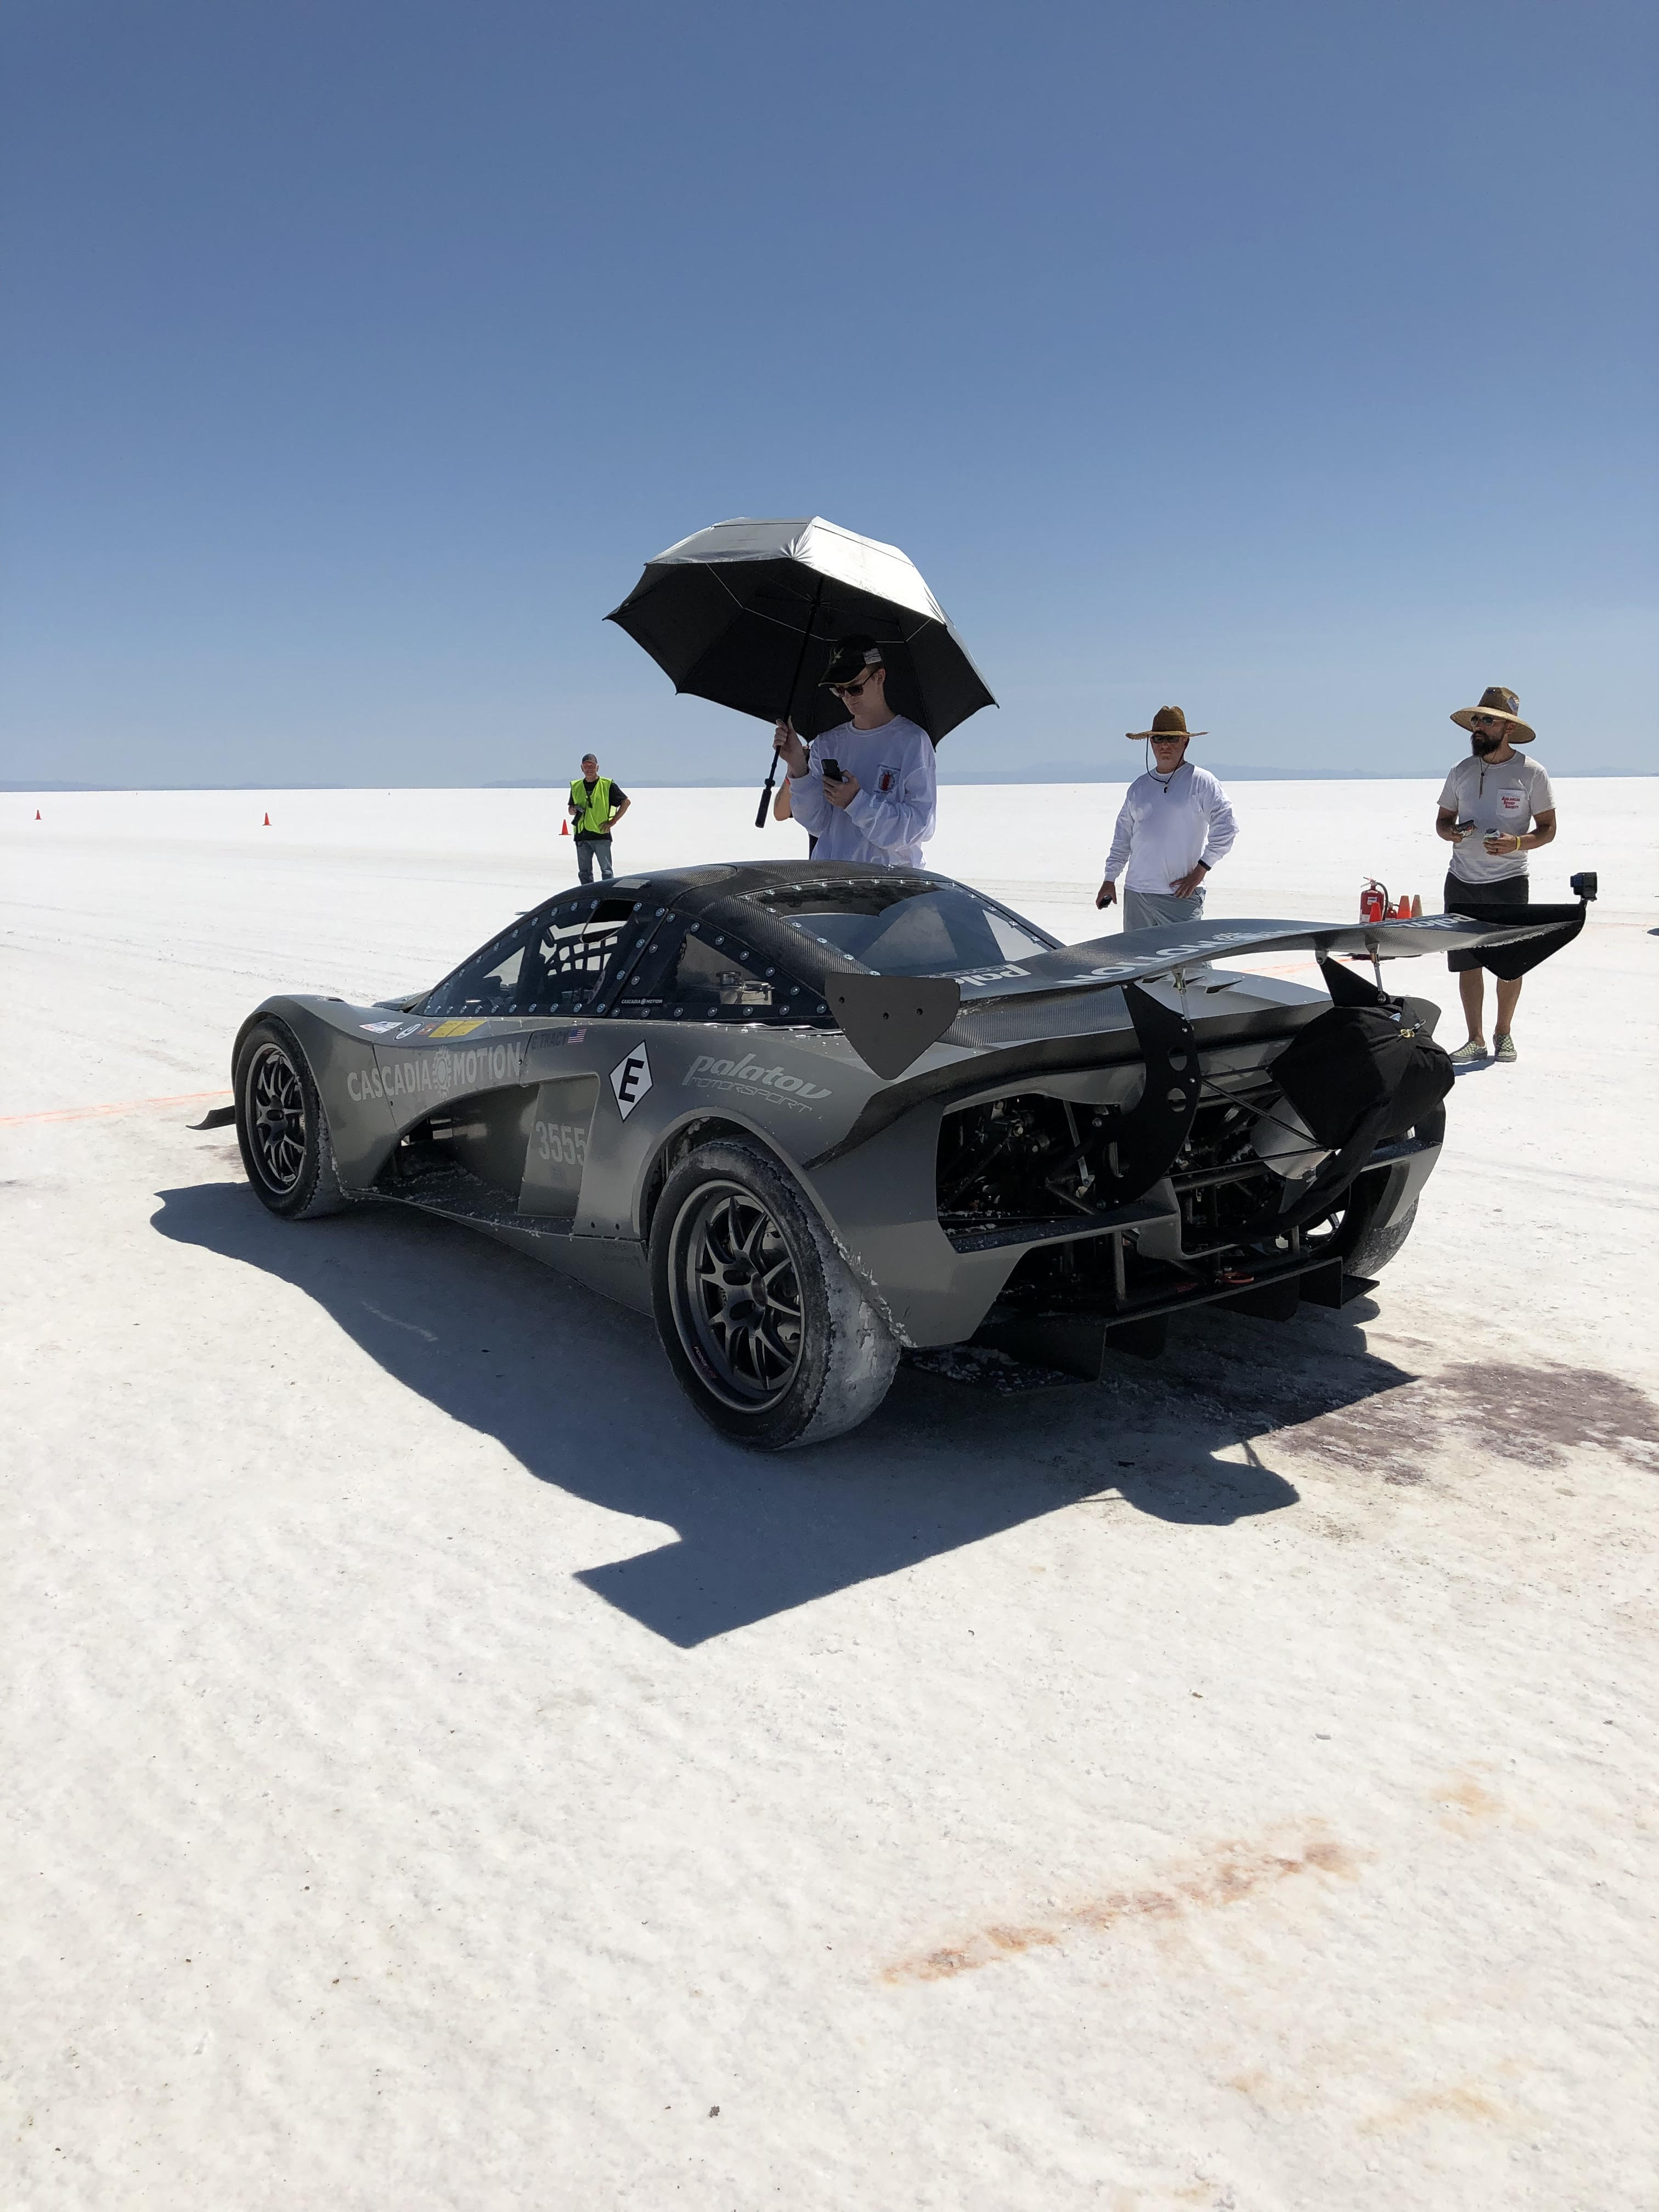 The interior of the vehicle became quite hot, so we took turns holding the shade umbrella over the cockpit while
our driver waited for his turn to compete.
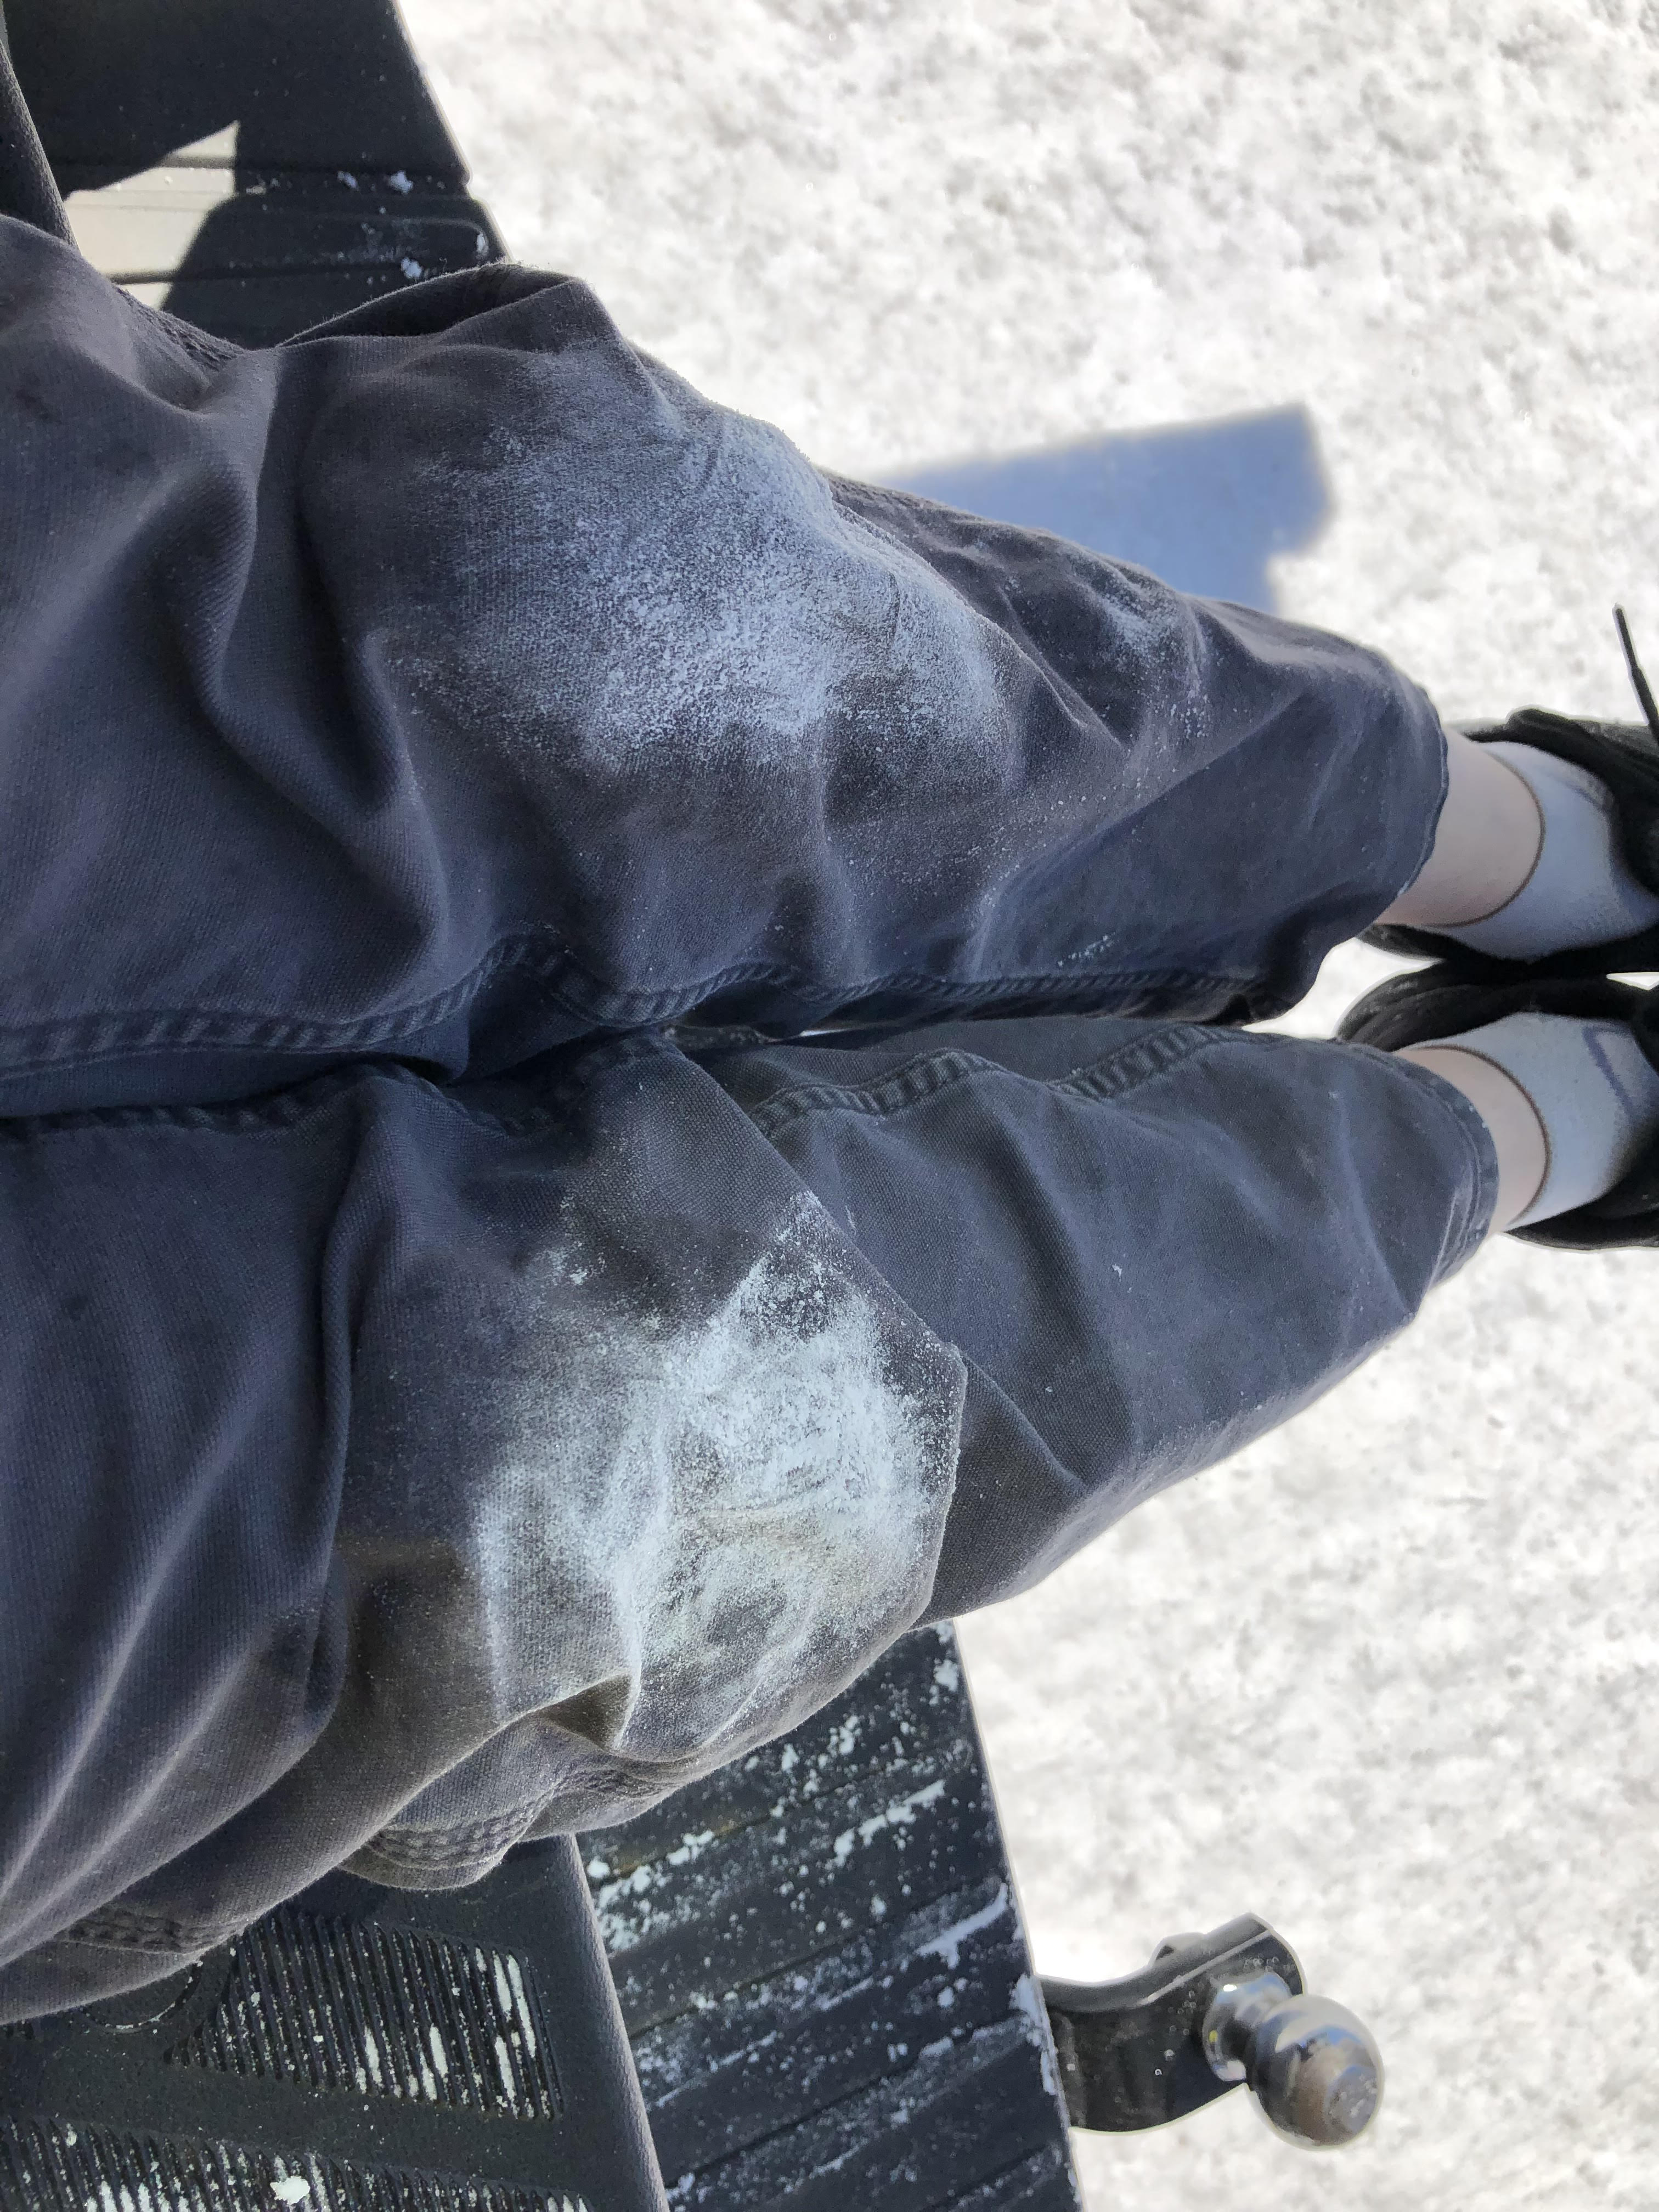 The salt at Bonneville was interesting, to say the least. I had to kneel down to check something on the car, and
my pants became stiff with all the salt.
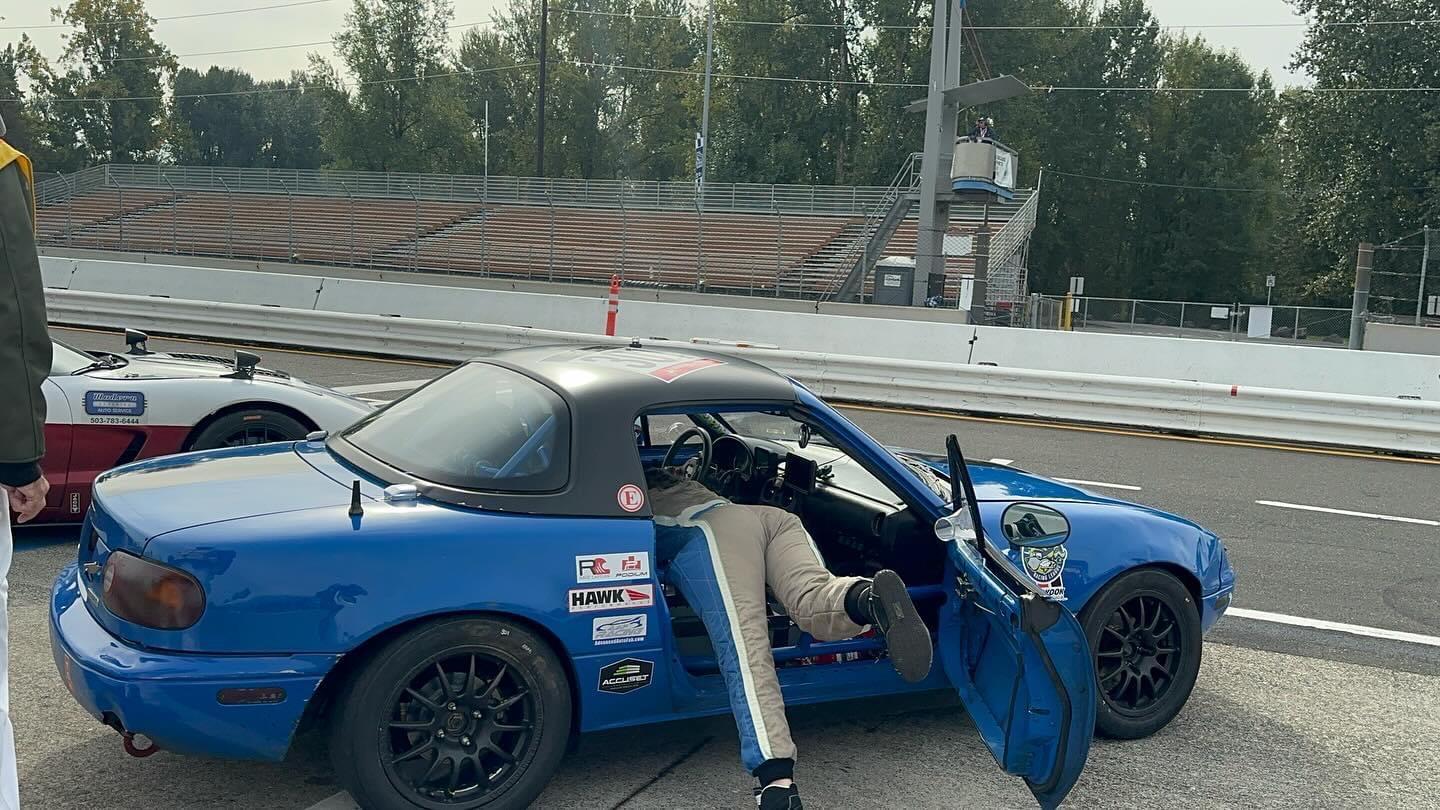 Helping to get the driver's belts done and routed properly, radio connected, and steering wheel on.
Lucky Dog Racing League.
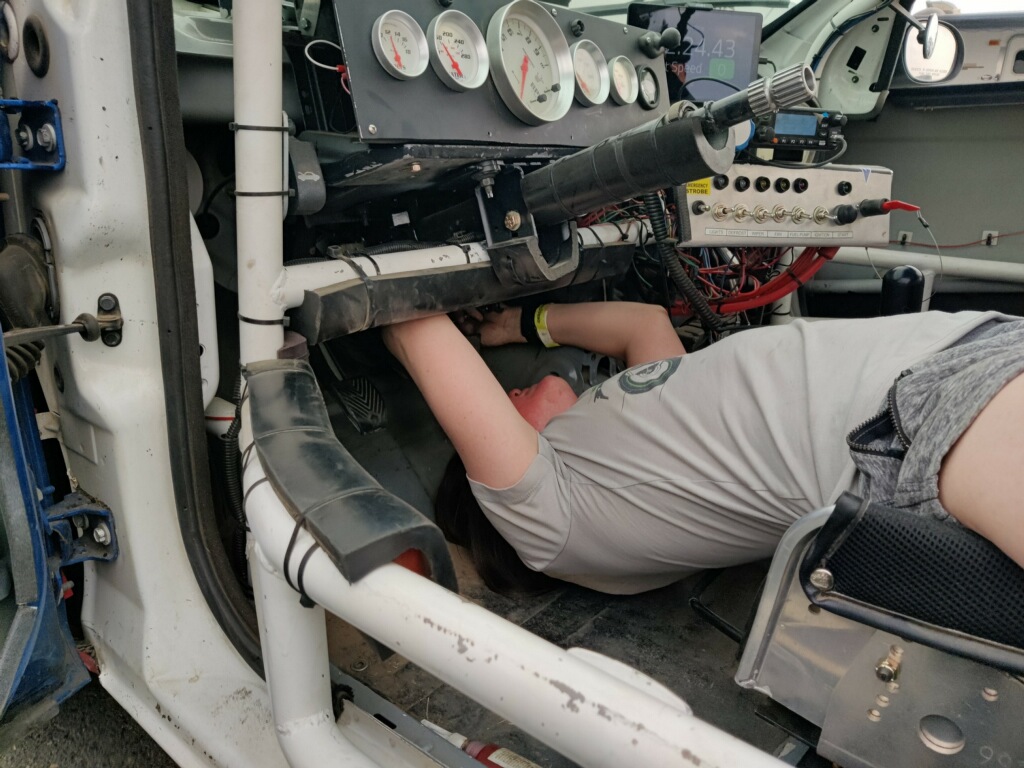 When the throttle pedal has come unbolted, you do what you have to do to get it back on!
Back to Top
Vinyl Logos
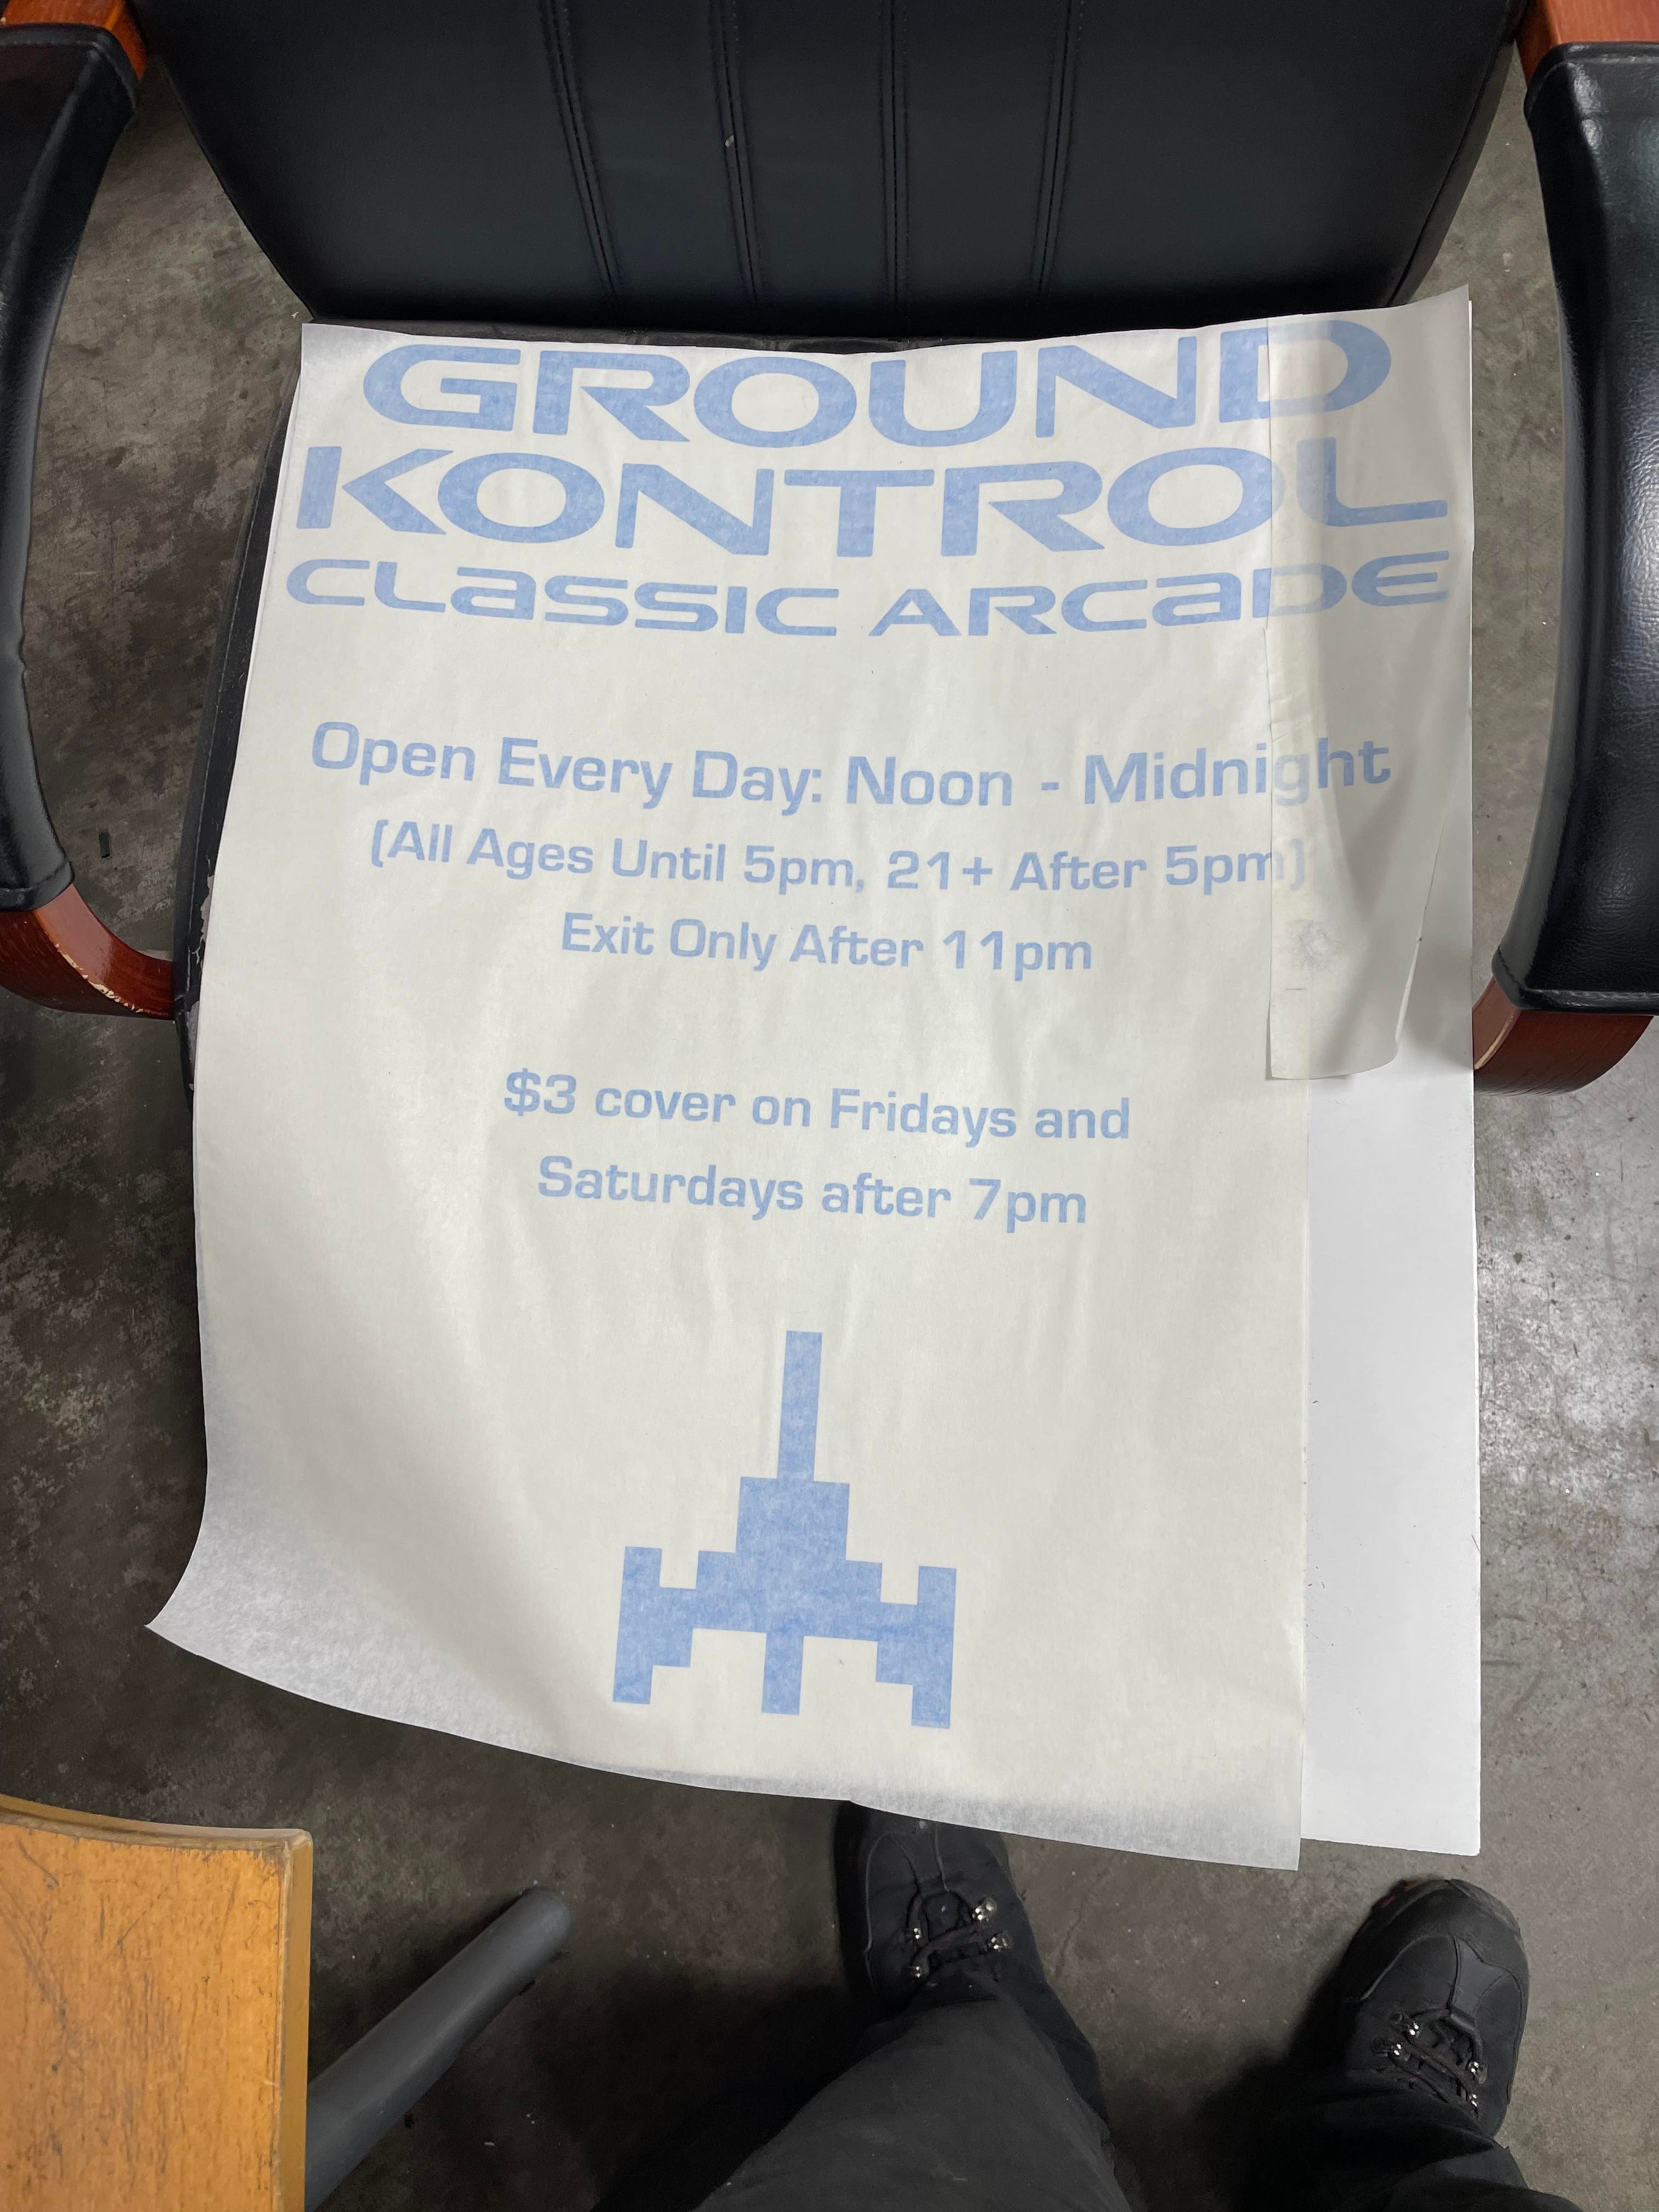
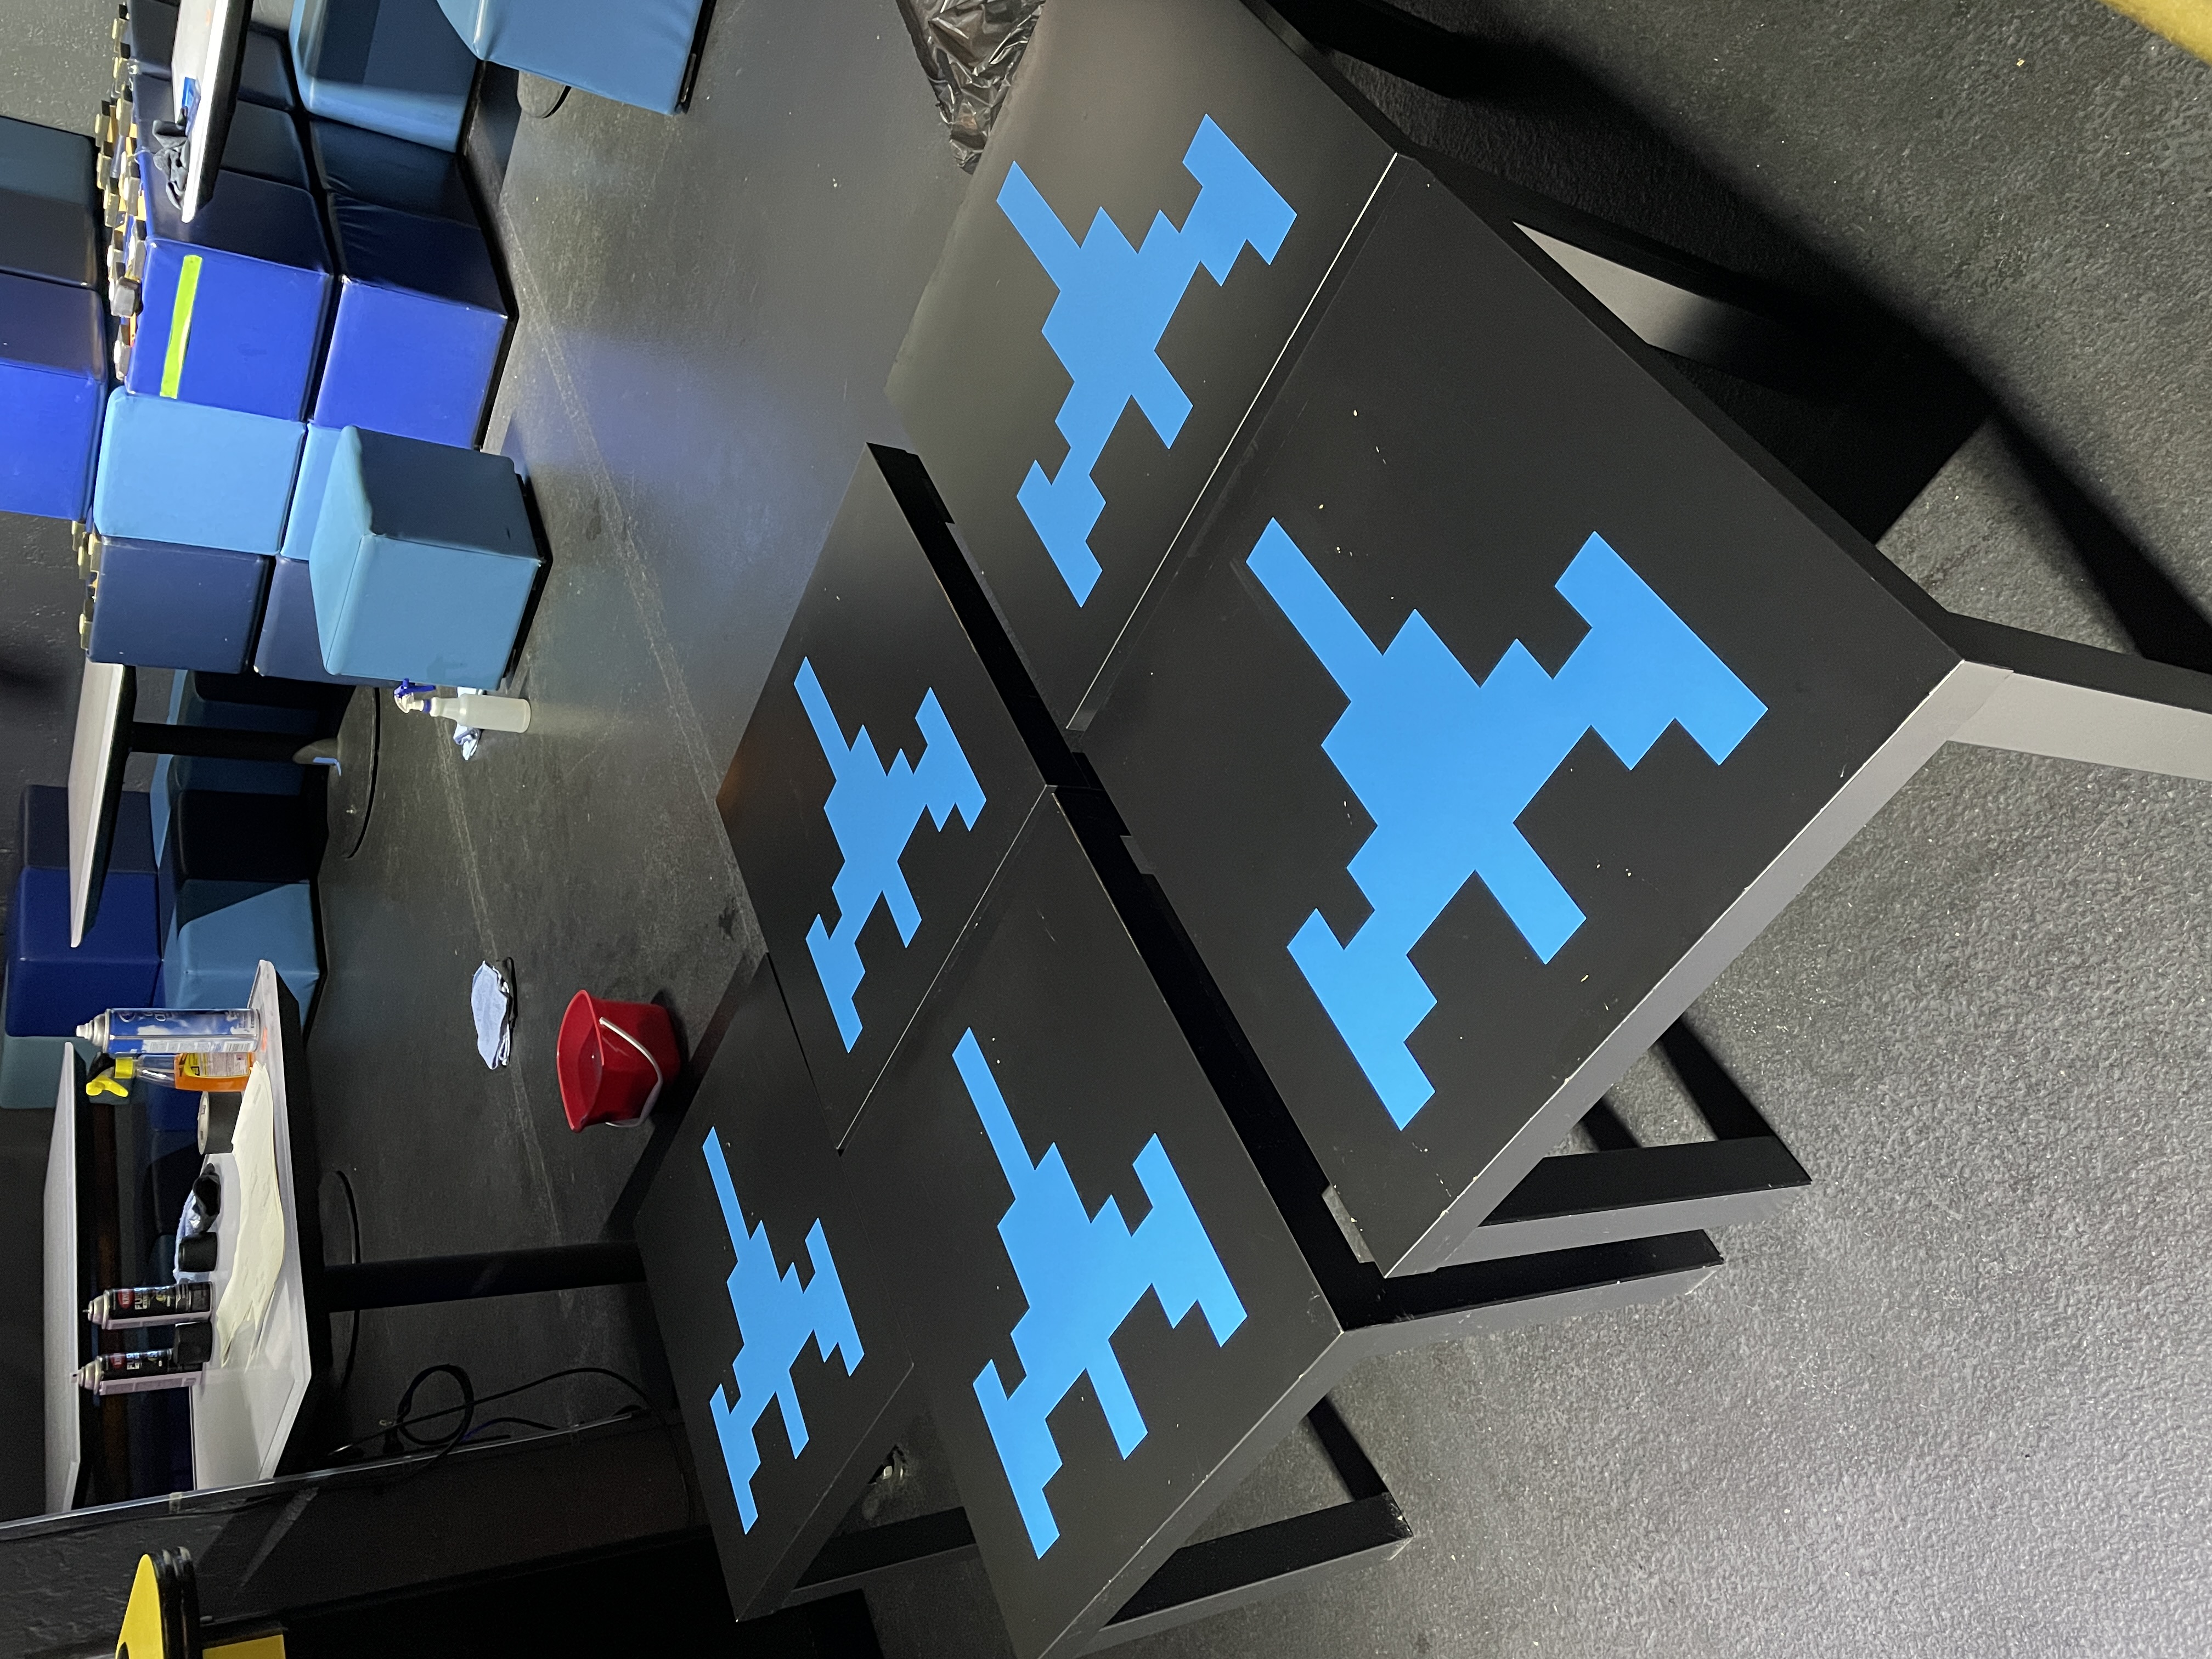
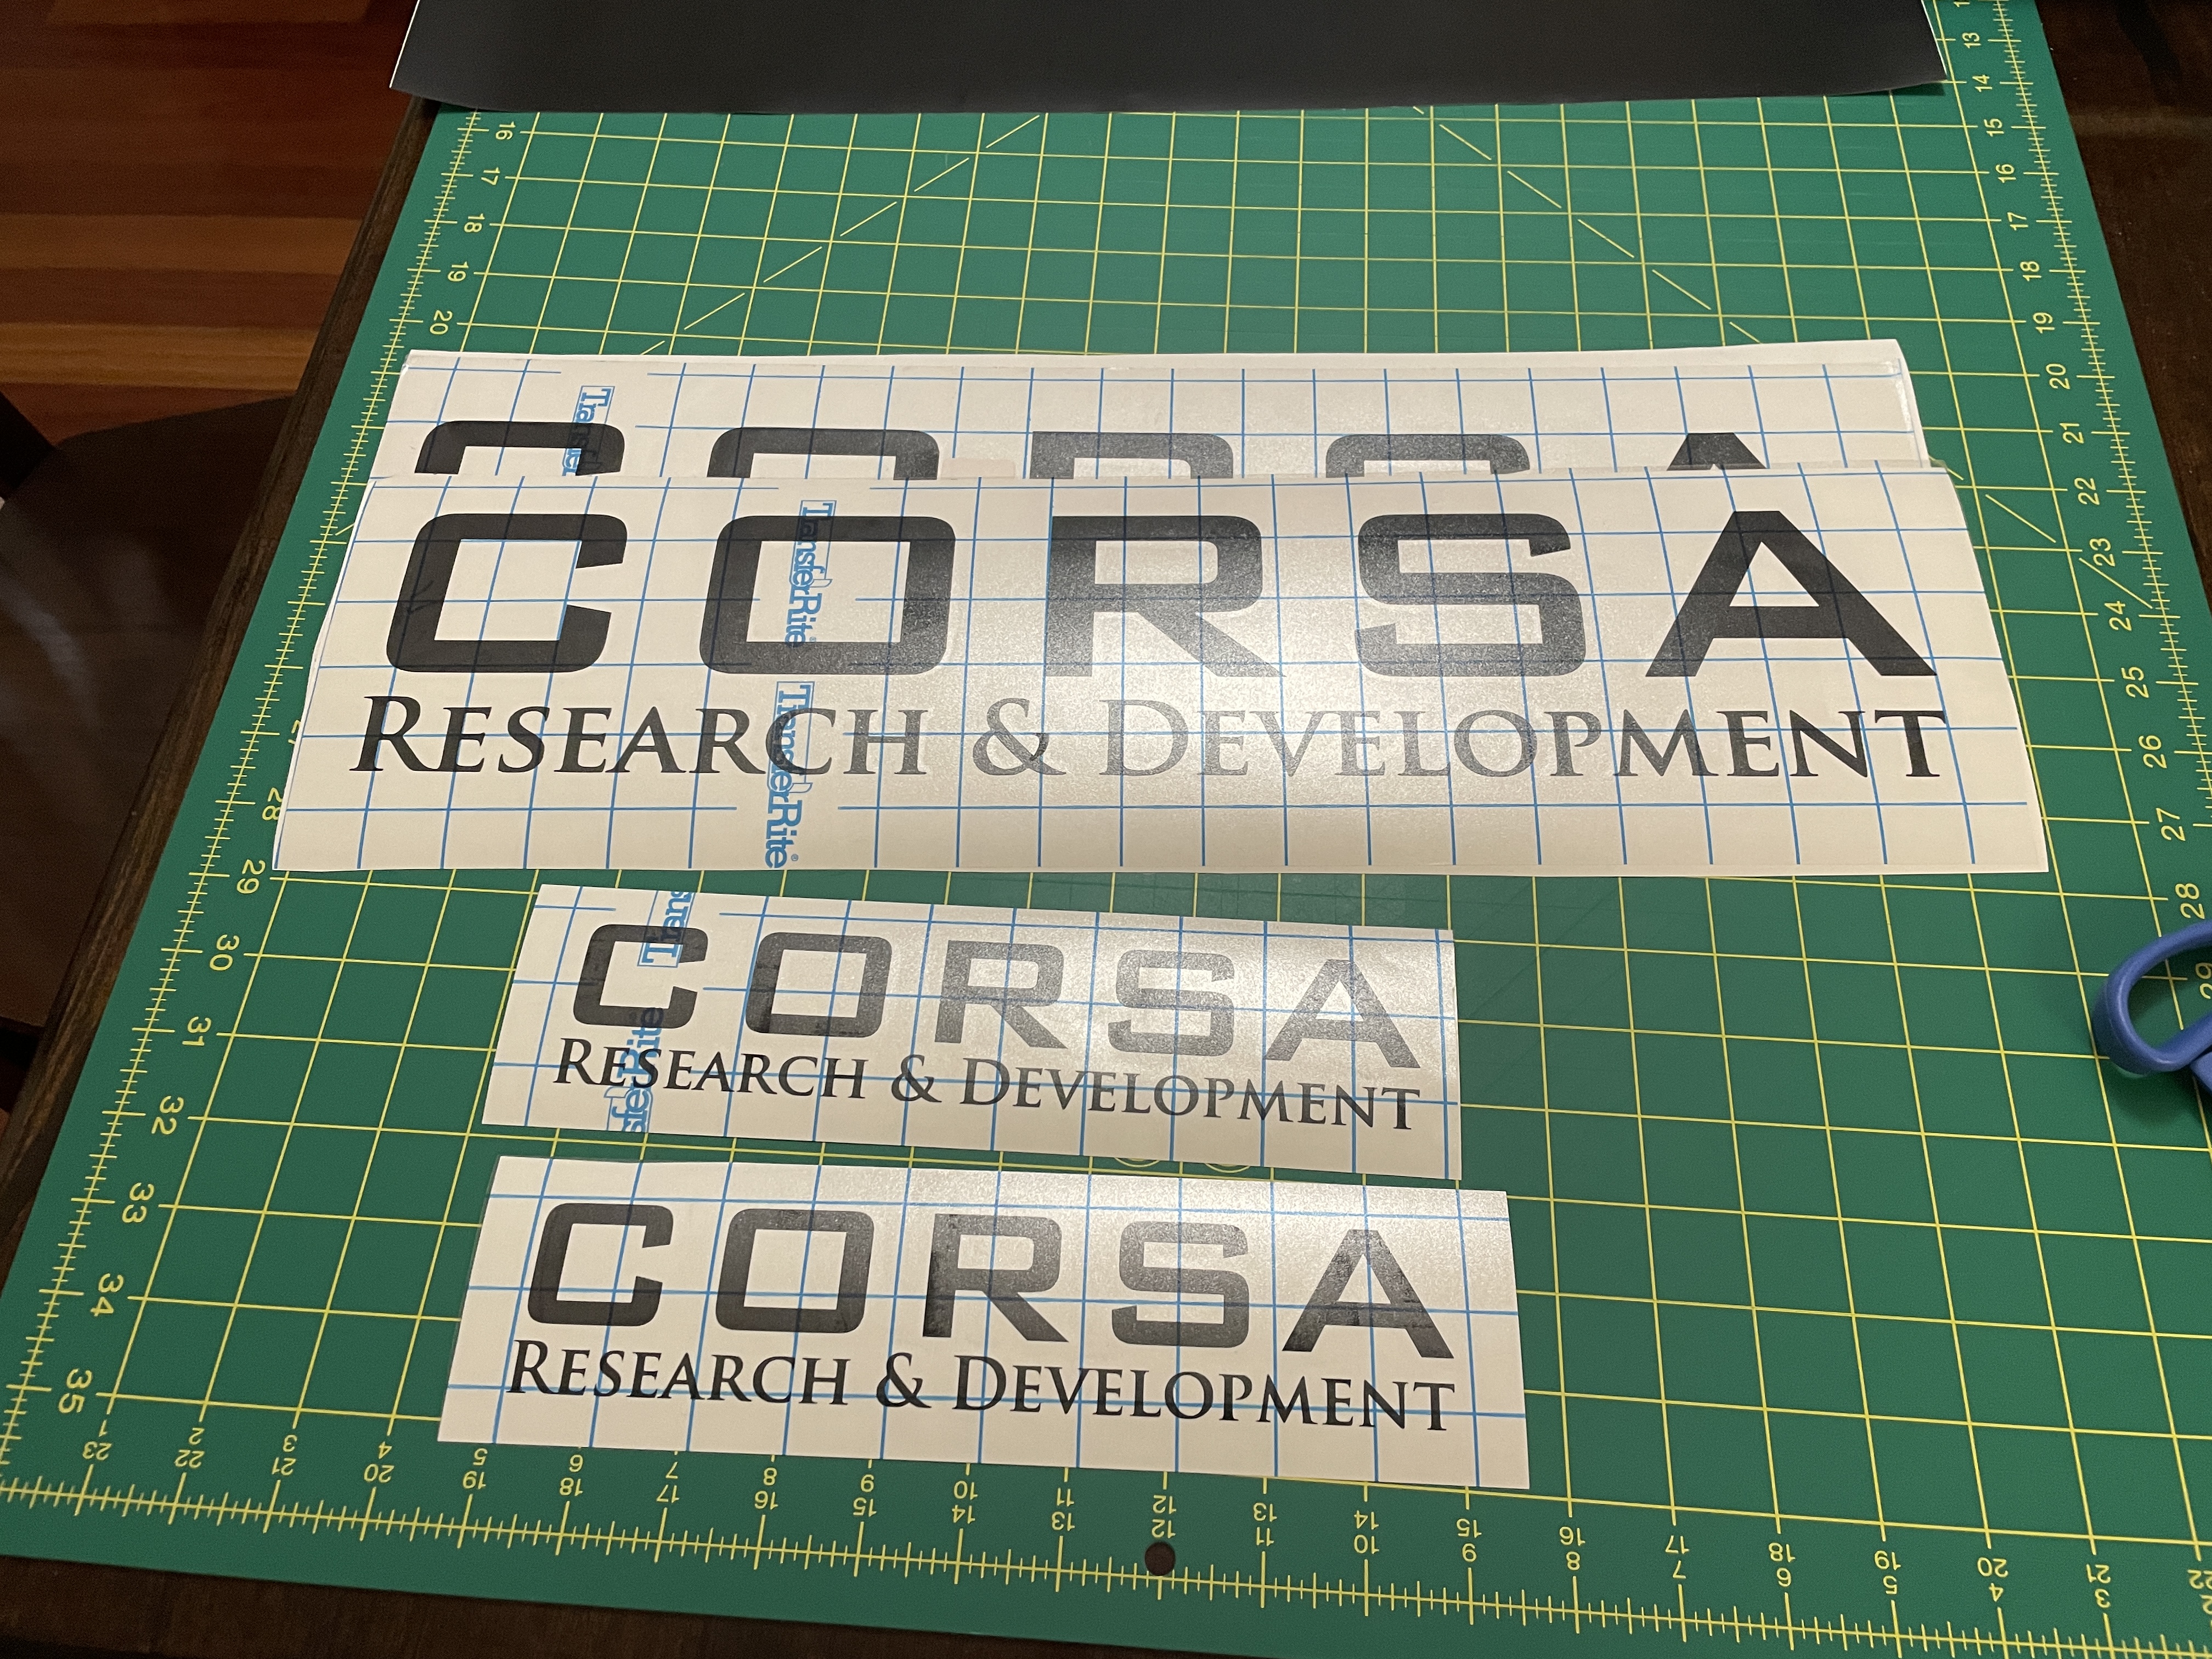
 Decorative vinyl for a small vehicle.
 Store front info installed
 Show-only carbon fiber vanity plate, before assembly.
 Show-only carbon fiber vanity plate, after assembly.
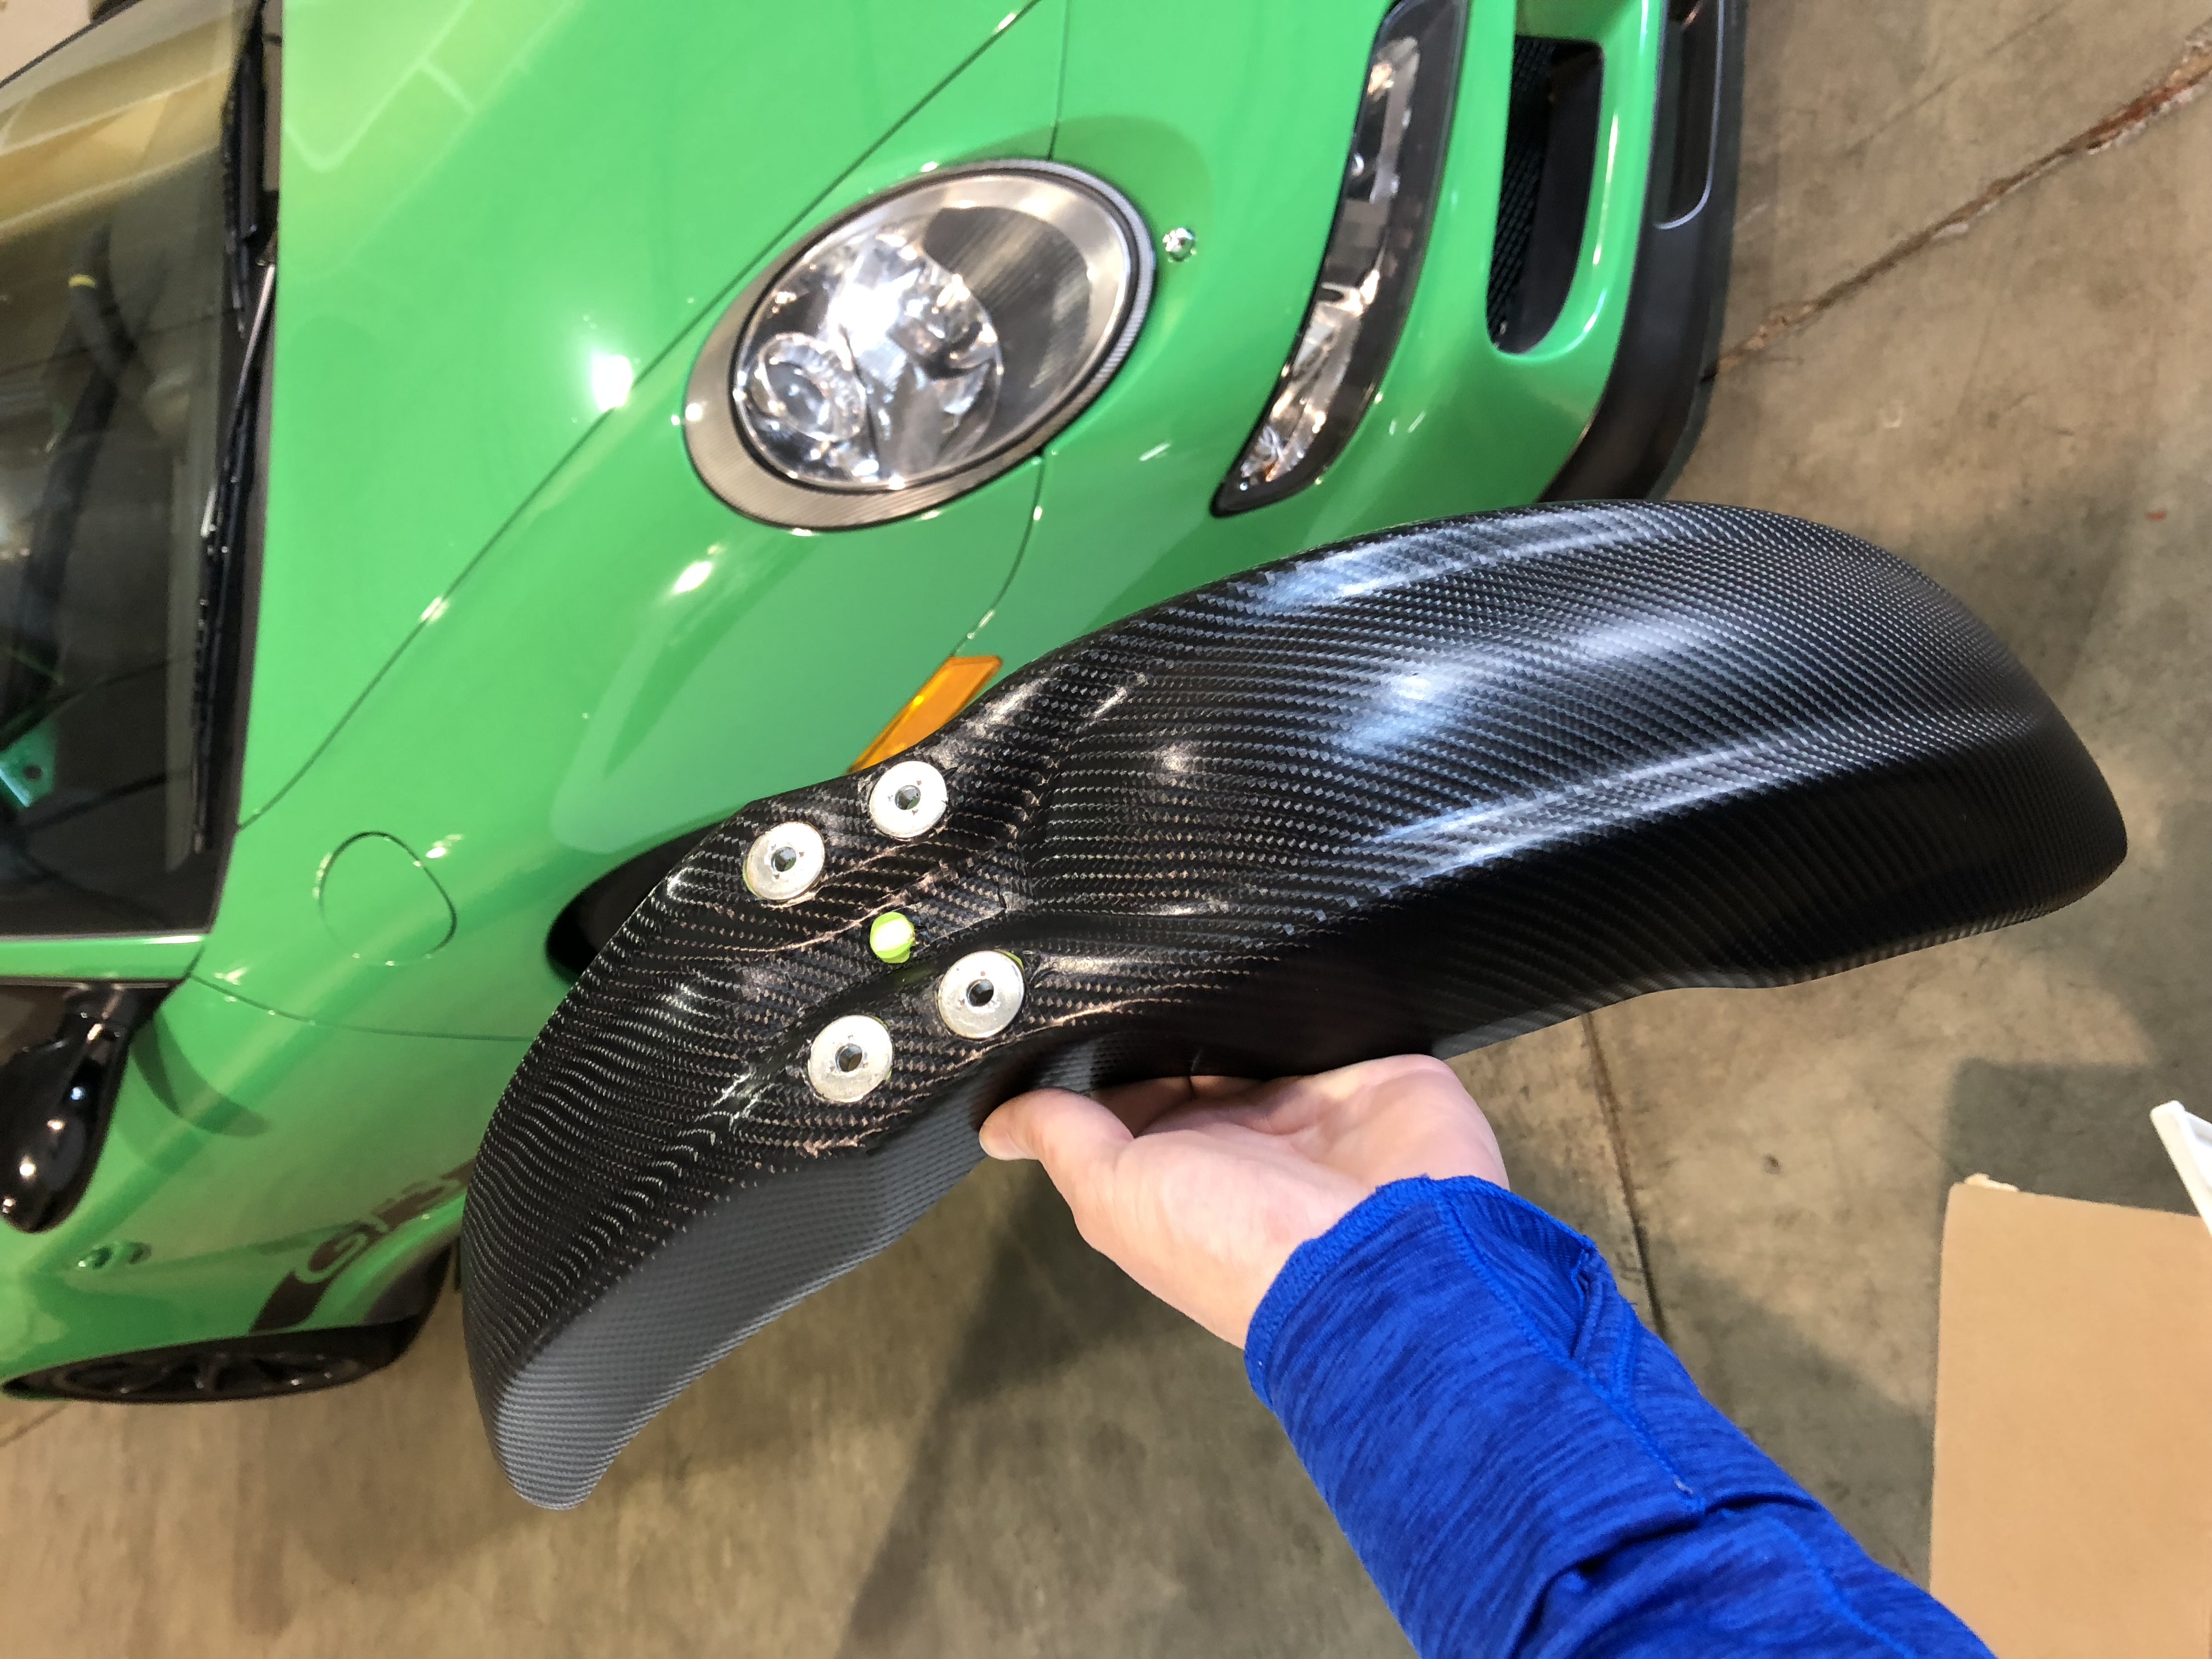 I don't do much vinyl wrapping, but have successfully managed some pieces. This is a plastic motorcycle front fender
with carbon fiber patterned vinyl.
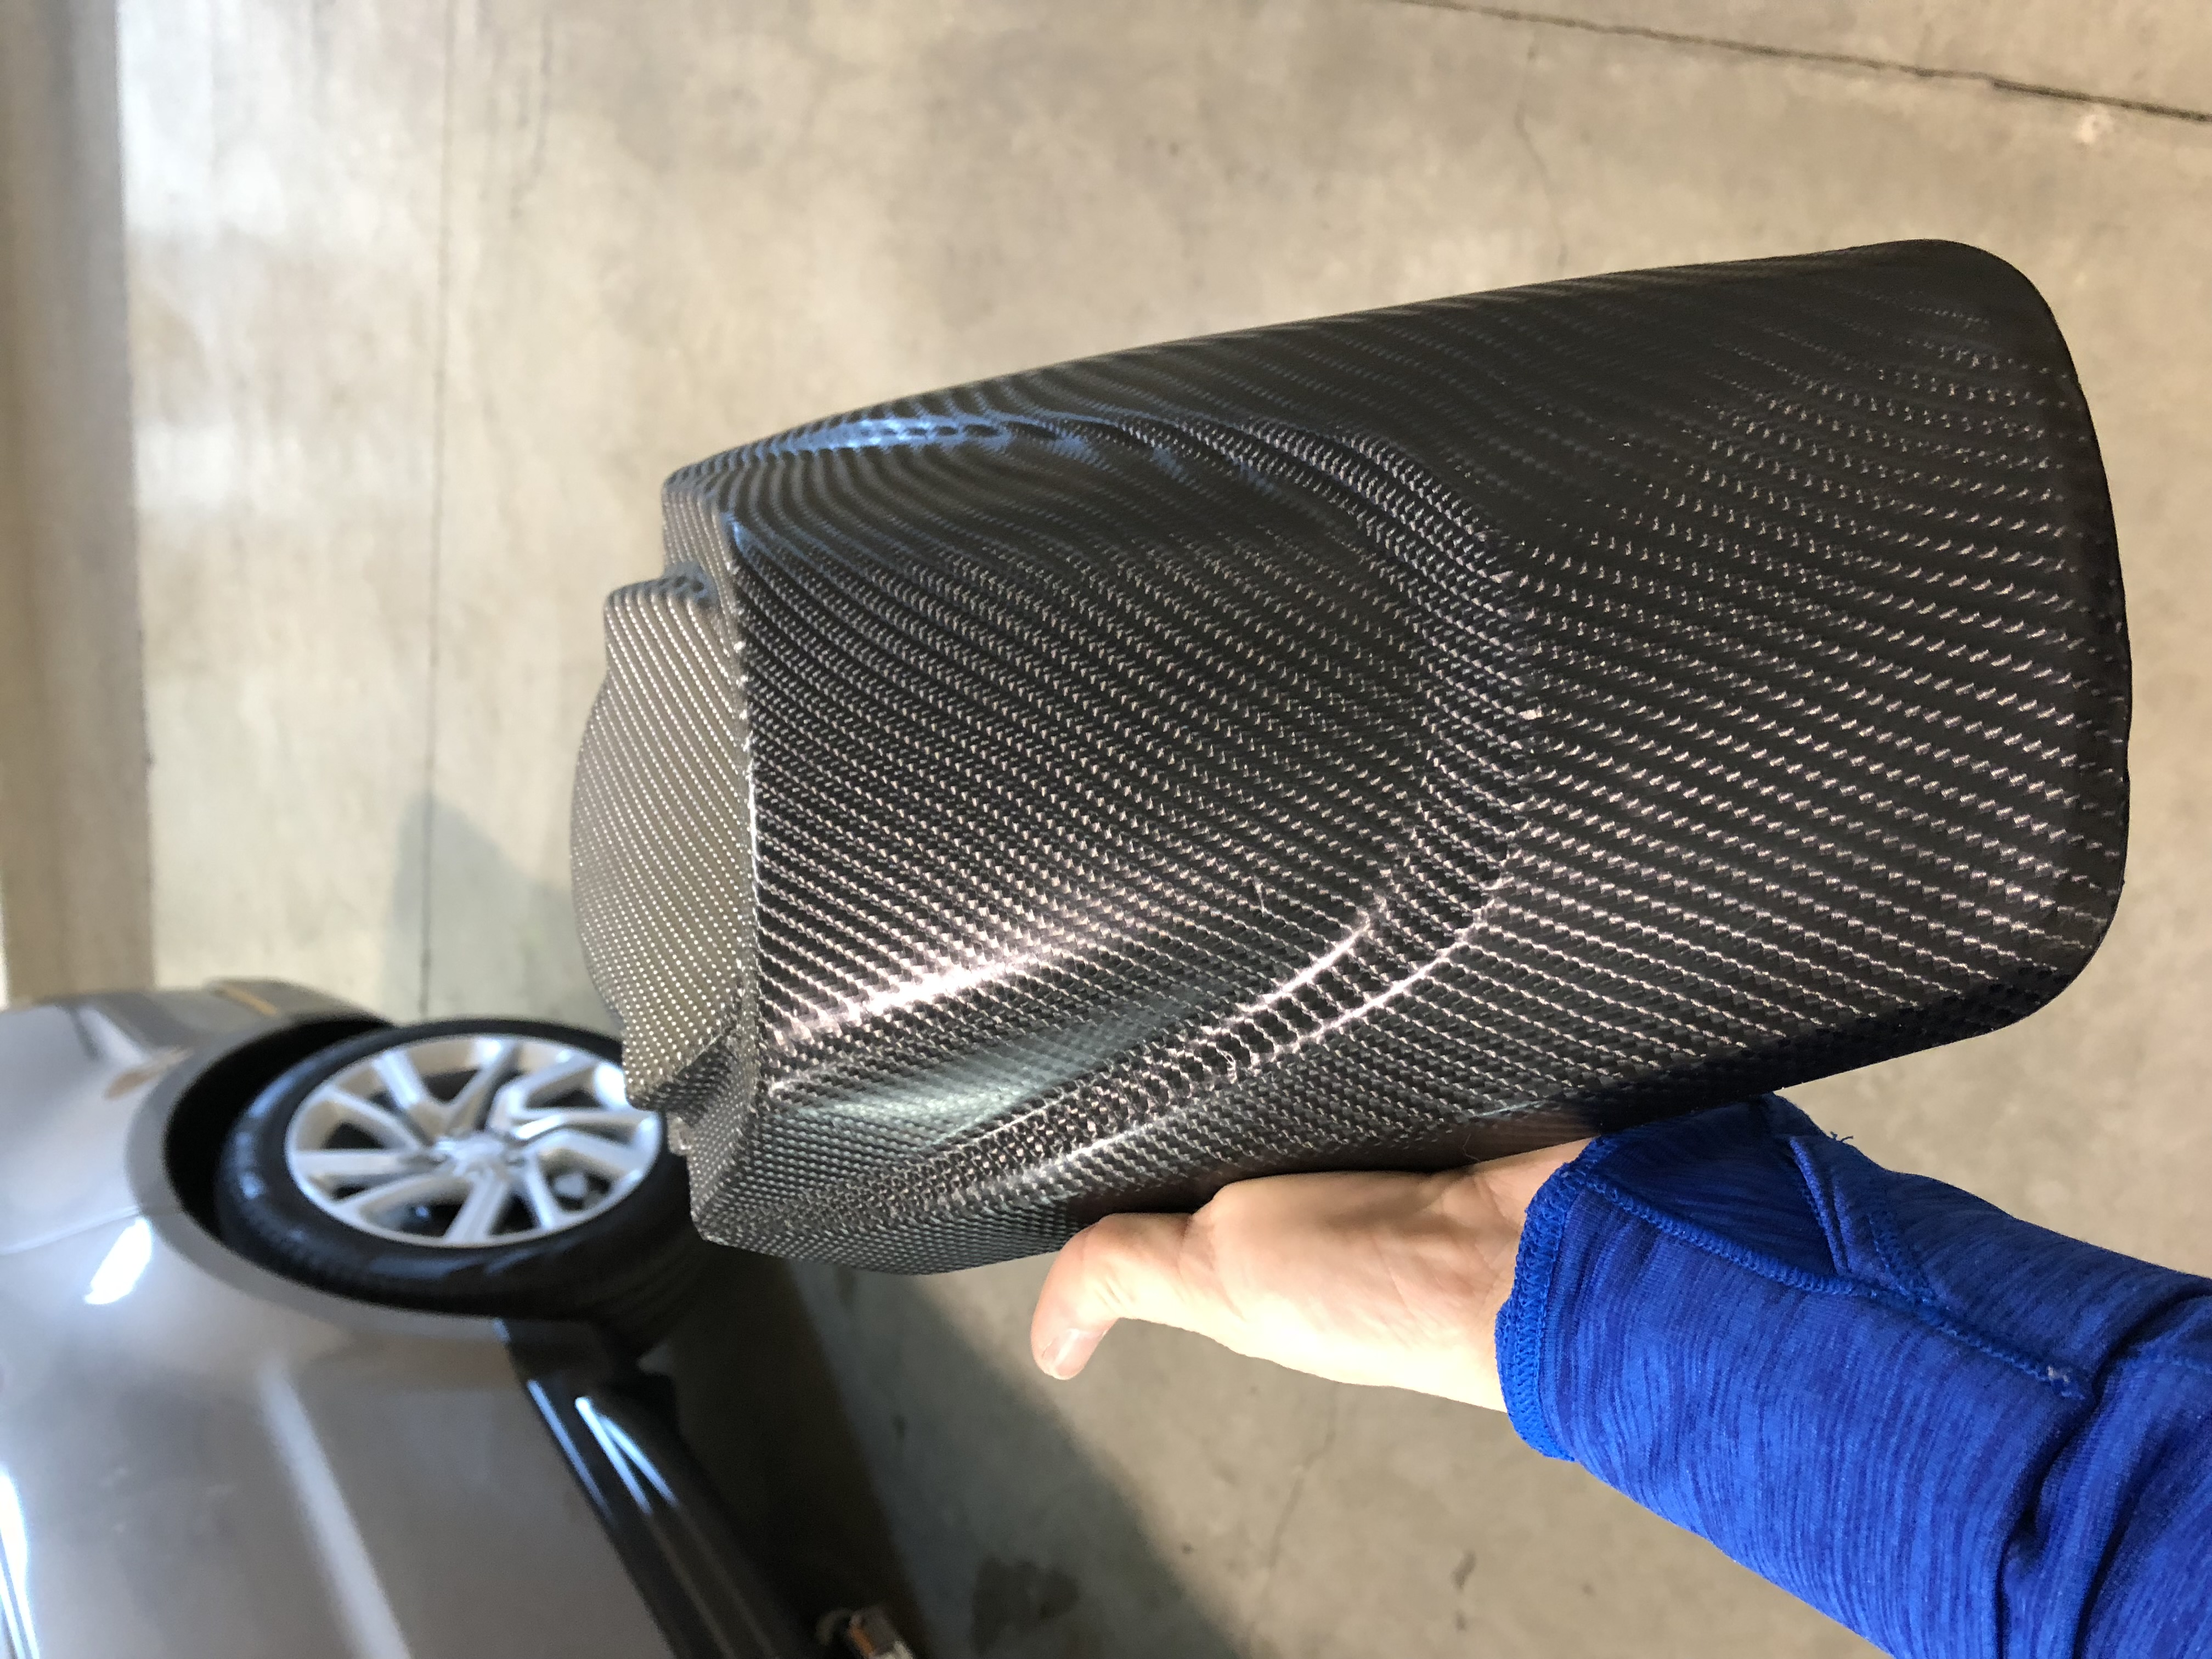 Here is the rear fender for the same motorcycle.
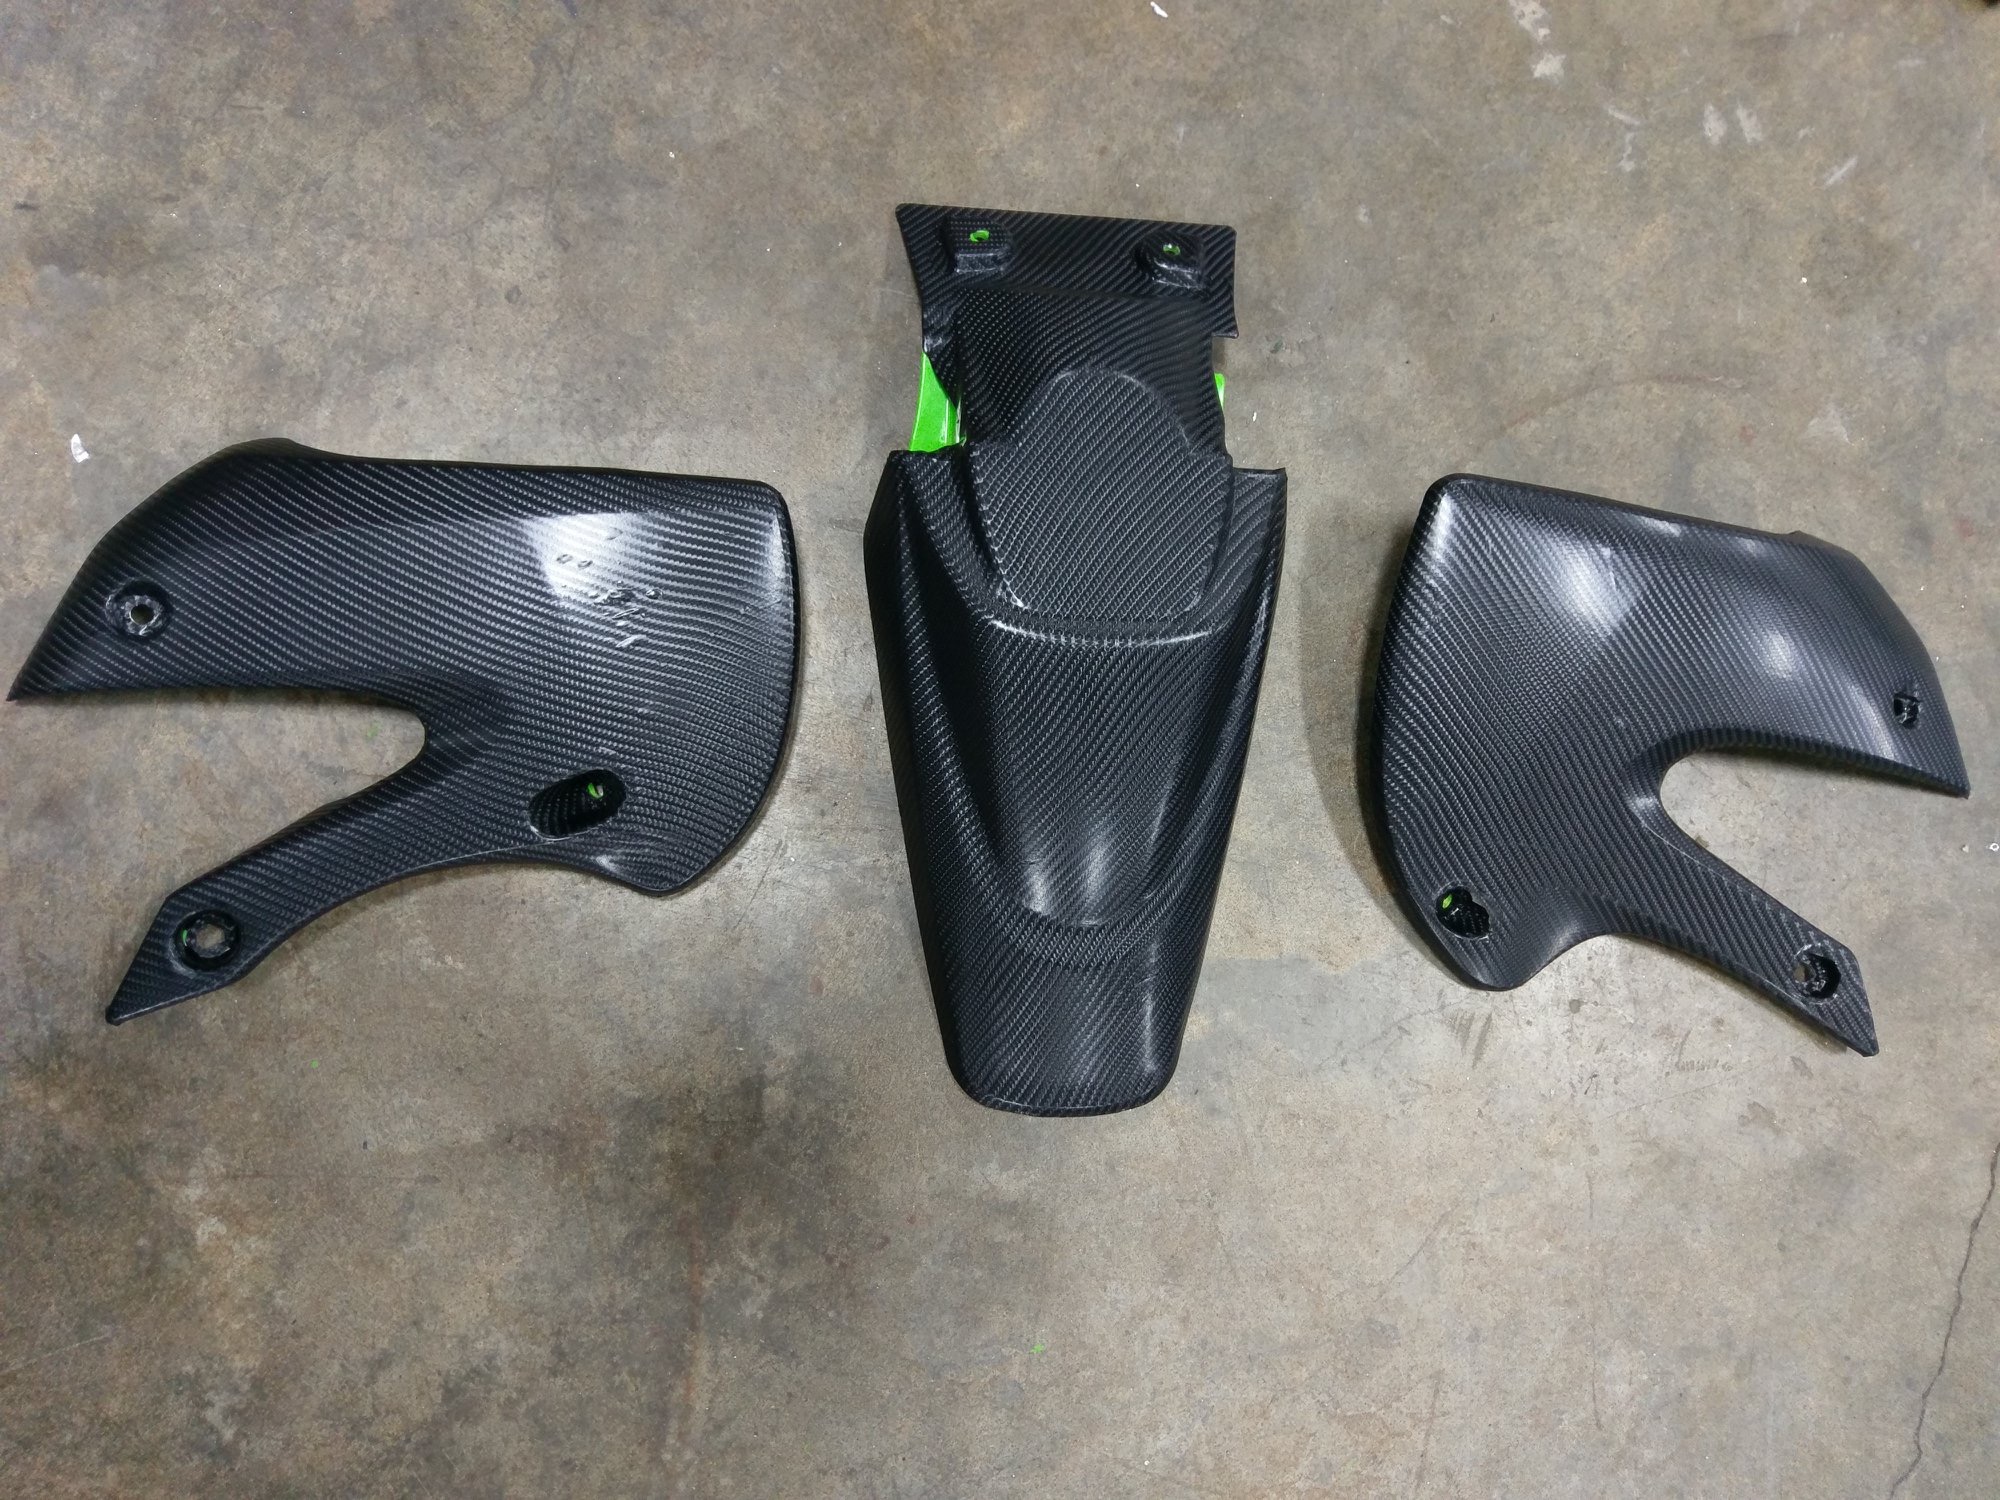 Several parts, all wrapped in the carbon fiber patterned vinyl.
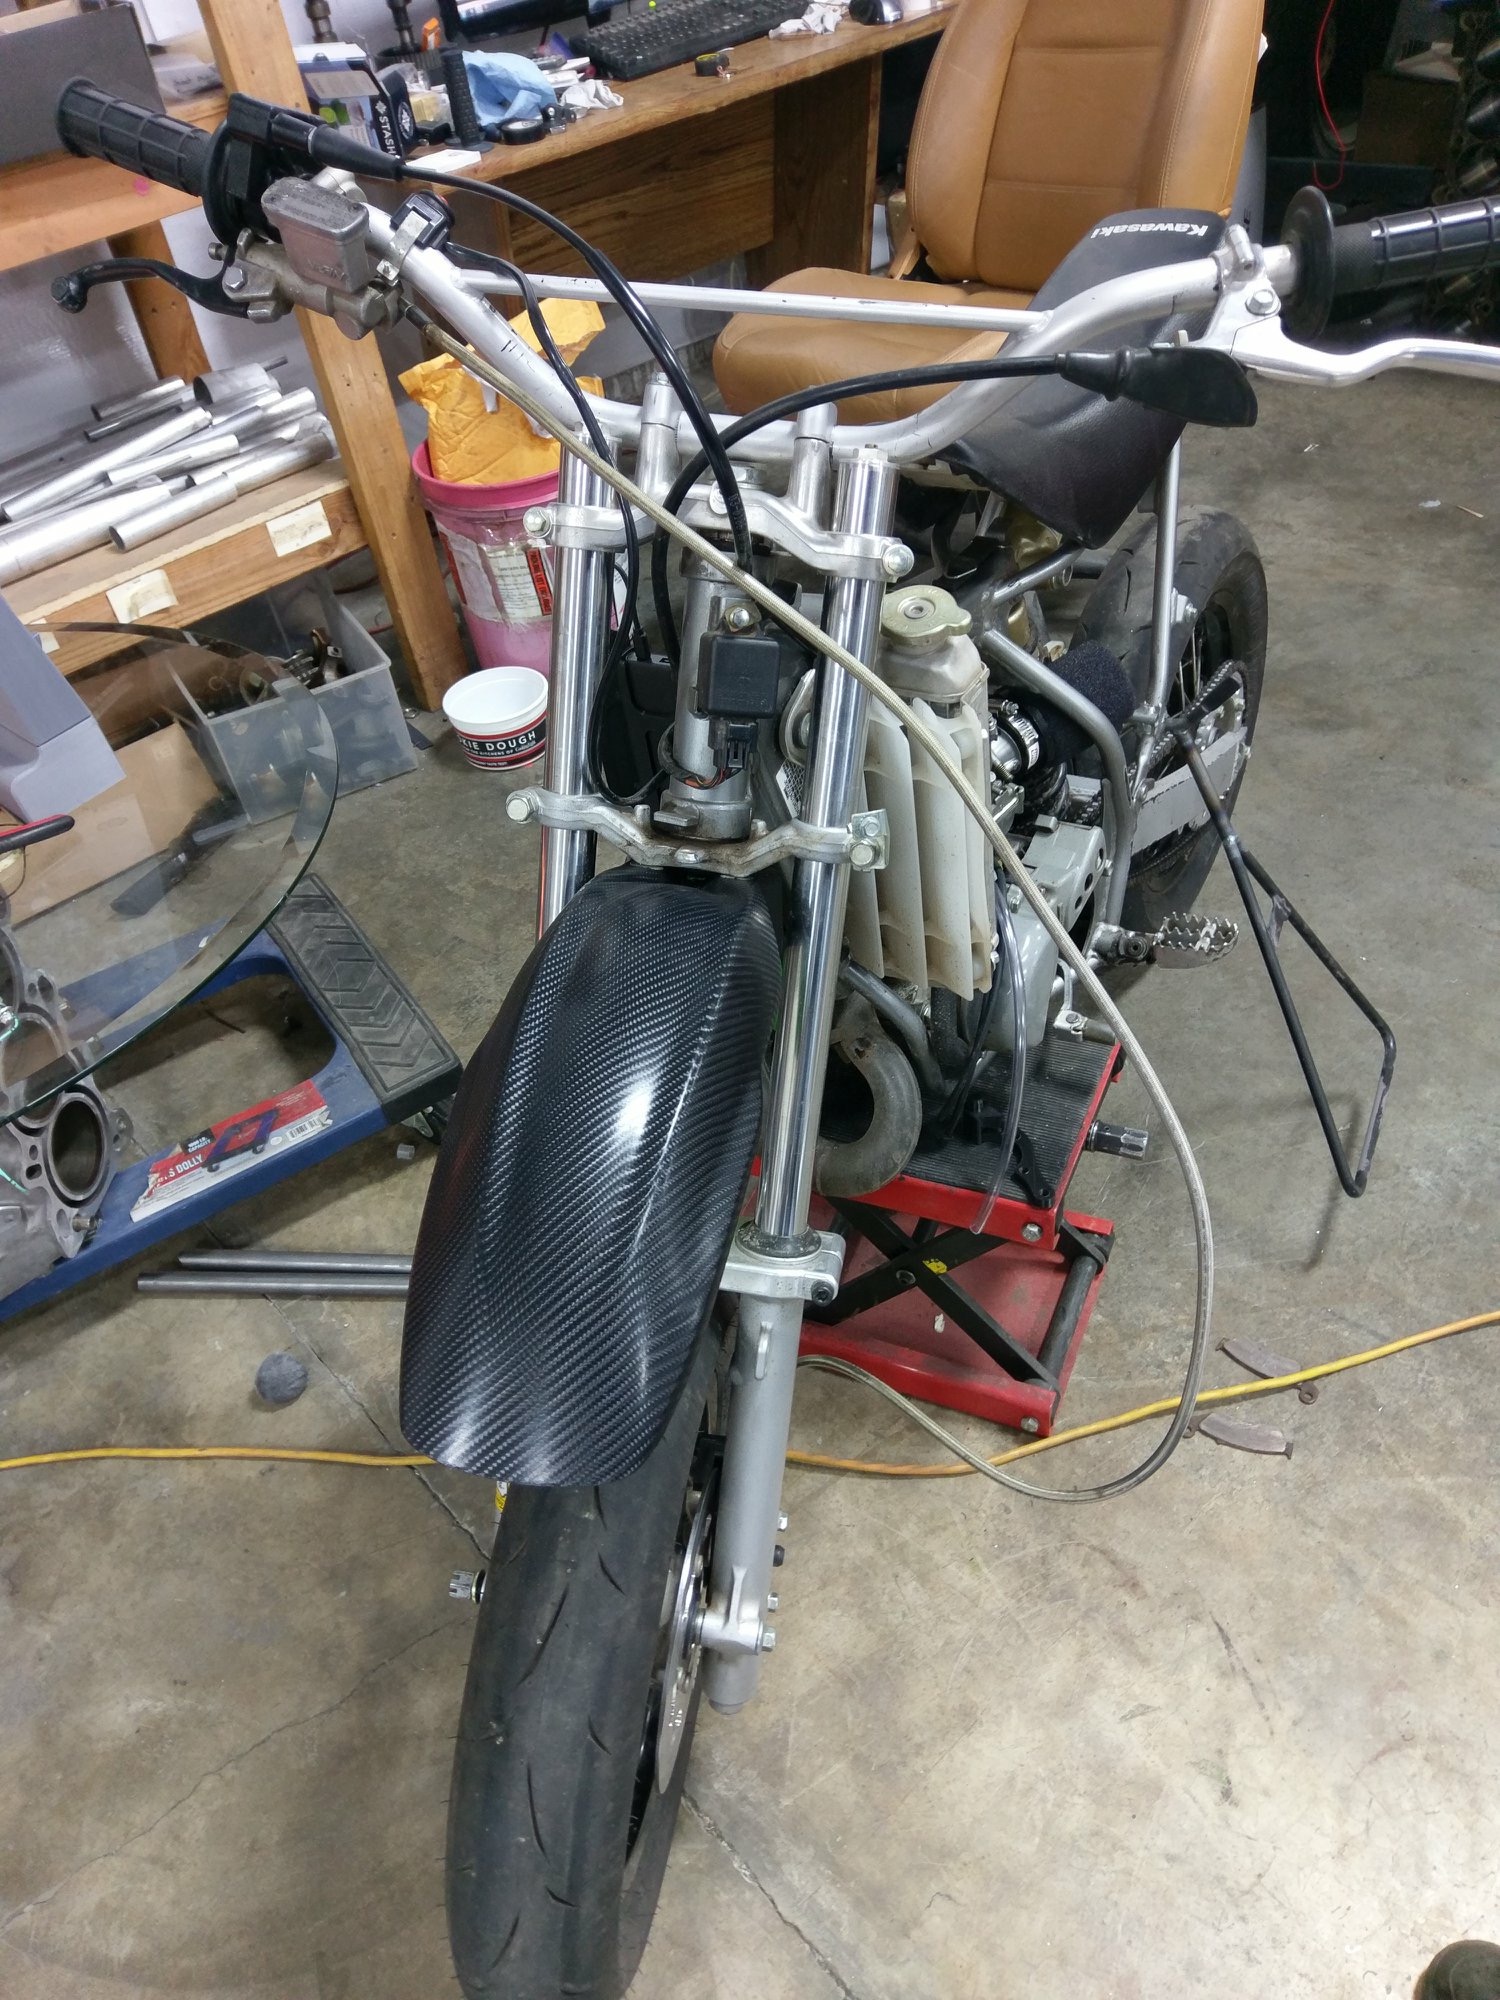 The front fender, installed on the motorcycle.
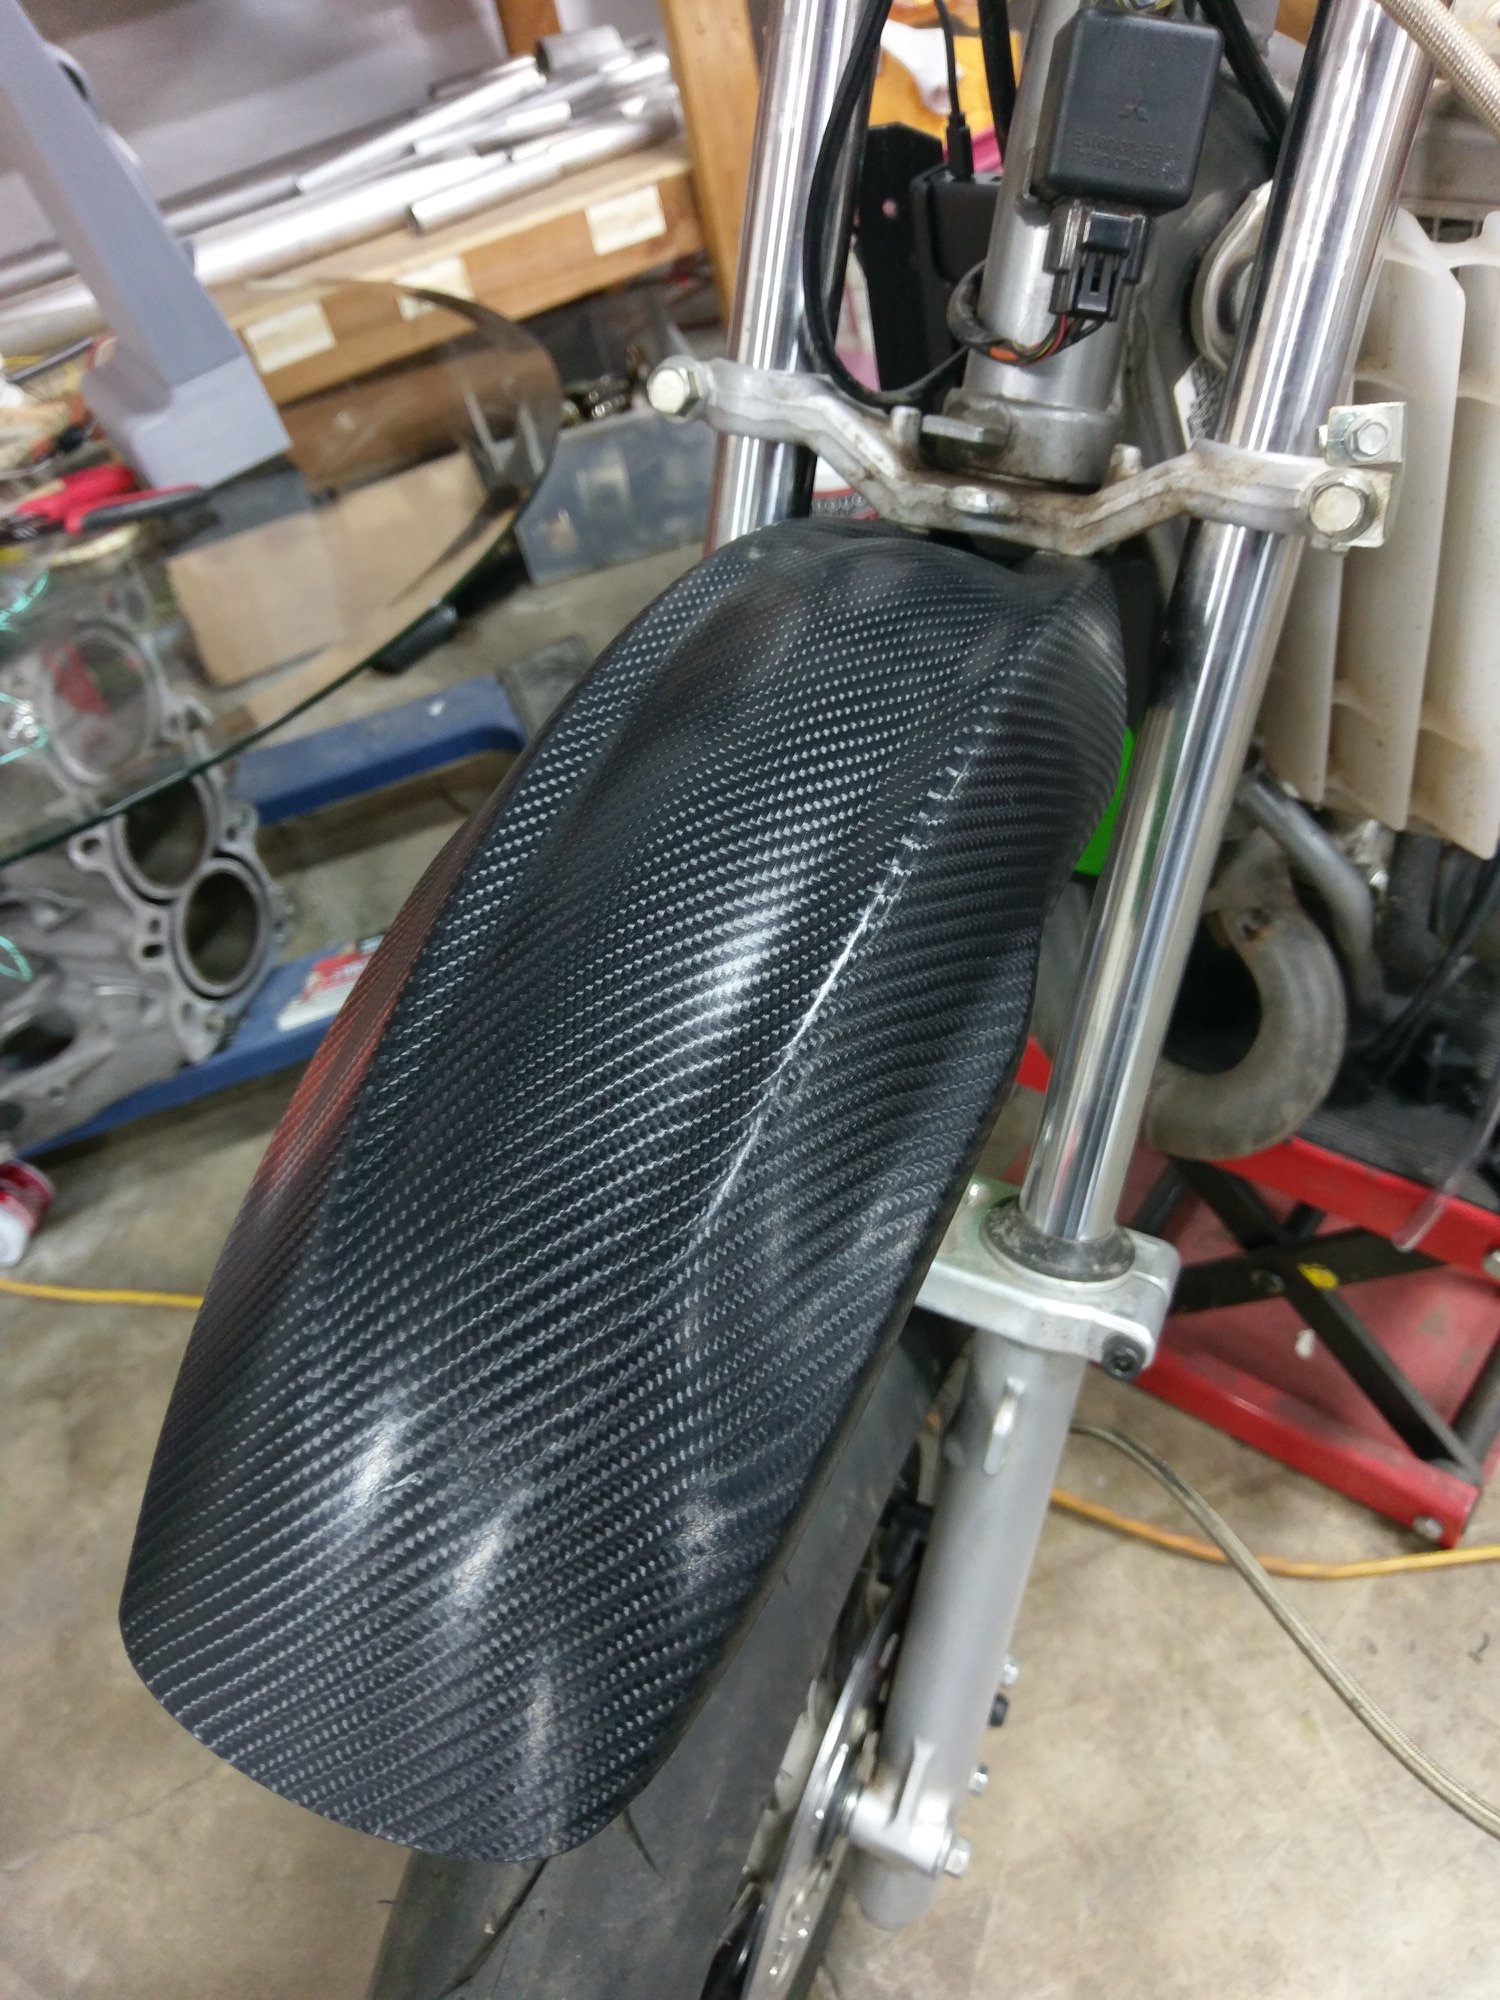 The front fender, installed on the motorcycle.
Back to Top

